Table of Contents
How to install your new snowmobile tables yourself
Recently, I bought new 36” tables for my snowmobile. Installing them myself is something important to me.
Simply because I am a strong and independent woman. I always tell myself: why pay a mechanic when you can do it yourself? In this article, I present you the installation from scratch.
Why this change in my snowmobile?
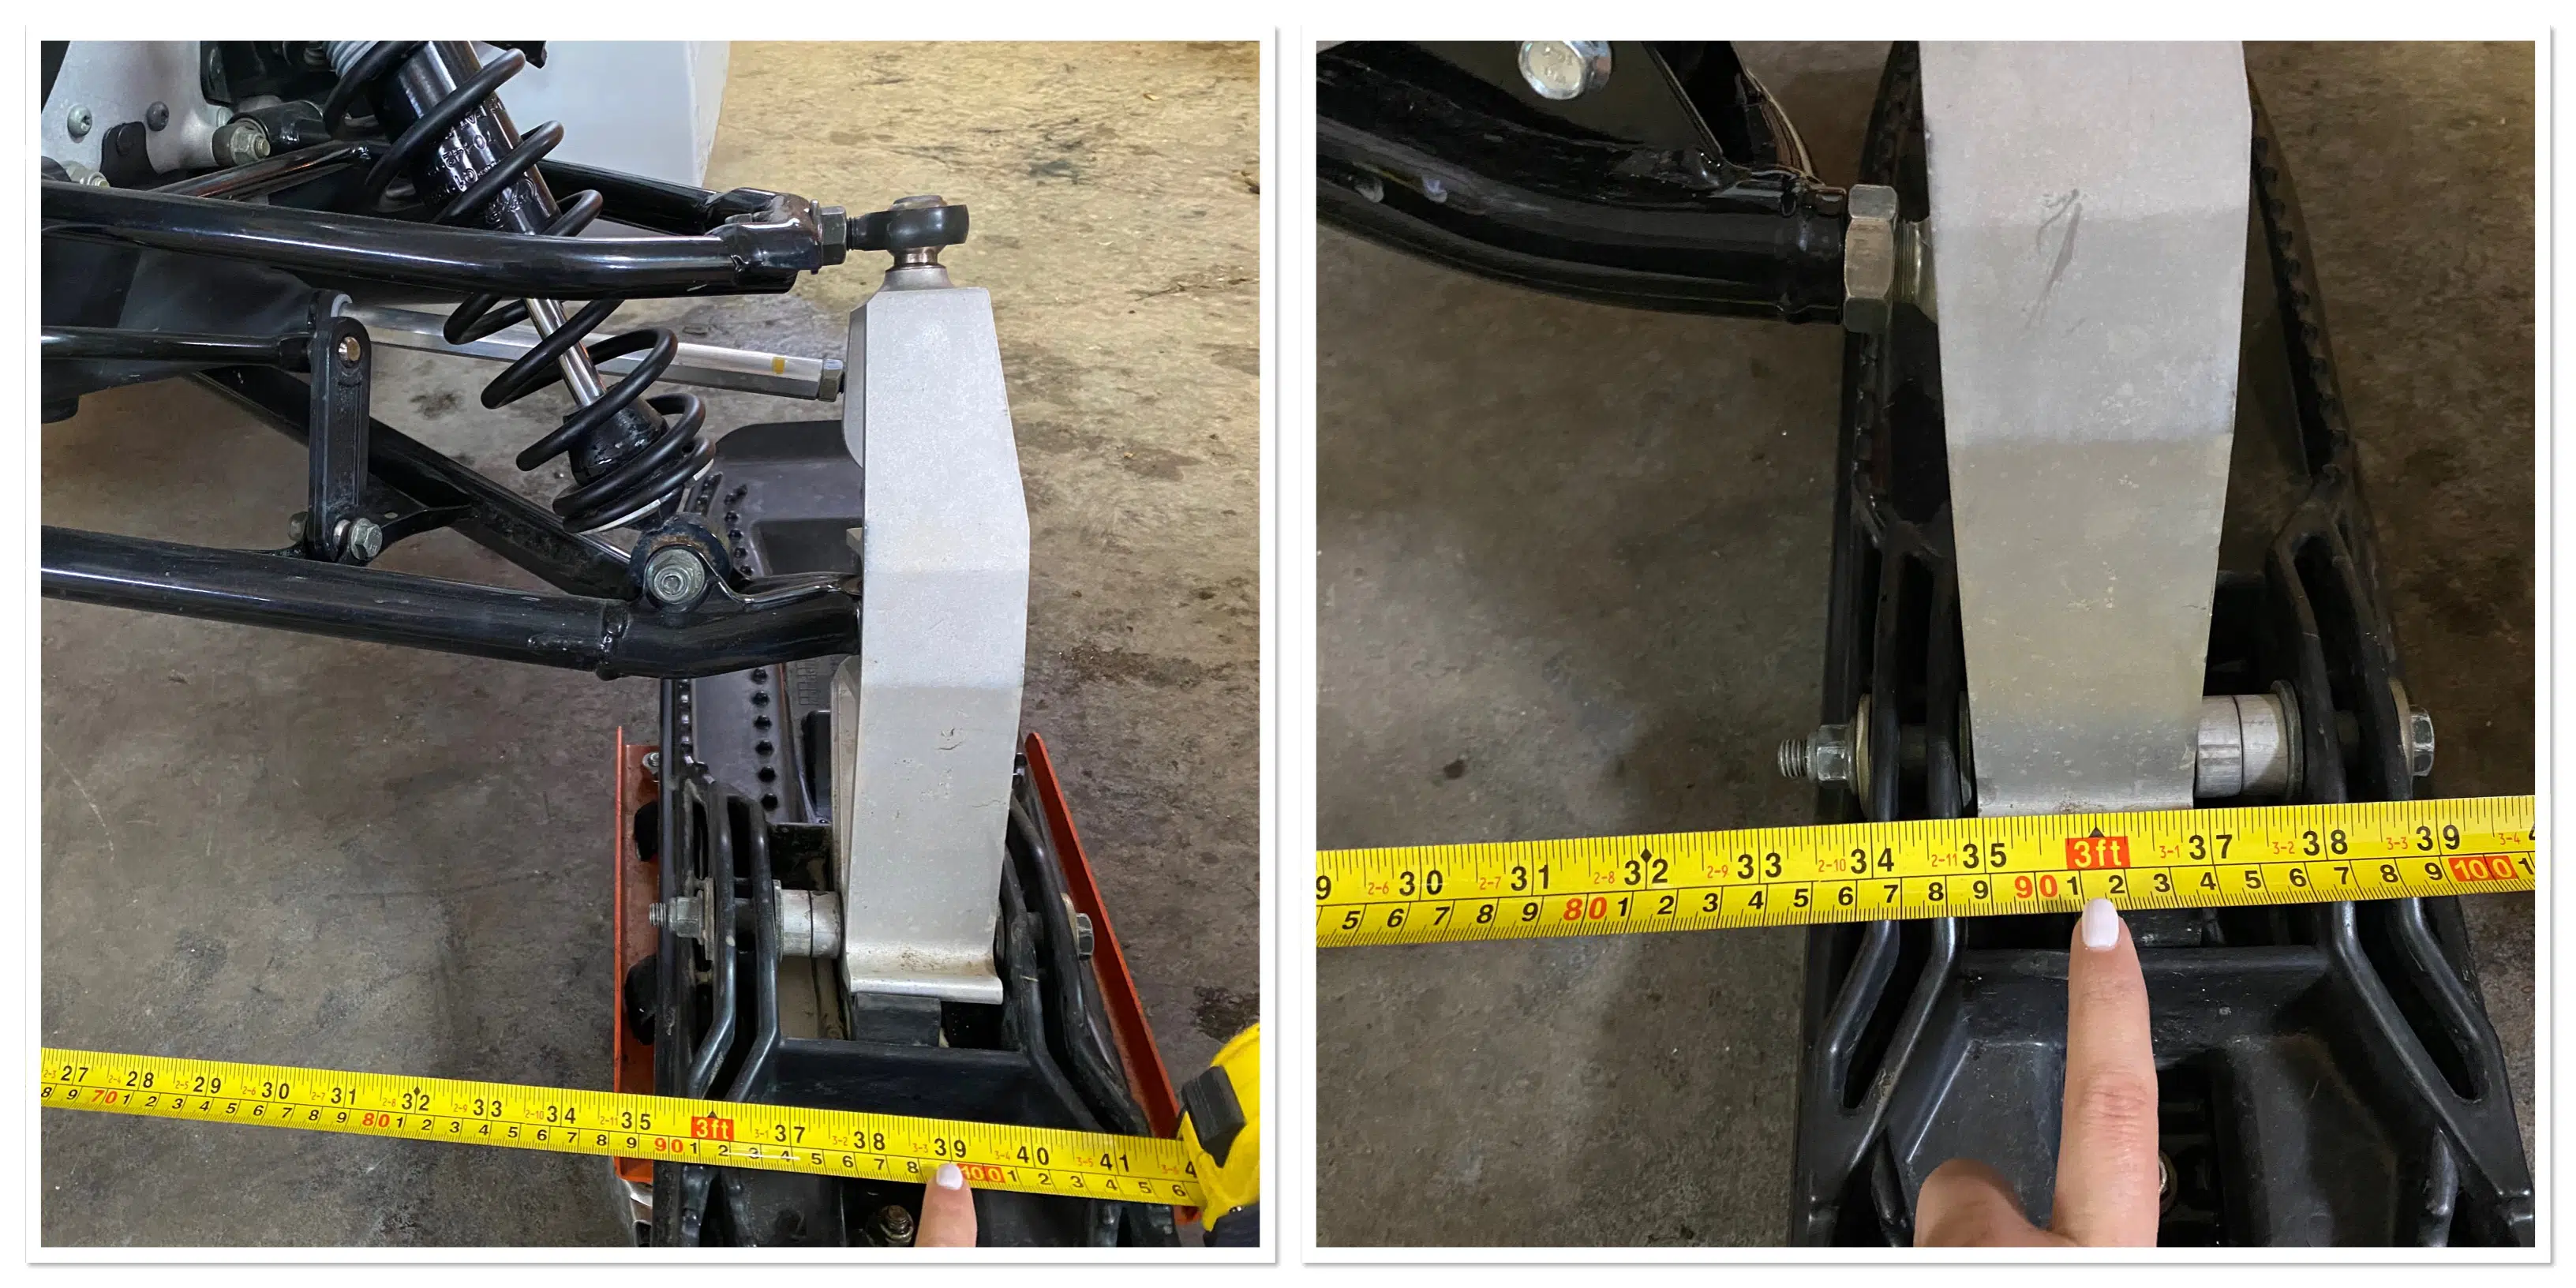
I wanted to change my tables in order to have a smaller distance between my skis. This change will allow me to shorten the distance between my skis by 3 inches.
It will also make my snowmobile more malleable during my off-trail rides. Finally, it gives an additional height effect very interesting for the off-trailers.

Preparing your work environment
First of all, you shouldn’t be afraid to get your hands dirty. When you’re doing mechanics you never come out all clean, hihi. 😉
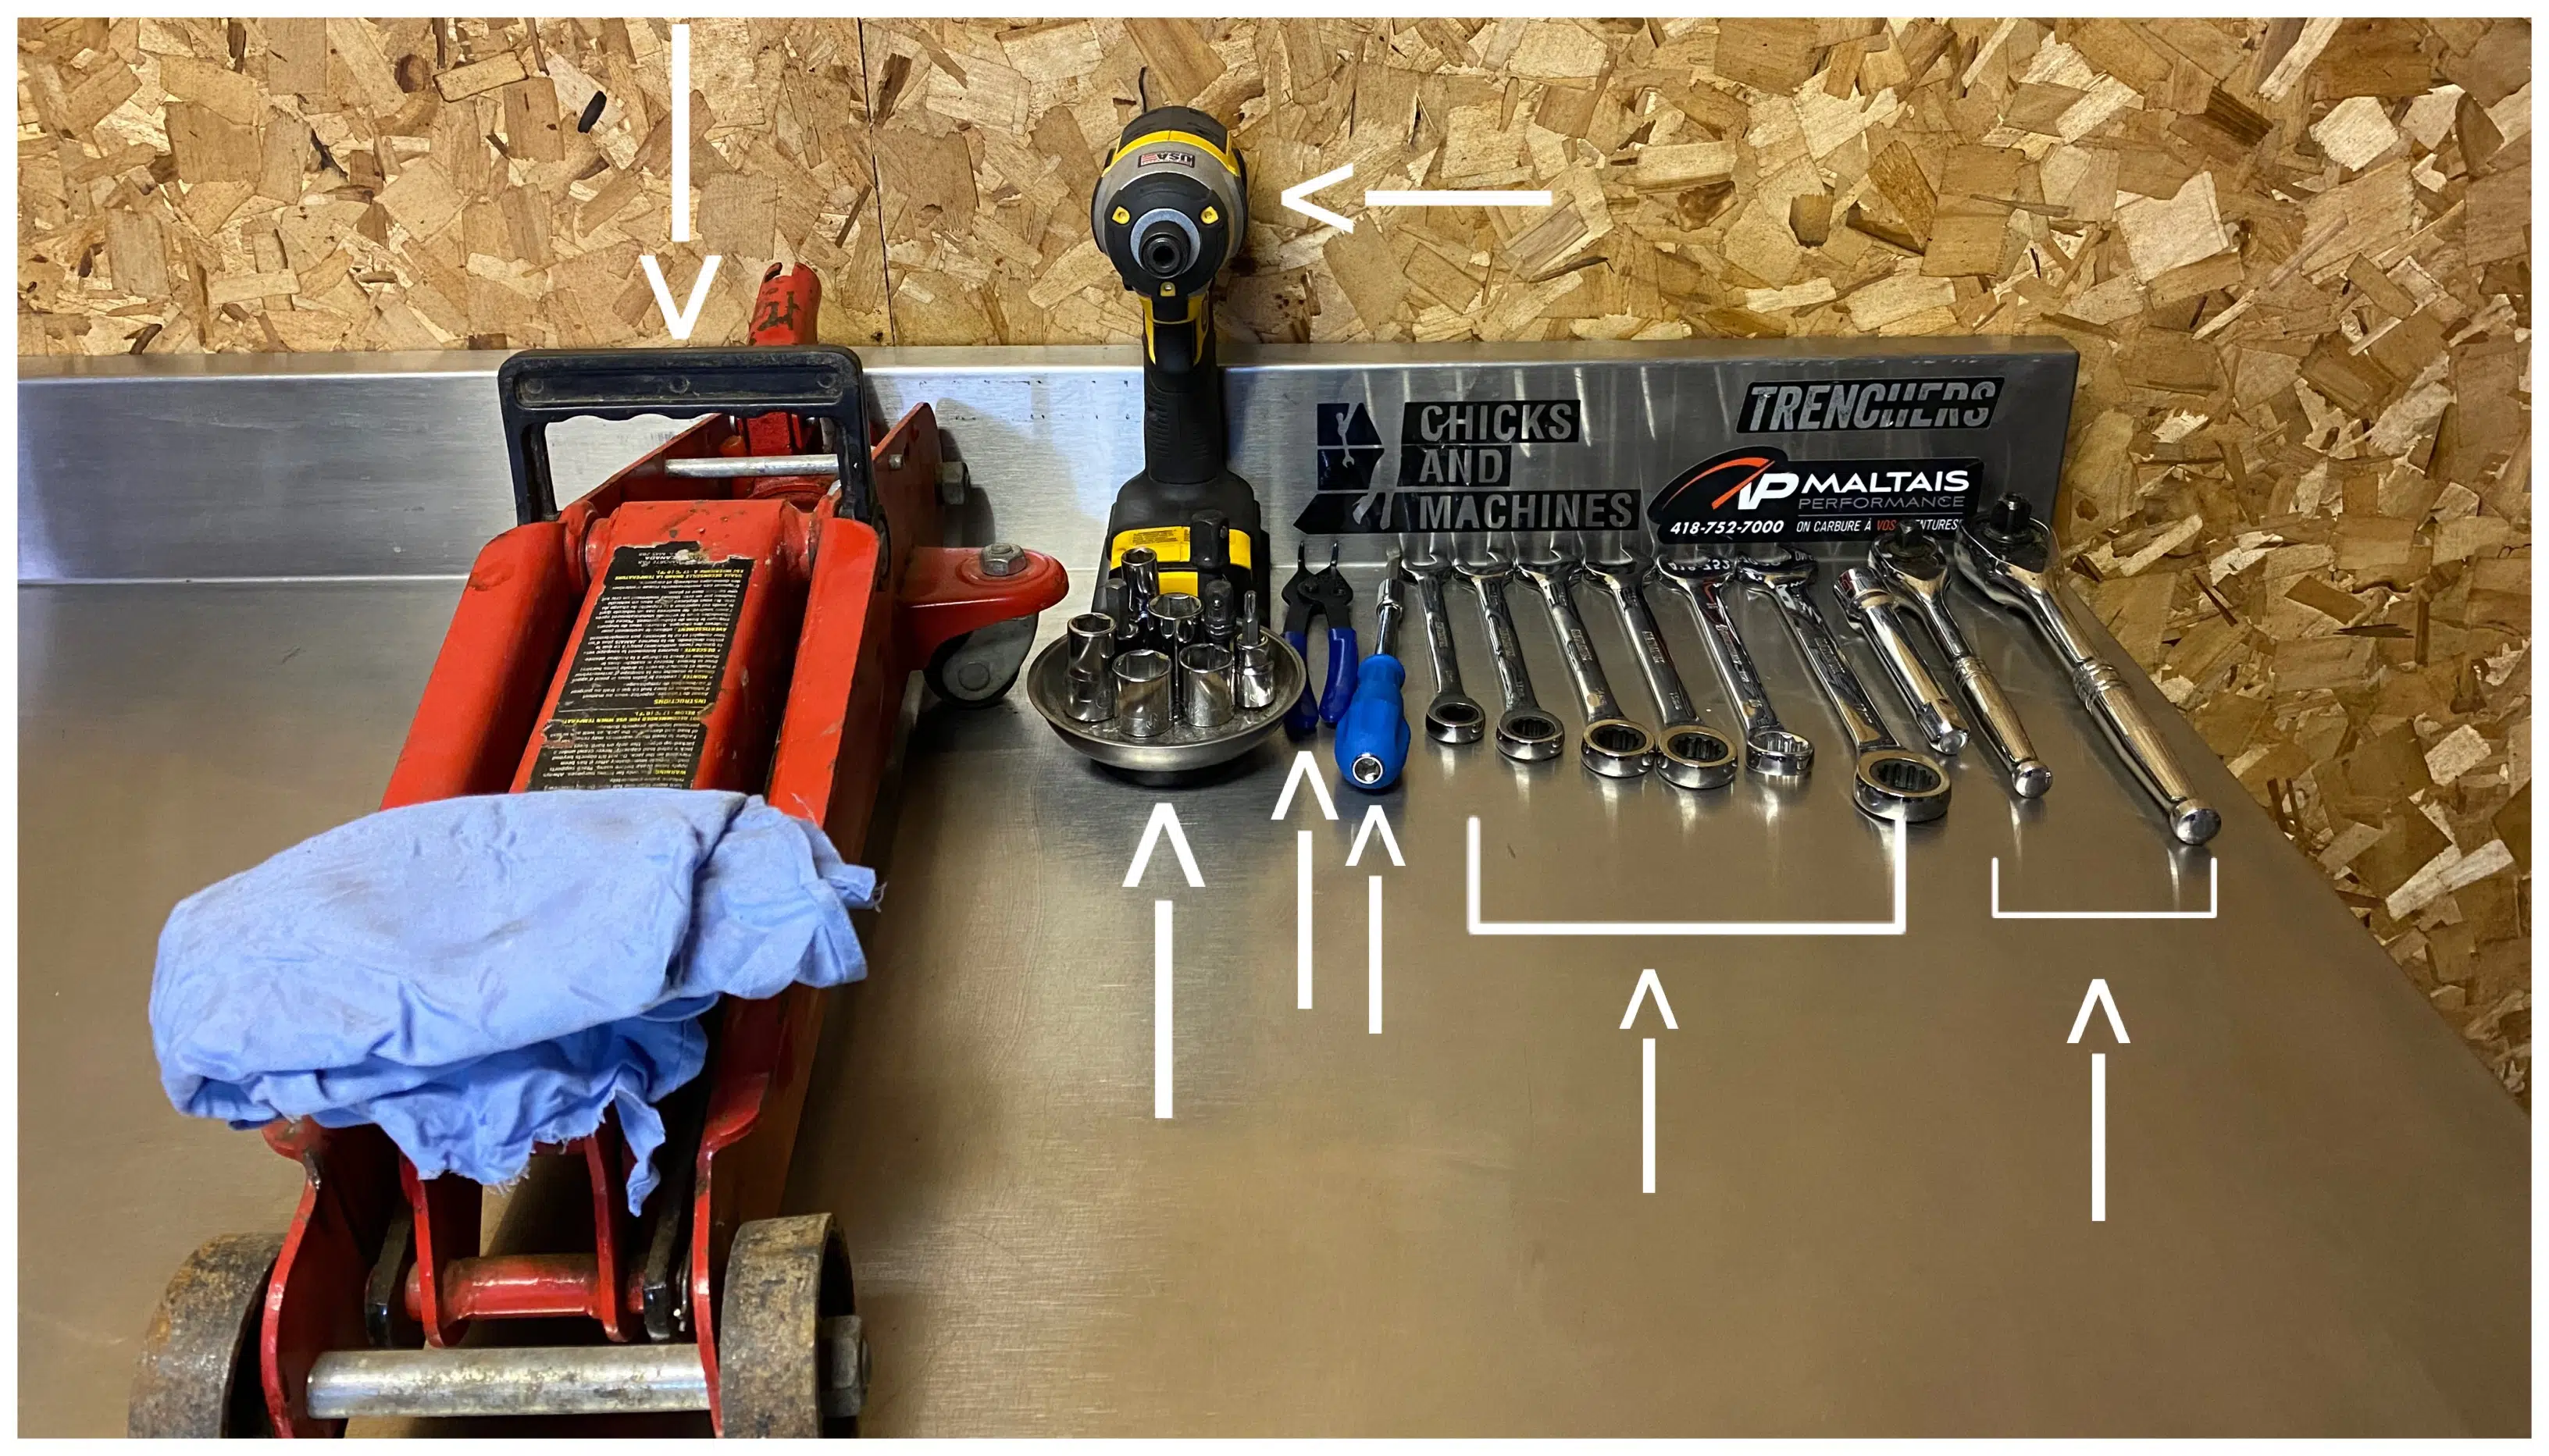
You will need different types of tools. 🔧
- A lifting jack,
- reversible ratchet wrenches of different sizes (12 mm to 17 mm),
- two ratchet wrenches (one small and one large),
- sockets of different sizes,
- a flat screwdriver,
- circlip pliers and
- a percussion drill.
The latter will be very useful and it will be quicker and easier to unscrew or screw the nuts. I strongly recommend that, before you start, you find out all the sizes of tools that you will need, since it is different for each snowmobile manufacturer.
Next, arrange the new tables and its respective pieces on your work surface. Then, examine the tables to determine which ones go on the right and left sides.
Quick tip: to help you differentiate the sides, look at the manufacturer’s logo. This should be facing you and be the right way.
Uninstalling the existing tables
The first step is to unscrew the nuts from the skis using two wrenches.
A little tip: you can use a pry bar and a socket to replace one of the two wrenches.
Then, to facilitate the removal of the skis, you must lift the front of the snowmobile with a jack. It is very important to use the jack on a flat surface. It must be positioned at the front and center of the snowmobile to ensure safety.

We will start removing the tables. You can start with the side of your choice. A quick tip: install one side at a time since if you have a question you can validate with the other side.
The second step is to unscrew the bolt from the driving bar that is attached to the spindle.
Then, for the third step, you have to unscrew the bolts of the upper and lower tables that are attached to the spindle, in order to remove it.
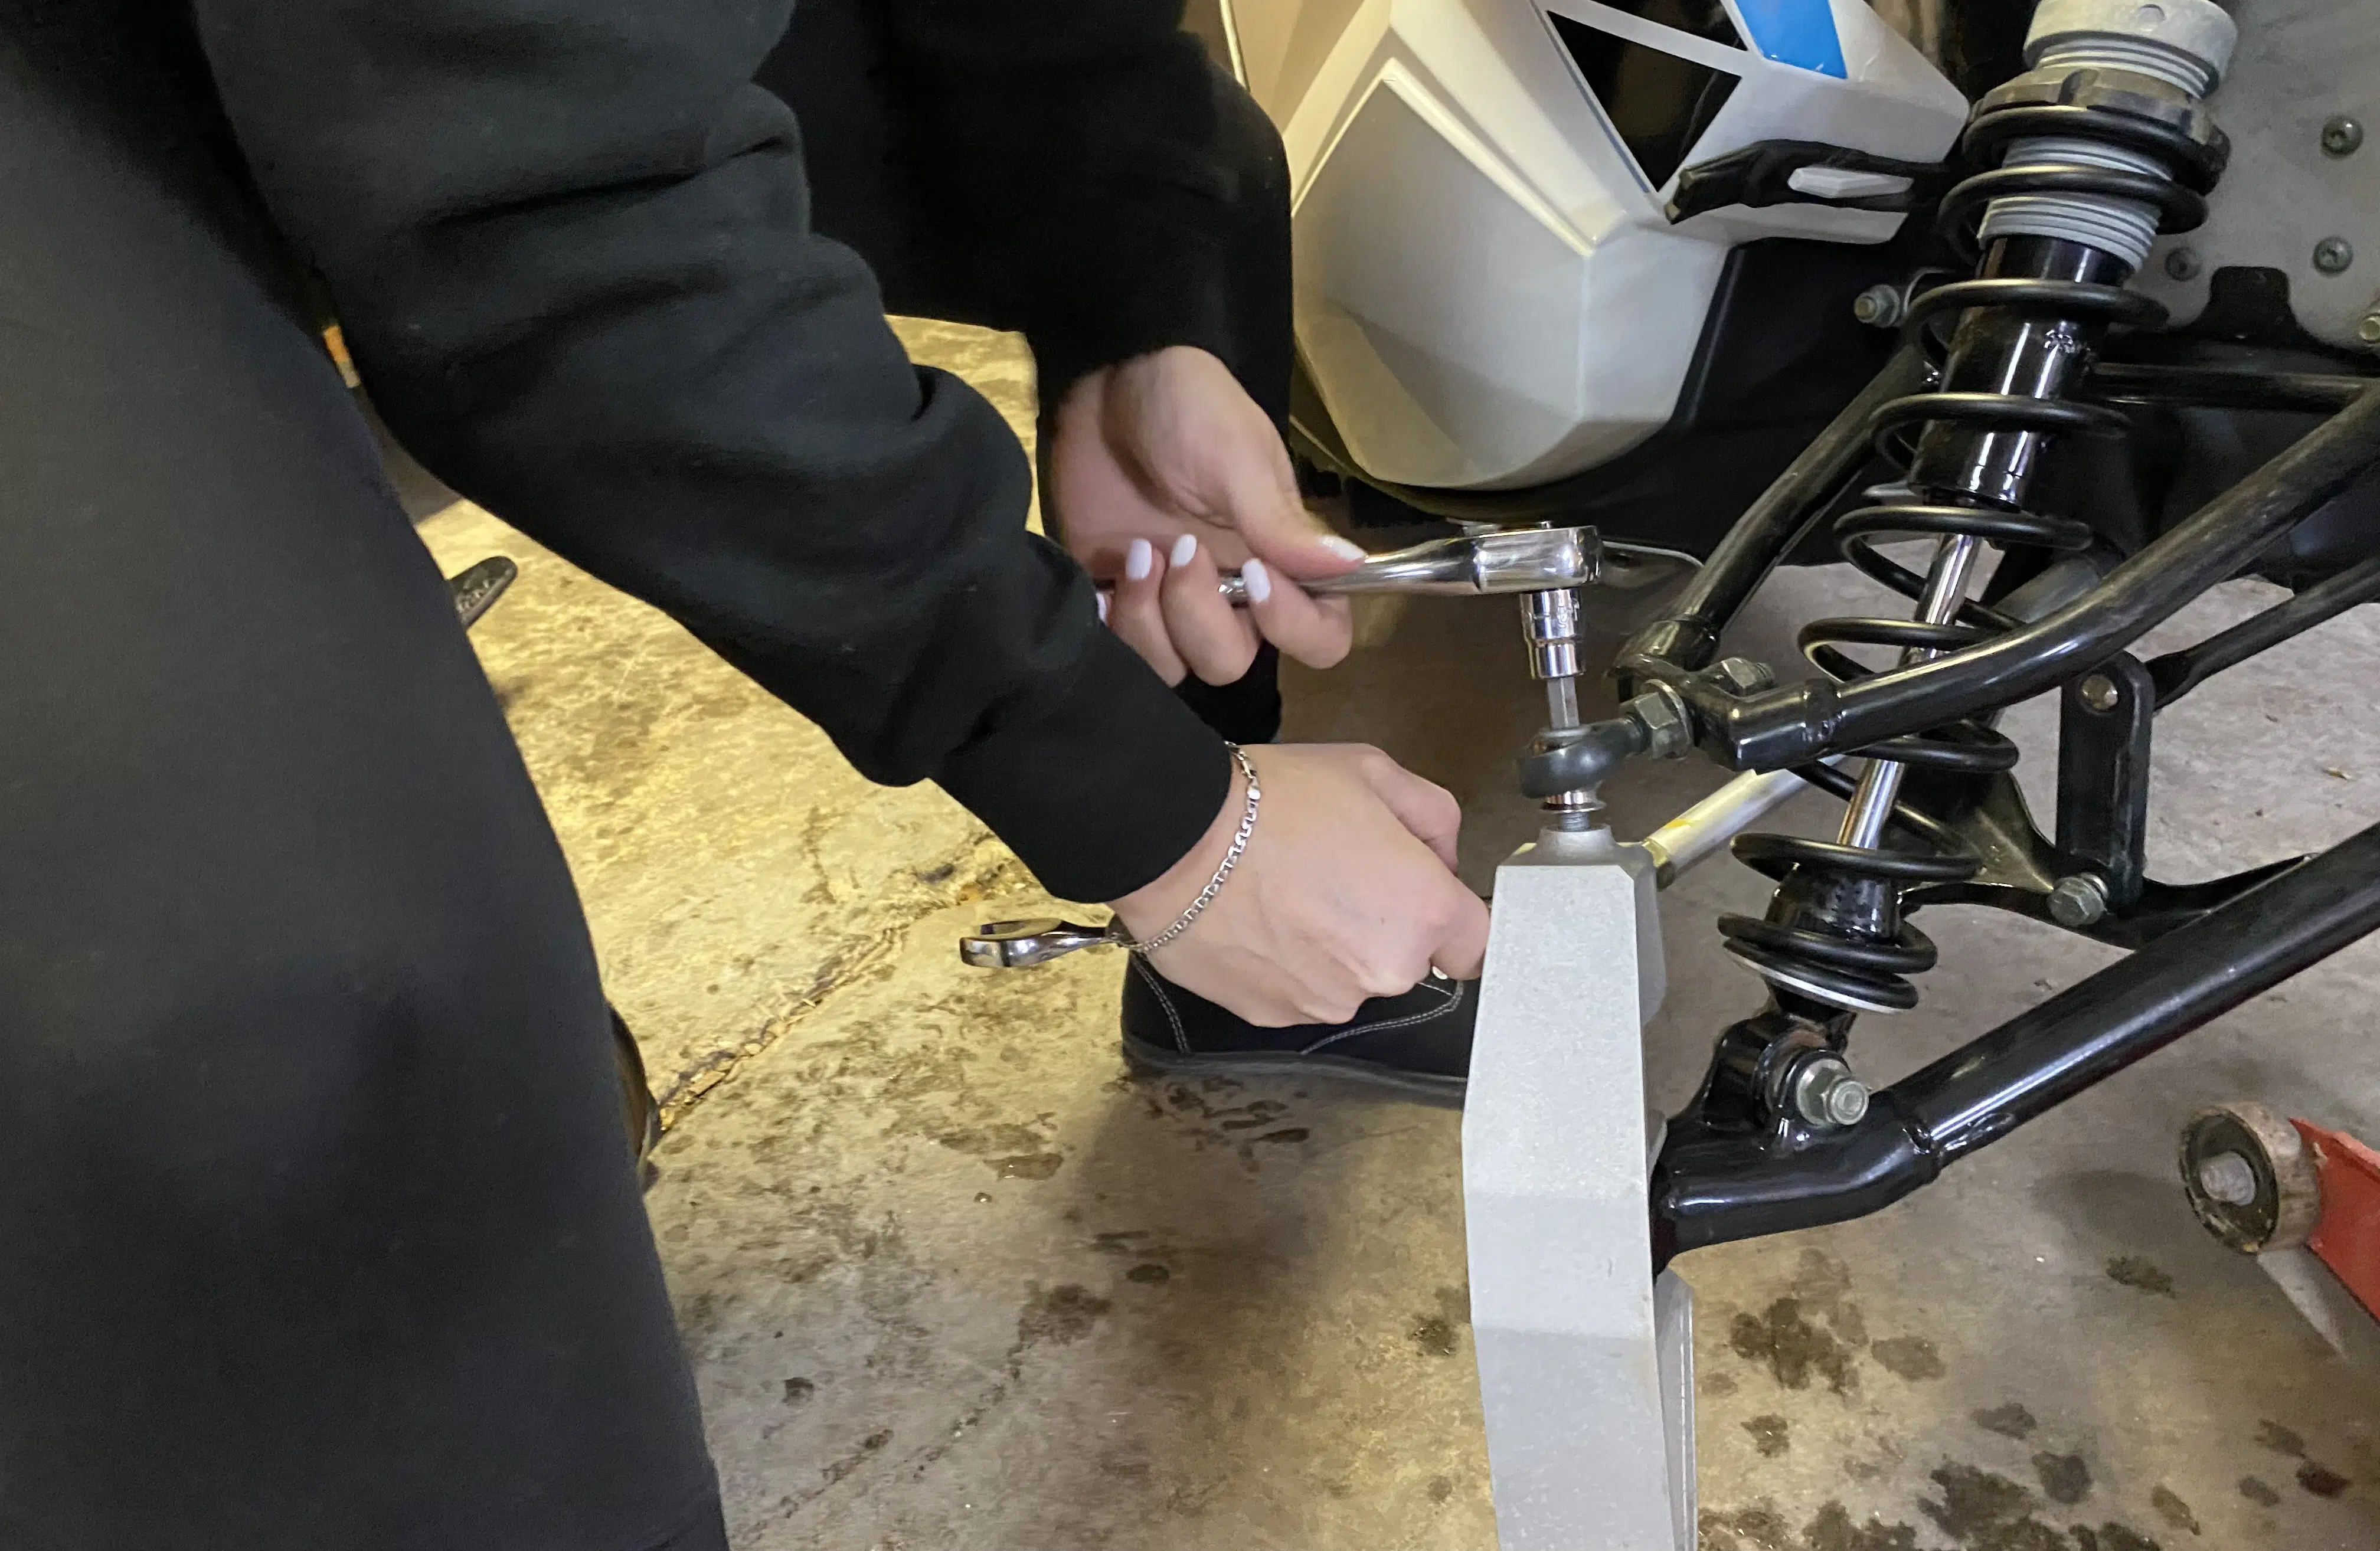
The fourth step is to unscrew the bolt that connects the lower table to the stabilizer bar.
A little tip: always screw the nut to the bolt, so as not to lose anything.
For the fifth step, unscrew the bolt that connects the suspension to the lower table.


To finish uninstalling the tables, unscrew the four nuts that hold the upper table to the snowmobile frame. Repeat this last step for the lower table, which is also attached to the snowmobile frame.
Once everything is uninstalled, all you have left is the steering bar, the suspension and the stabilizer bar.

Assembling the original parts to the new tables
First of all, the distance of the joint bars is already pre-adjusted on the tables. All you have to do is screw the nut on.
Next, the sleeves must be removed from the old upper and lower tables and inserted into the new tables.
To transfer the sleeves, you need to use the circlip. Please remove the circlip, the washer and finally the sleeve. Be very careful to check the direction of the sleeve removal since it must be inserted in the same direction in the new tables.
Then, the washer and the circlip must be reinserted.
For some models, the joint bars come pre-assembled with the tables like mine, while for other models, they are not assembled, therefore not adjusted. To adjust, simply tighten the nut to the end of the joint bar and screw the joint bar to the end of the table. Then, unscrew the bar-joint four full turns and tighten the nut against the table.
Installing the new tables
Now we will proceed with the installation of the new tables on the snowmobile. When installing, please use the new bolts that came with your tables.
The first step is to screw the lower table to the frame of the snowmobile. A little tip, make sure you don’t over tighten your nuts for a better final fit.
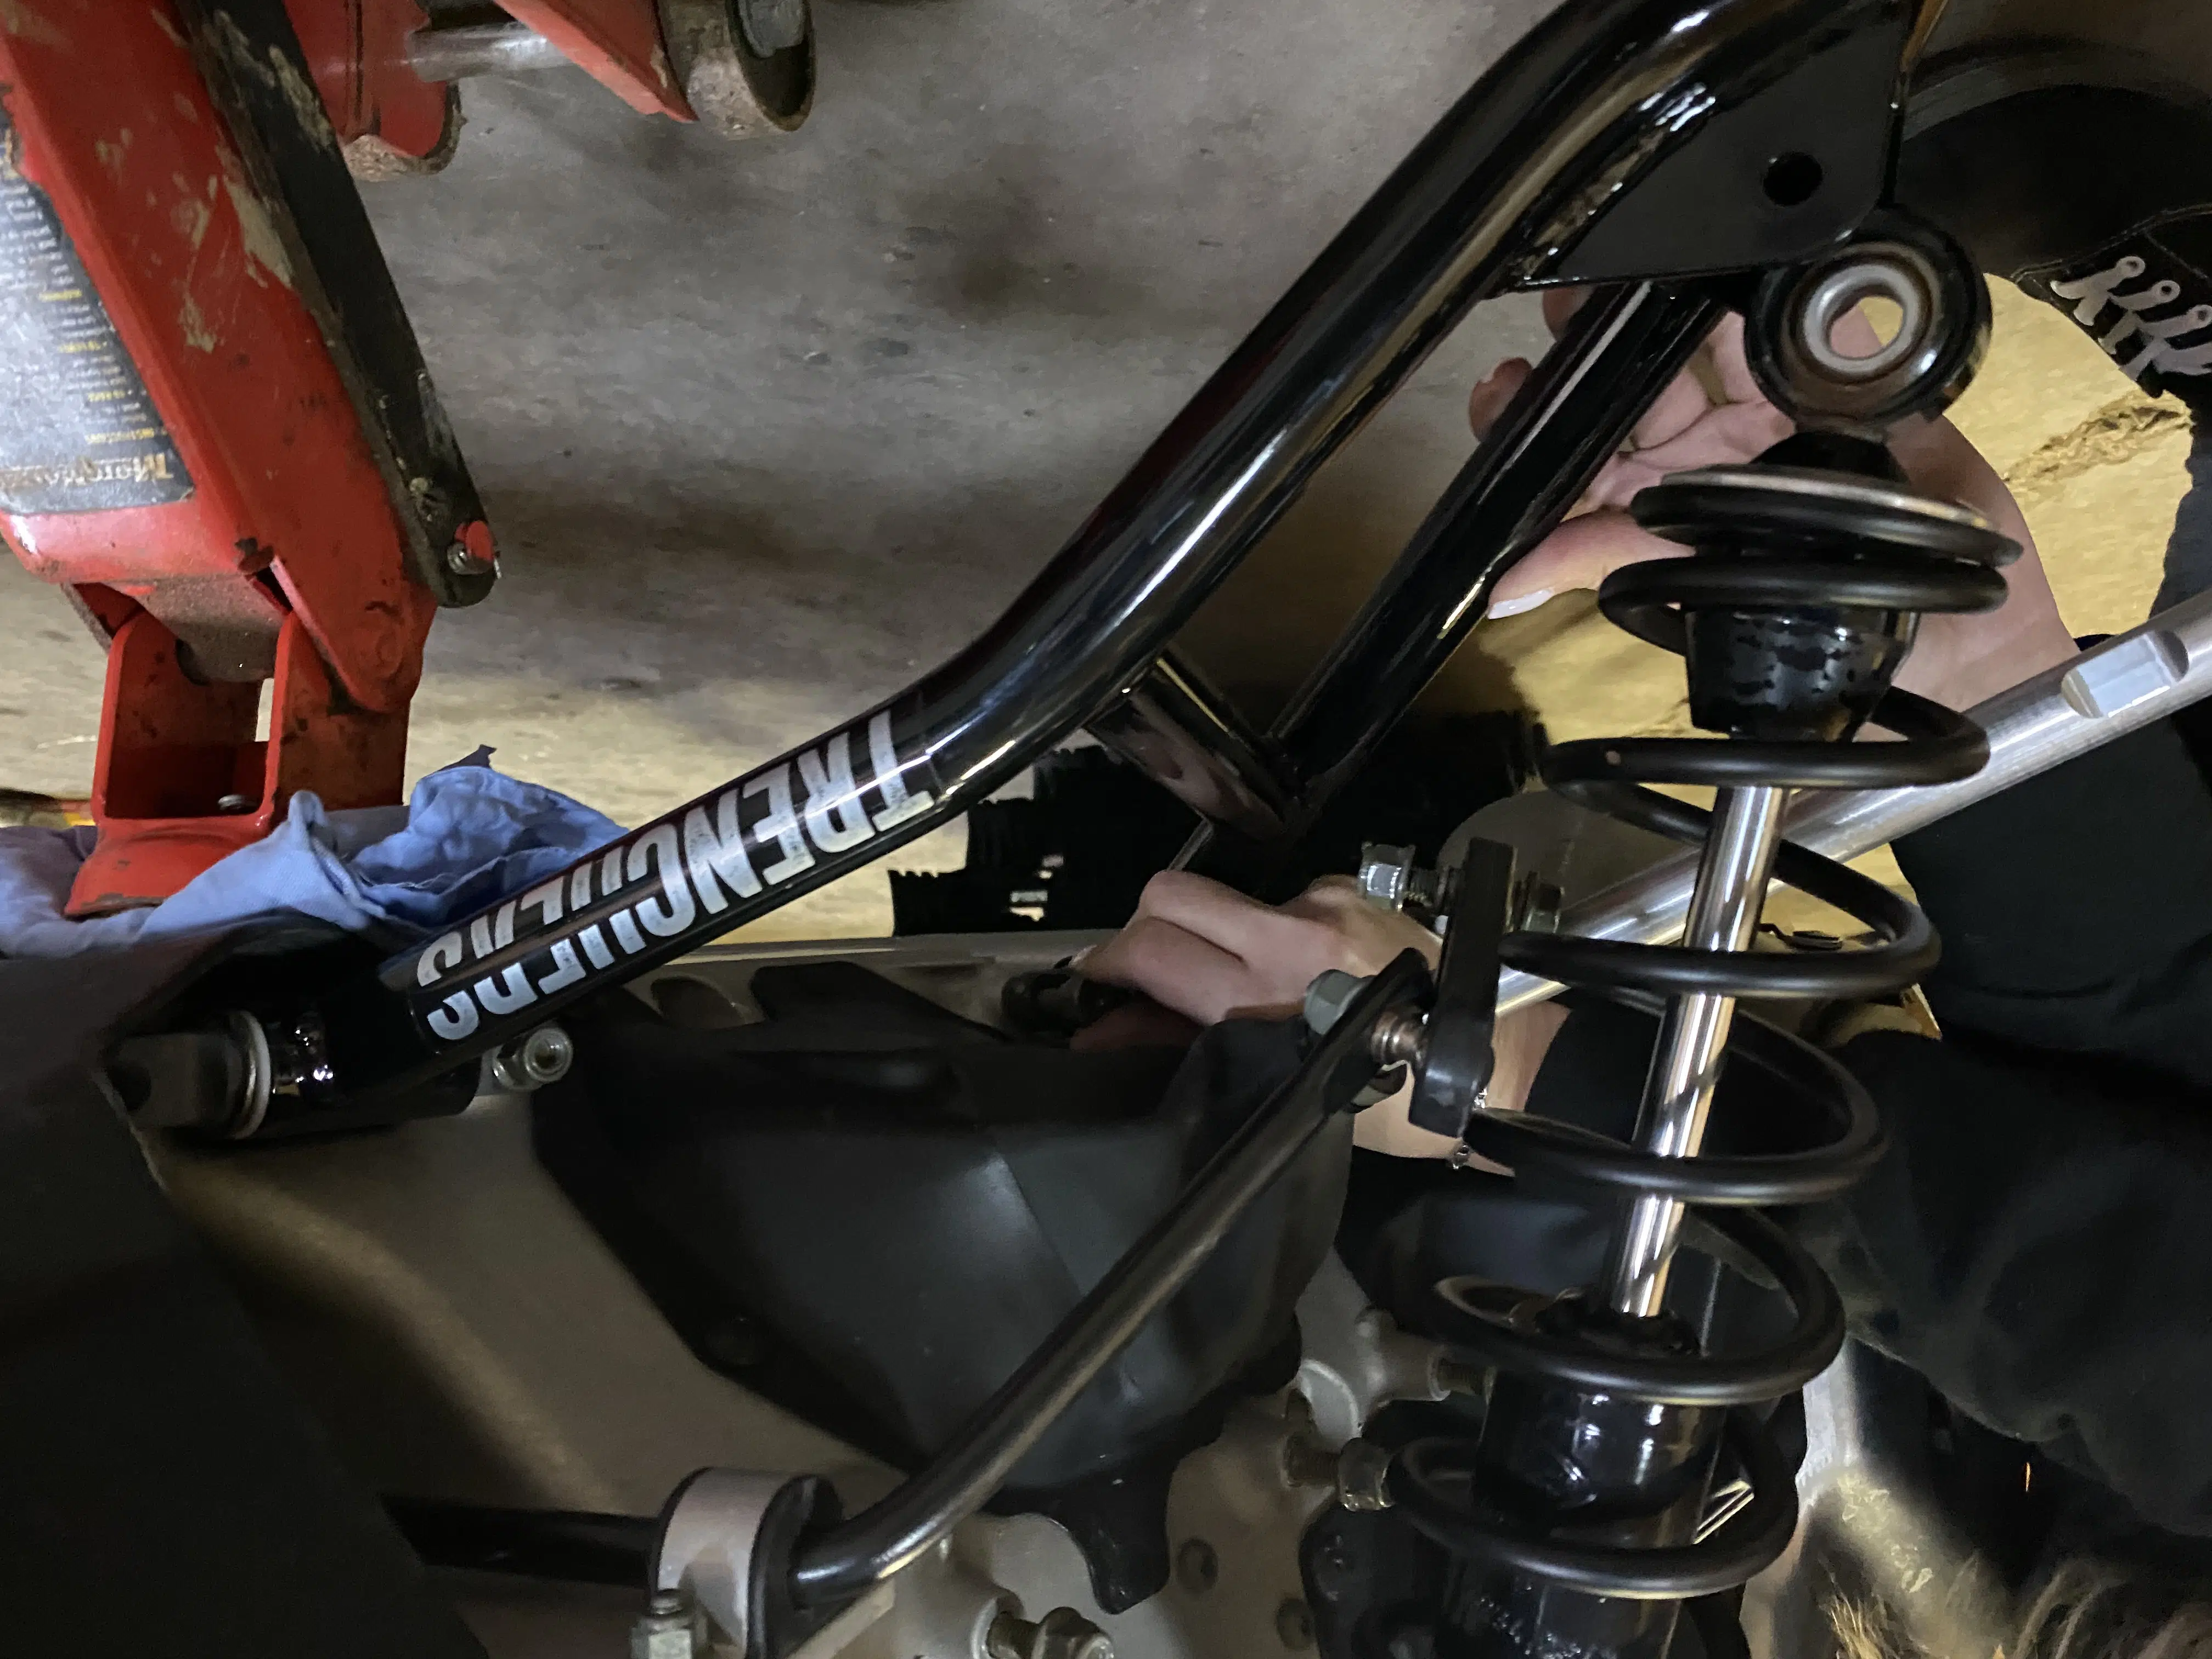
For the second step, repeat the first step to install the top table to the snowmobile frame.
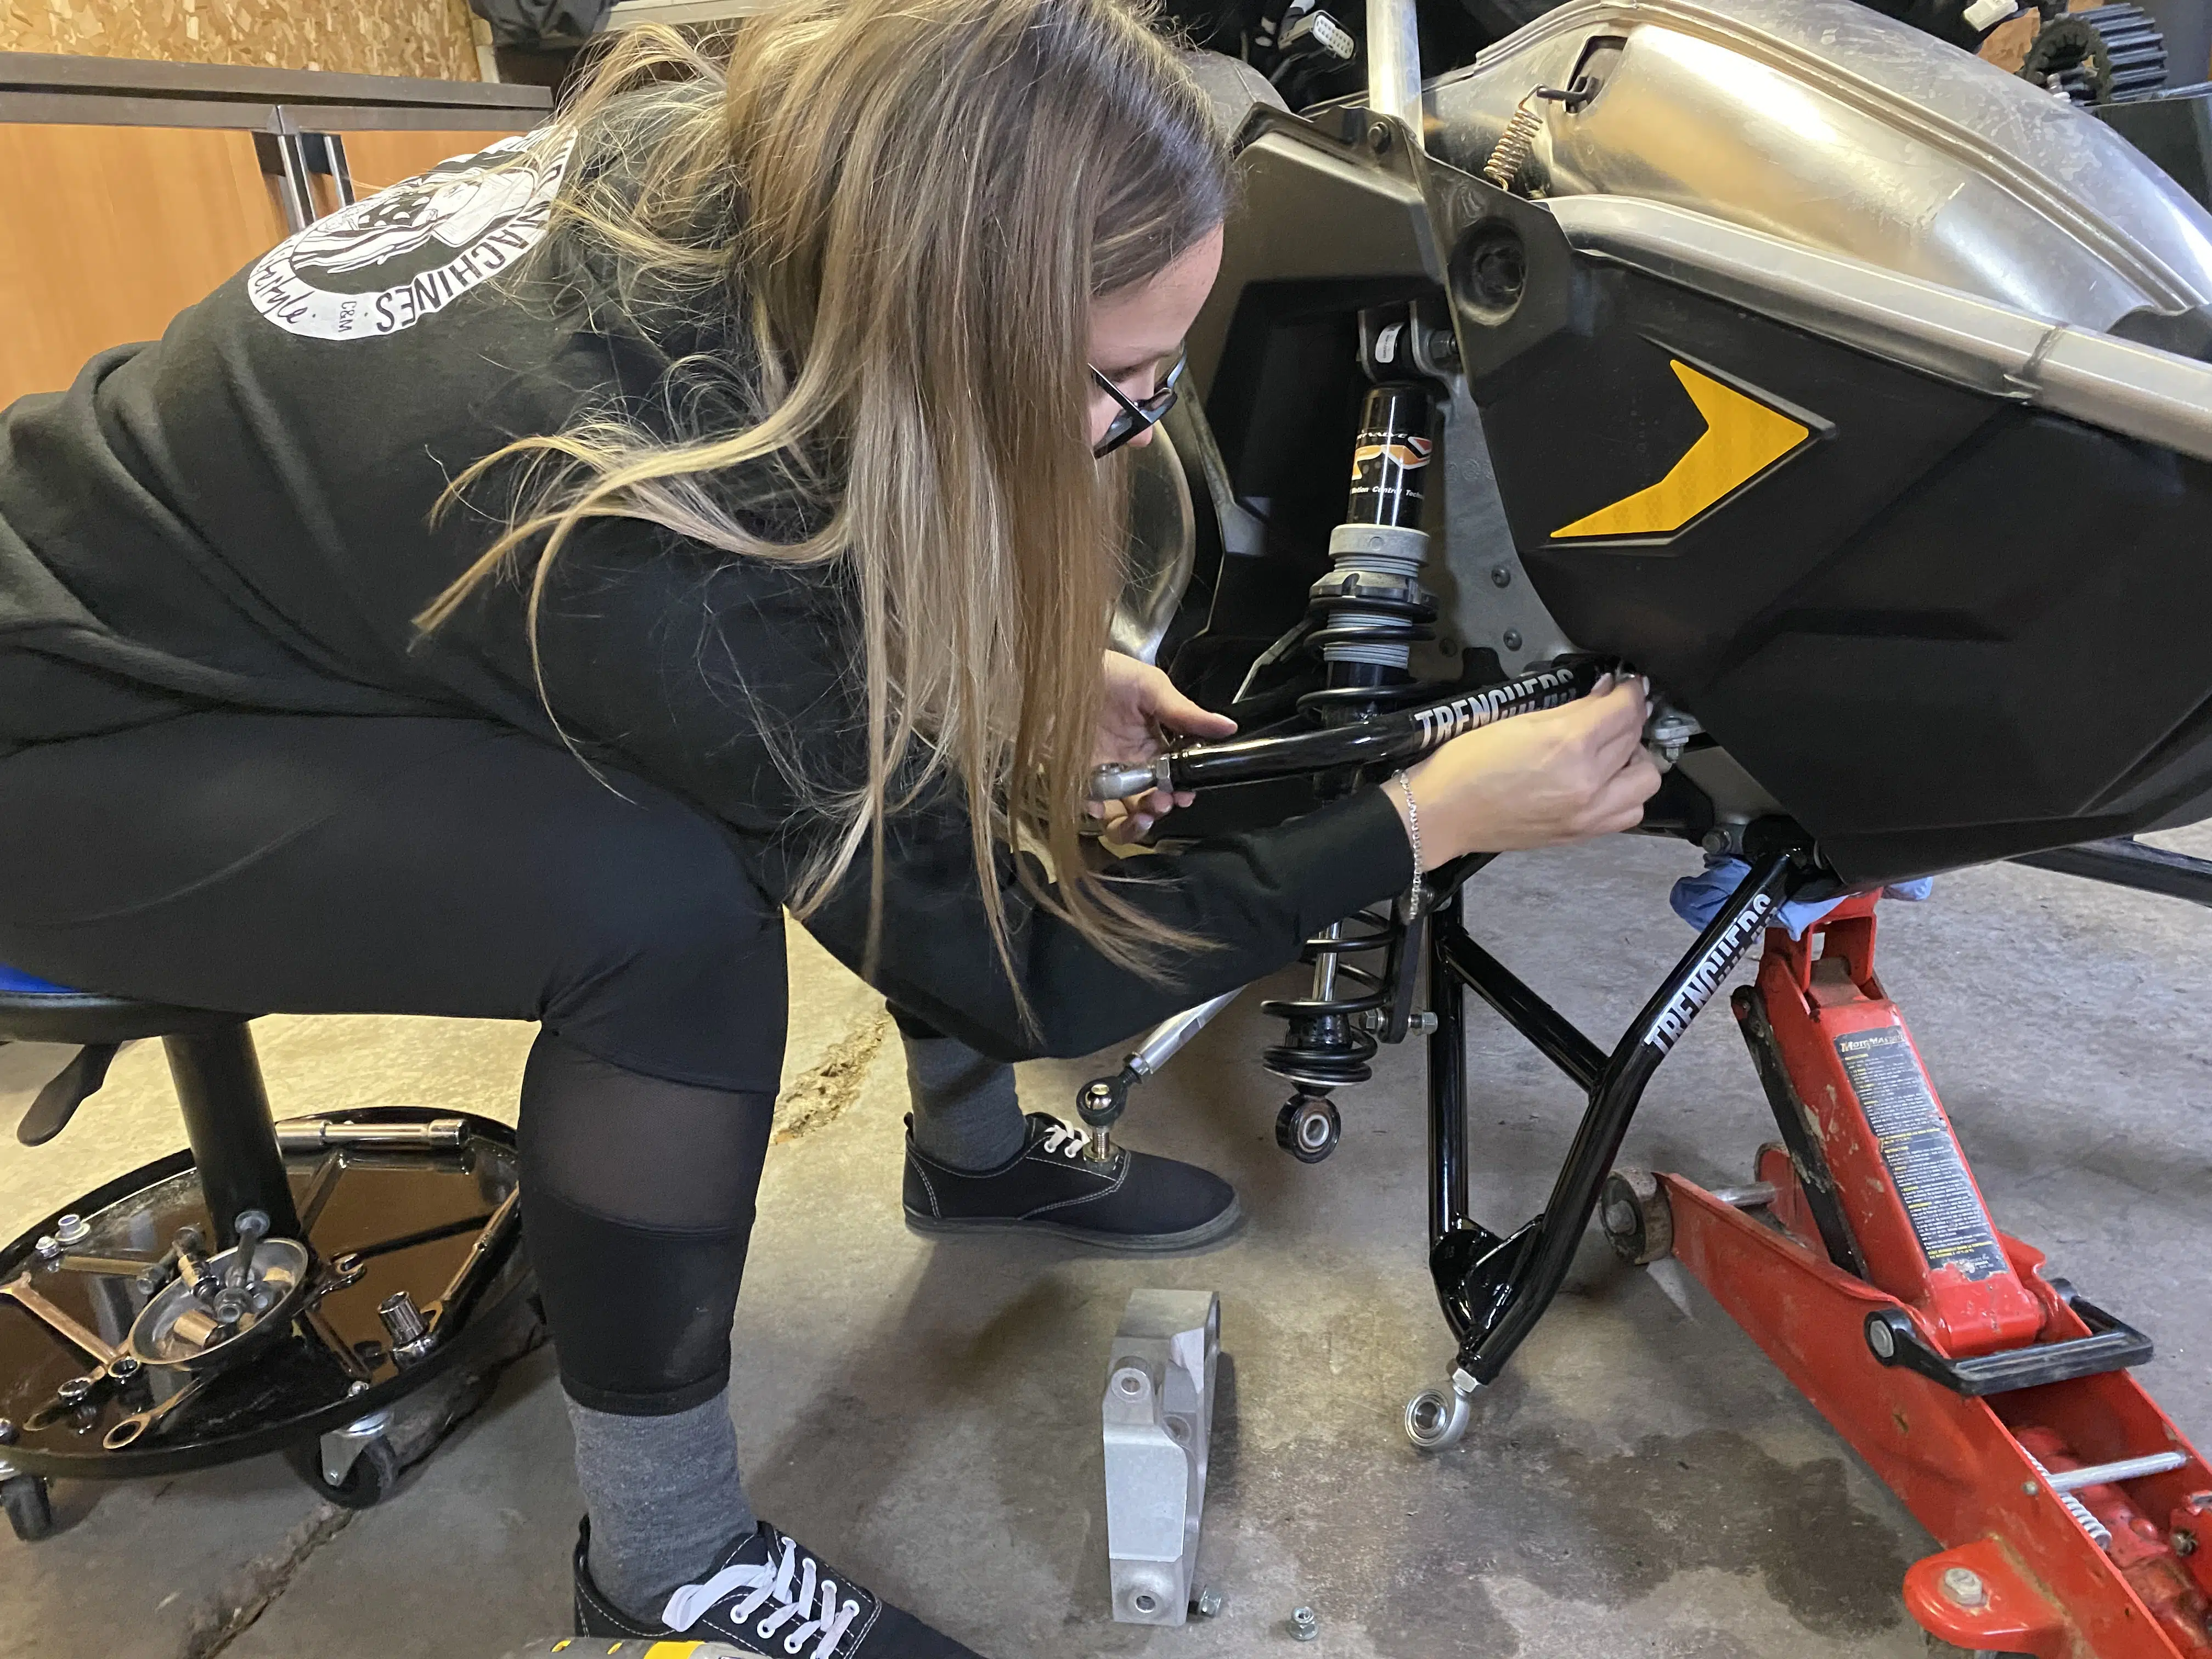
Then, for the third step, you have to fix the suspension to the lower table. To do this, you must install the two aluminum rings on each side of the suspension and then insert it into the lower table with the bolt provided.
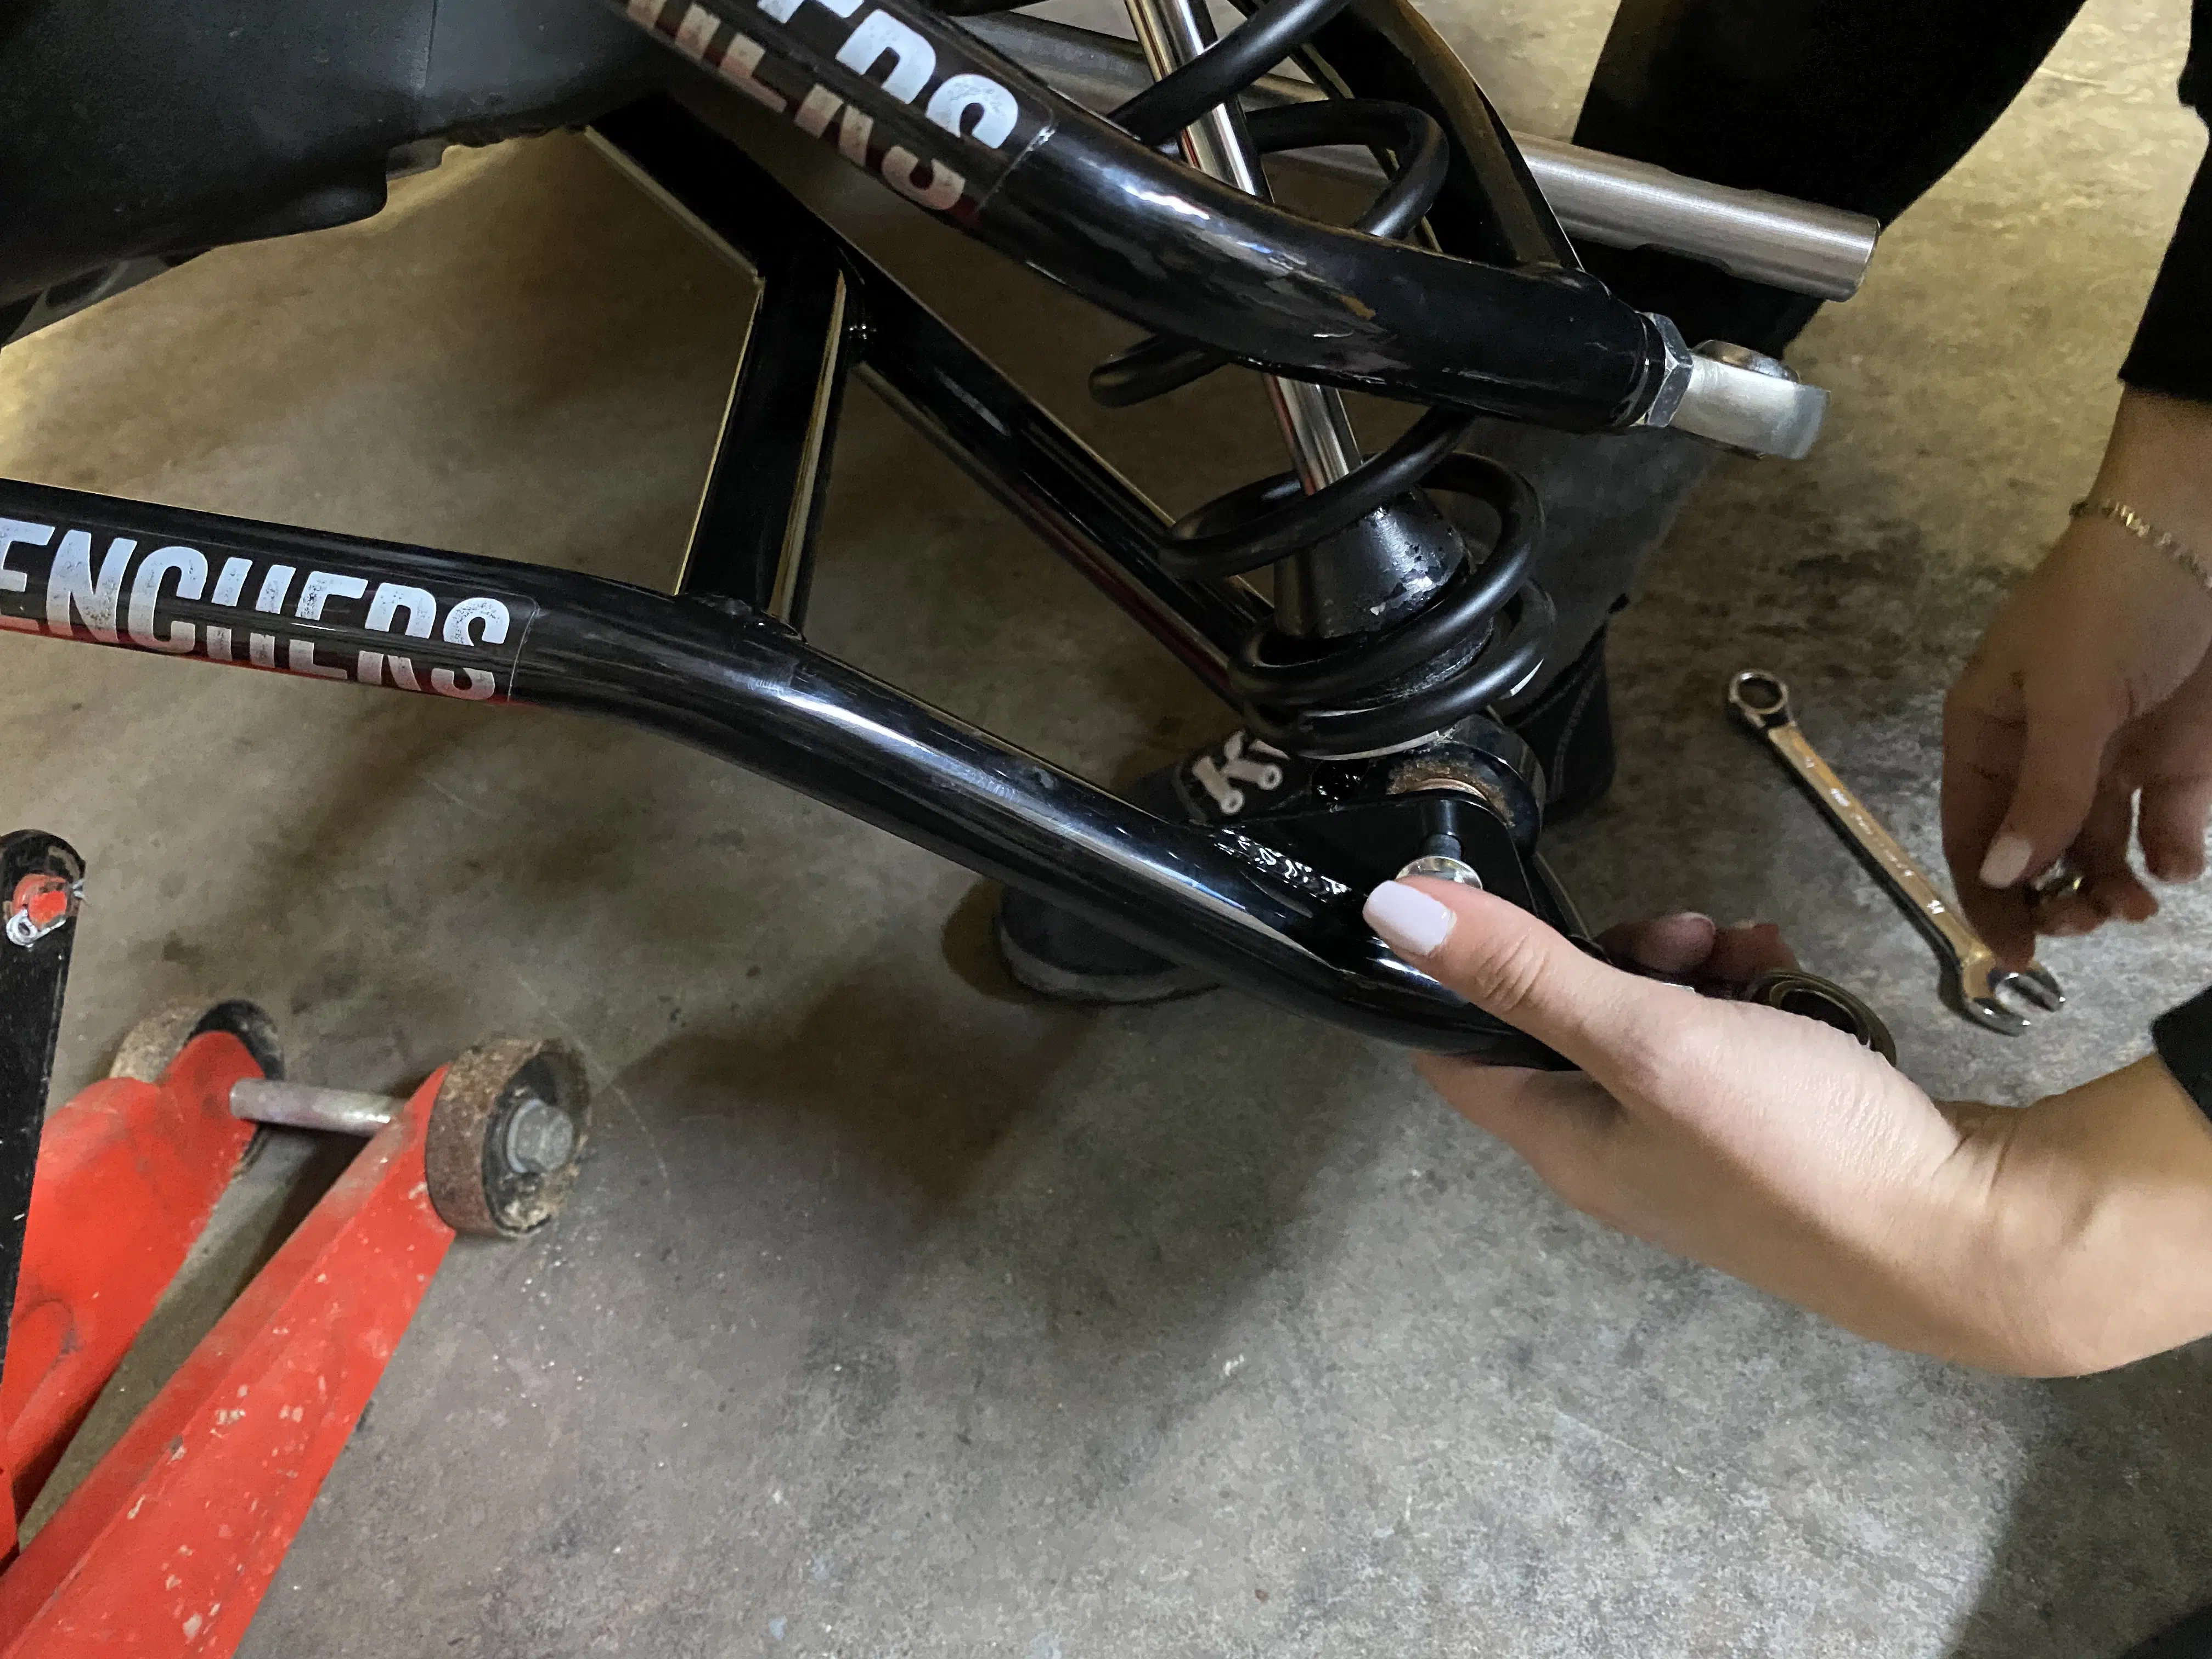
The fourth step is to connect the stabilizer bar to the lower table using the bolt provided. Please pay special attention to this step. You need to install the stabilizer bar outside the crossbar on the table.
For the fifth step, you need to put the two aluminum rings into the joint bar of the lower table, one at the top and one at the bottom. Then, you have to fix the joint bar to the spindle.
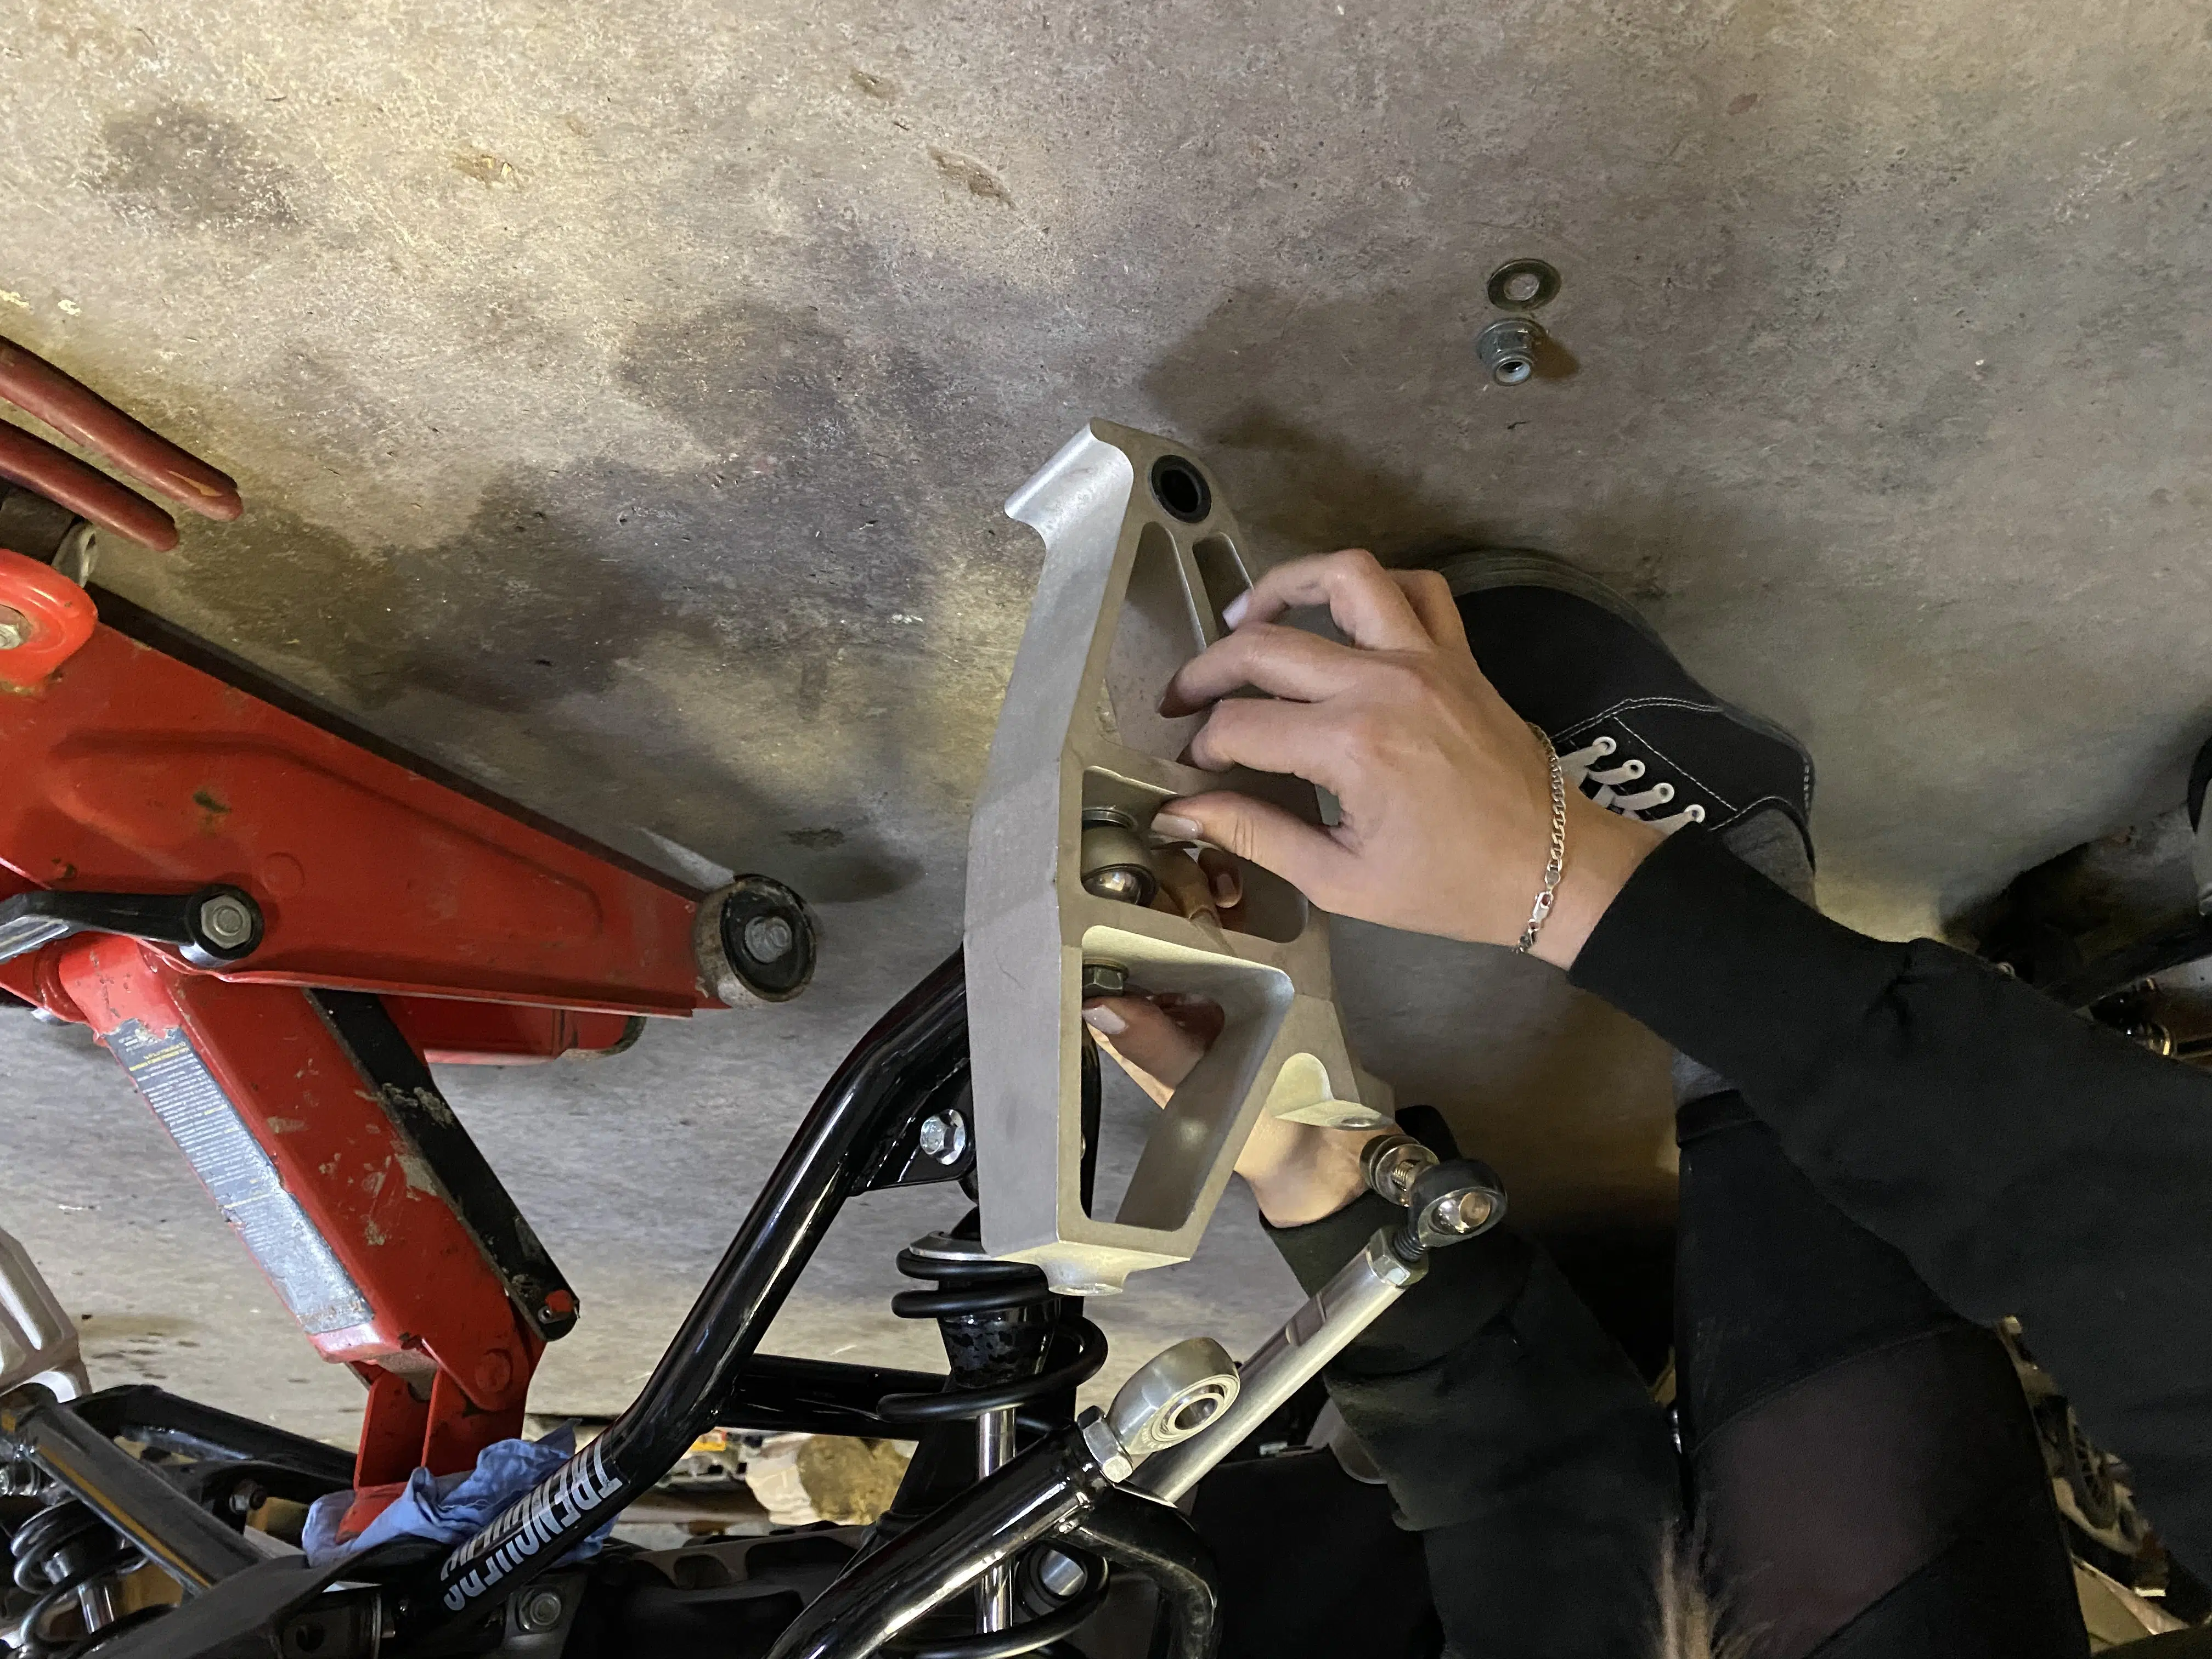
Then, for the sixth step, the upper table must be attached to the spindle. Unlike the lower table, the bolt is already pre-assembled with its aluminum ring. All you have to do is insert it into the upper table and then attach it to the spindle.

The seventh step is to attach the steering bar to the spindle. Then, using the percussion drill and wrenches for certain parts, you must tighten the nuts on all the parts.
Small advice, after a day of snowmobiling, check to make sure all the nuts of each part are well screwed.
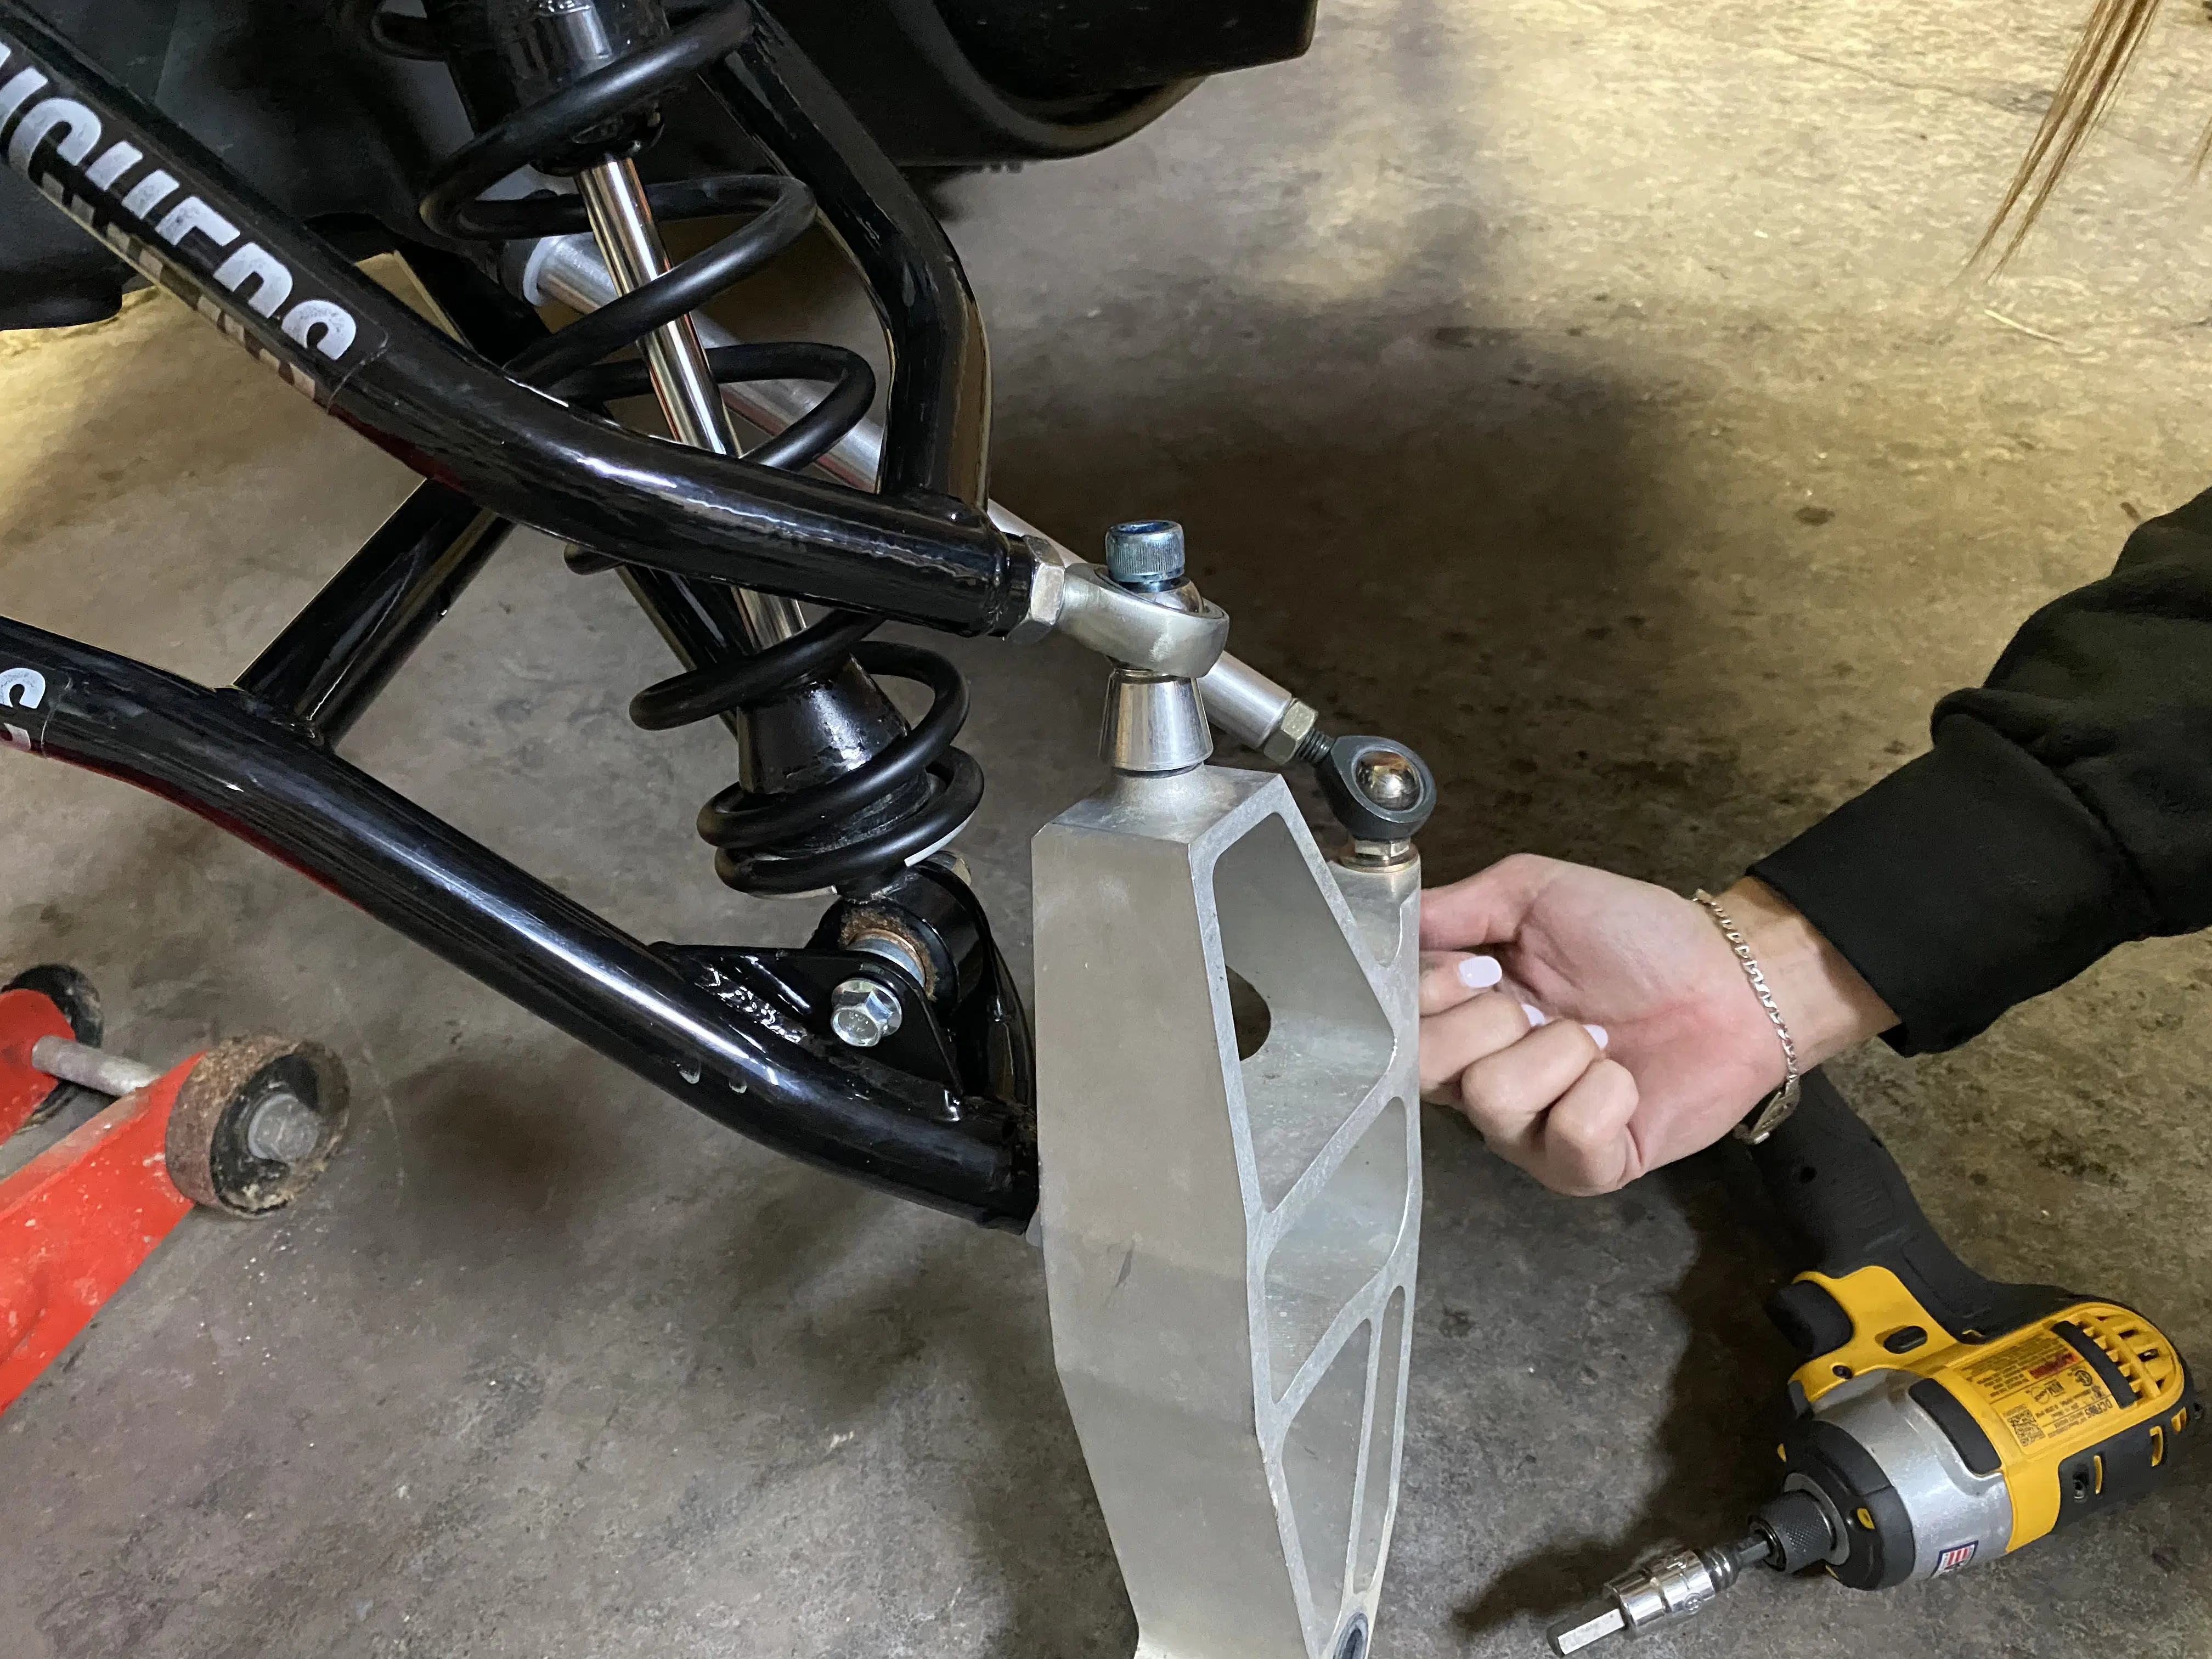

The last step in the installation of the tables is to reinstall the skis.
To do this, you first need to insert the longest aluminum ring into the spindle. Then, insert the two smaller aluminum rings according to the desired distance between the skis. Then, place the ski and insert the bolt, making sure to have a washer on each outer side of the ski. Make sure to tighten the last two nuts on the skis.
Now you just have to repeat all the steps of uninstallation, assembly and installation for the tables on the other side of the snowmobile. I’ll leave you with the final result which is very nice to the eye. My snowmobile now has a great look.
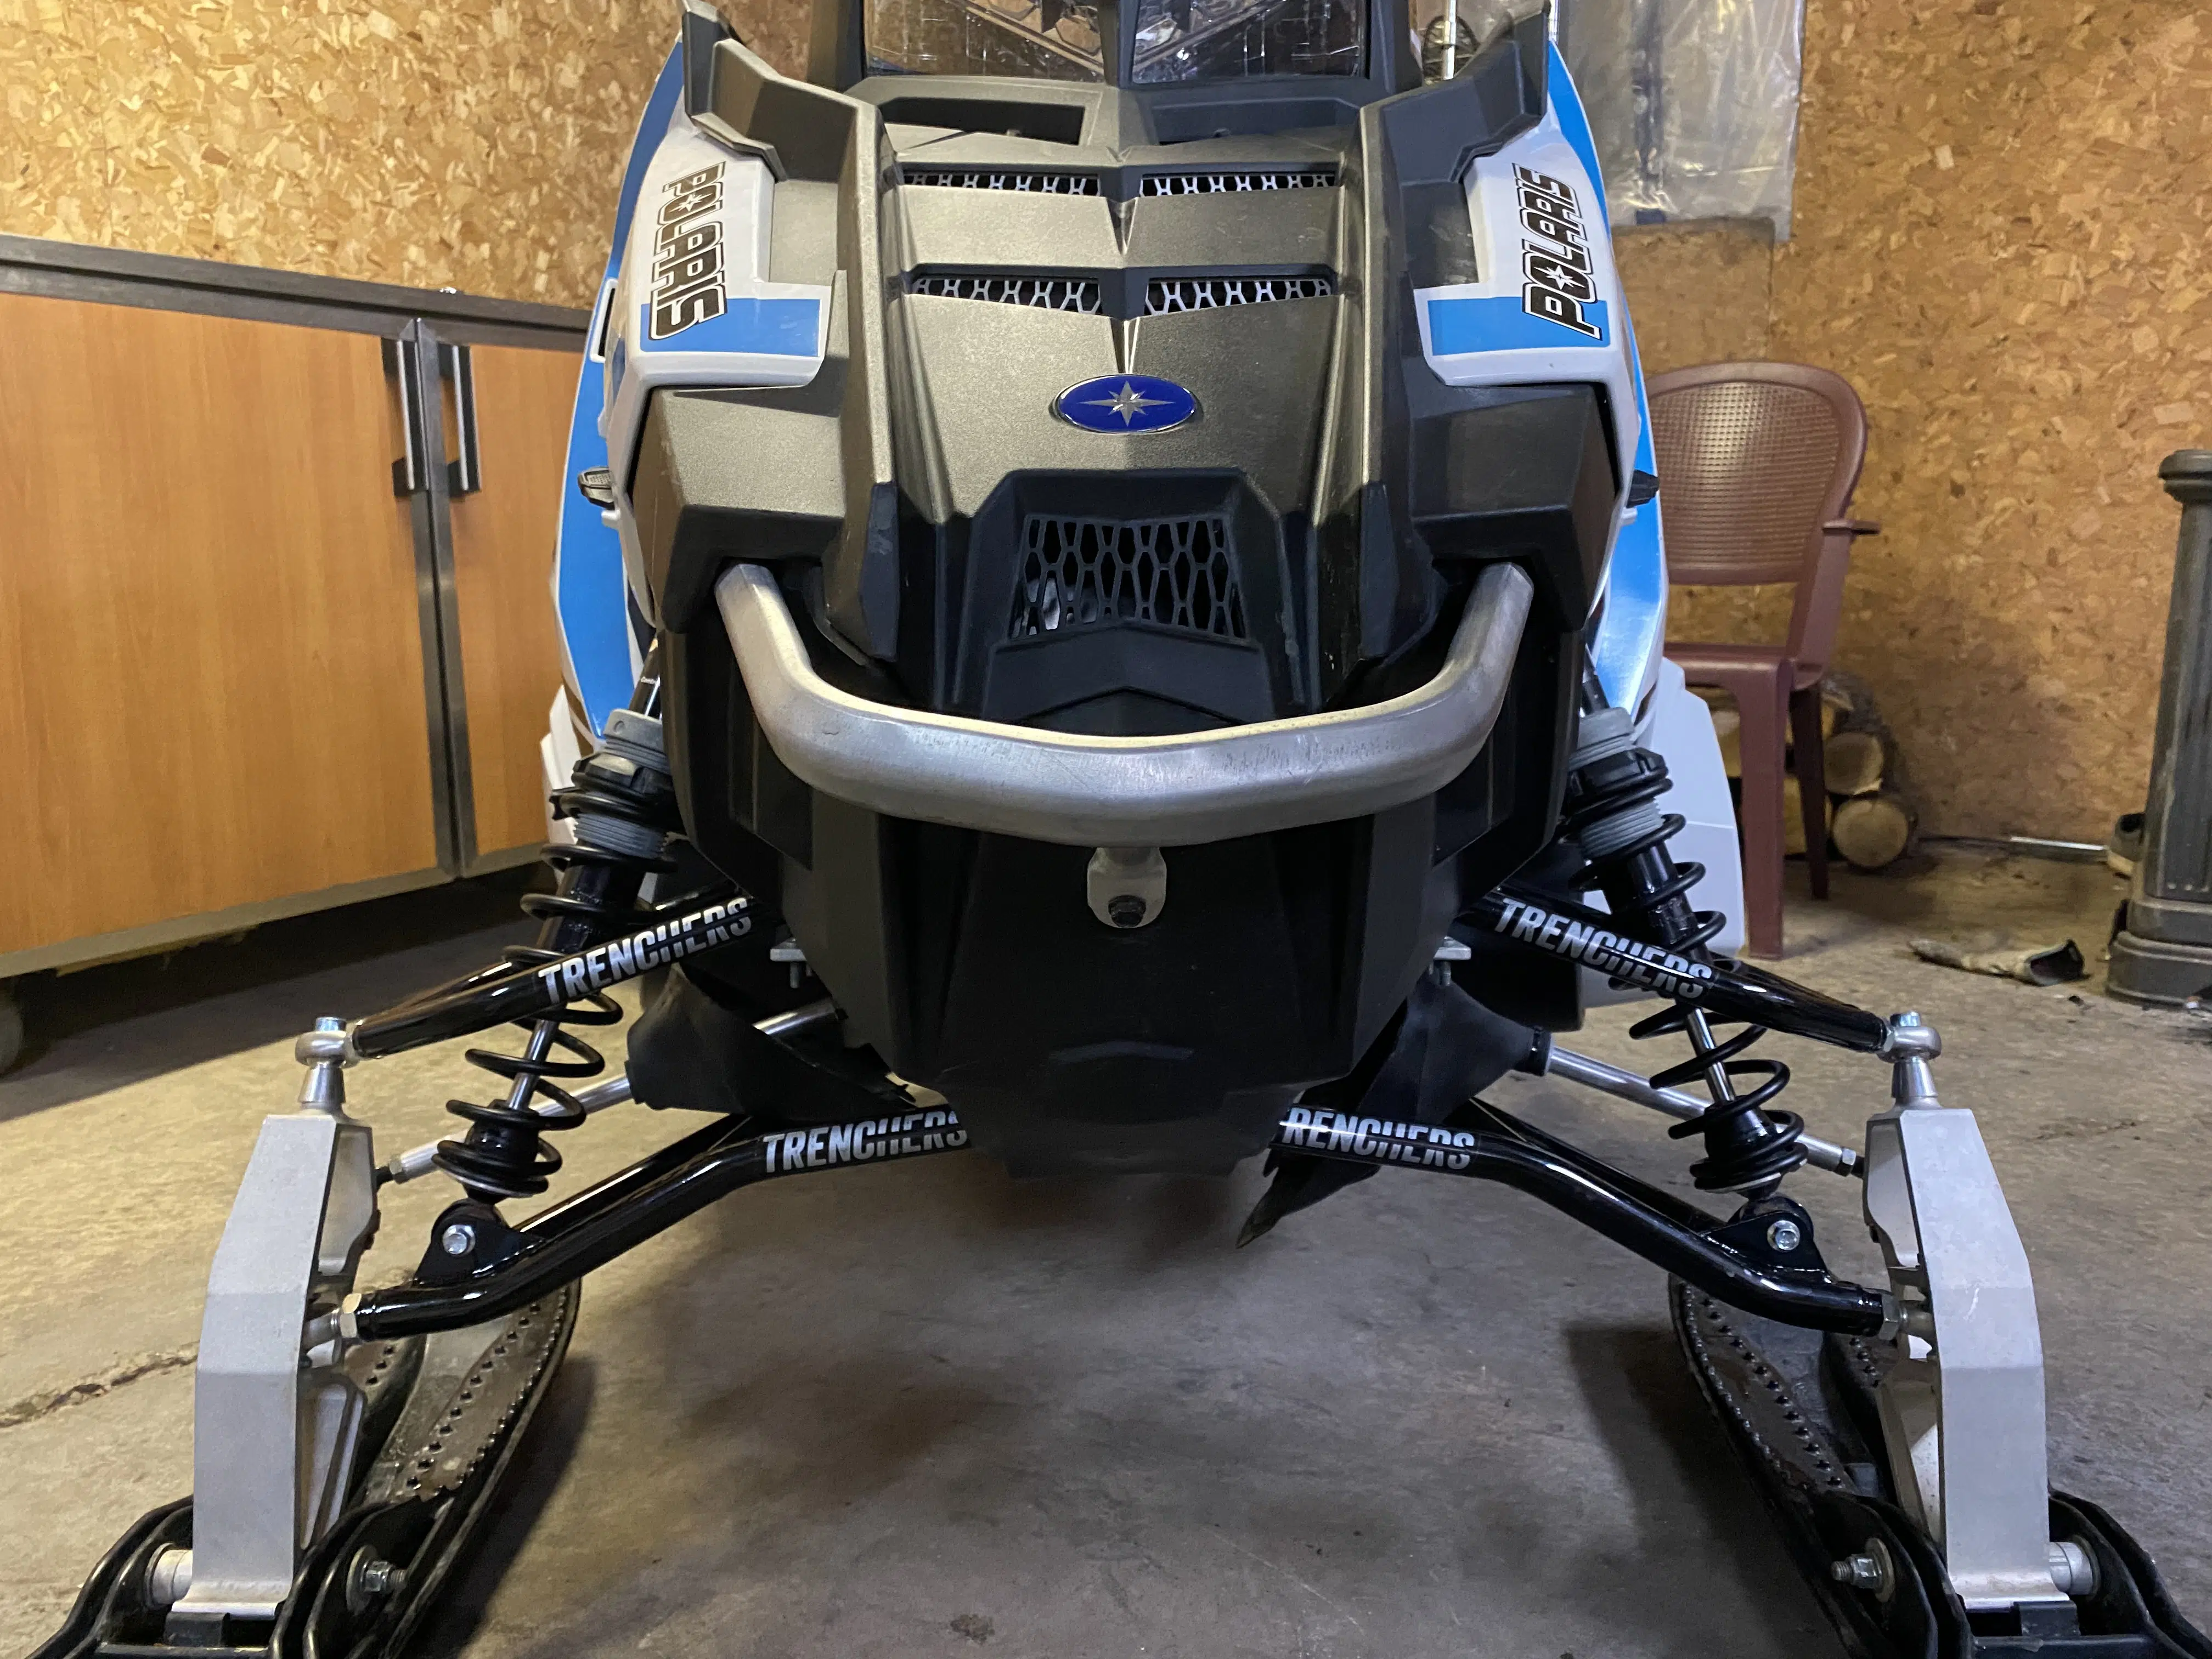
You can now change your tables yourself, as strong and independent women. It was a real pleasure to explain the steps of my experience.
For more helpful tips on how to do something yourself, you can go watch our Youtube!



1 Comment
nice job you did great work, but they are called A-arms. not tables