Table of Contents
I UNPACKED AND ASSEMBLED MYSELF MY 2022 SKI-DOO SNOWMOBILE; discover each step!
Picture this. You are a snowmobile addict. You’ve been dreaming about the first snowflake since July. No, wait, why do we even have summers in Quebec? You ordered a brand new snowmobile from Ski-Doo Spring Fever last March.
In October, you learn that it has finally arrived at your dealer. Yes, there it is, yours, in its crate, wrapped in Ski-Doo gift wrap. The most beautiful gift wrap that could exist for a Ski-Doo enthusiast.
And to top it all off, the team at Lapointe Sports in Joliette invites you to come and unpack it and build it yourself in their mechanical workshop!
Curious to know each step of the assembly of your new Ski-Doo toy, from its crate to you? This is where it happens!
Let’s do this step by step
Step 1
Locate and get the right Ski-Doo Gift box.
First step, and not the least, is to find the right box (commonly called: ” crate “) among the large quantity that is in the dealership’s yard. Mine is for a Summit SP, 850, 146 inch model.
We can find it thanks to the codes put on the ” boxes ” by the manufacturer that Lapointe Sports can identify through its computer system. Once the right box is found, we have to manage to get it out of the others by playing “Tetris”, except that our handles are those of a forklift!

Step 2
Opening and arranging the ” crate “.
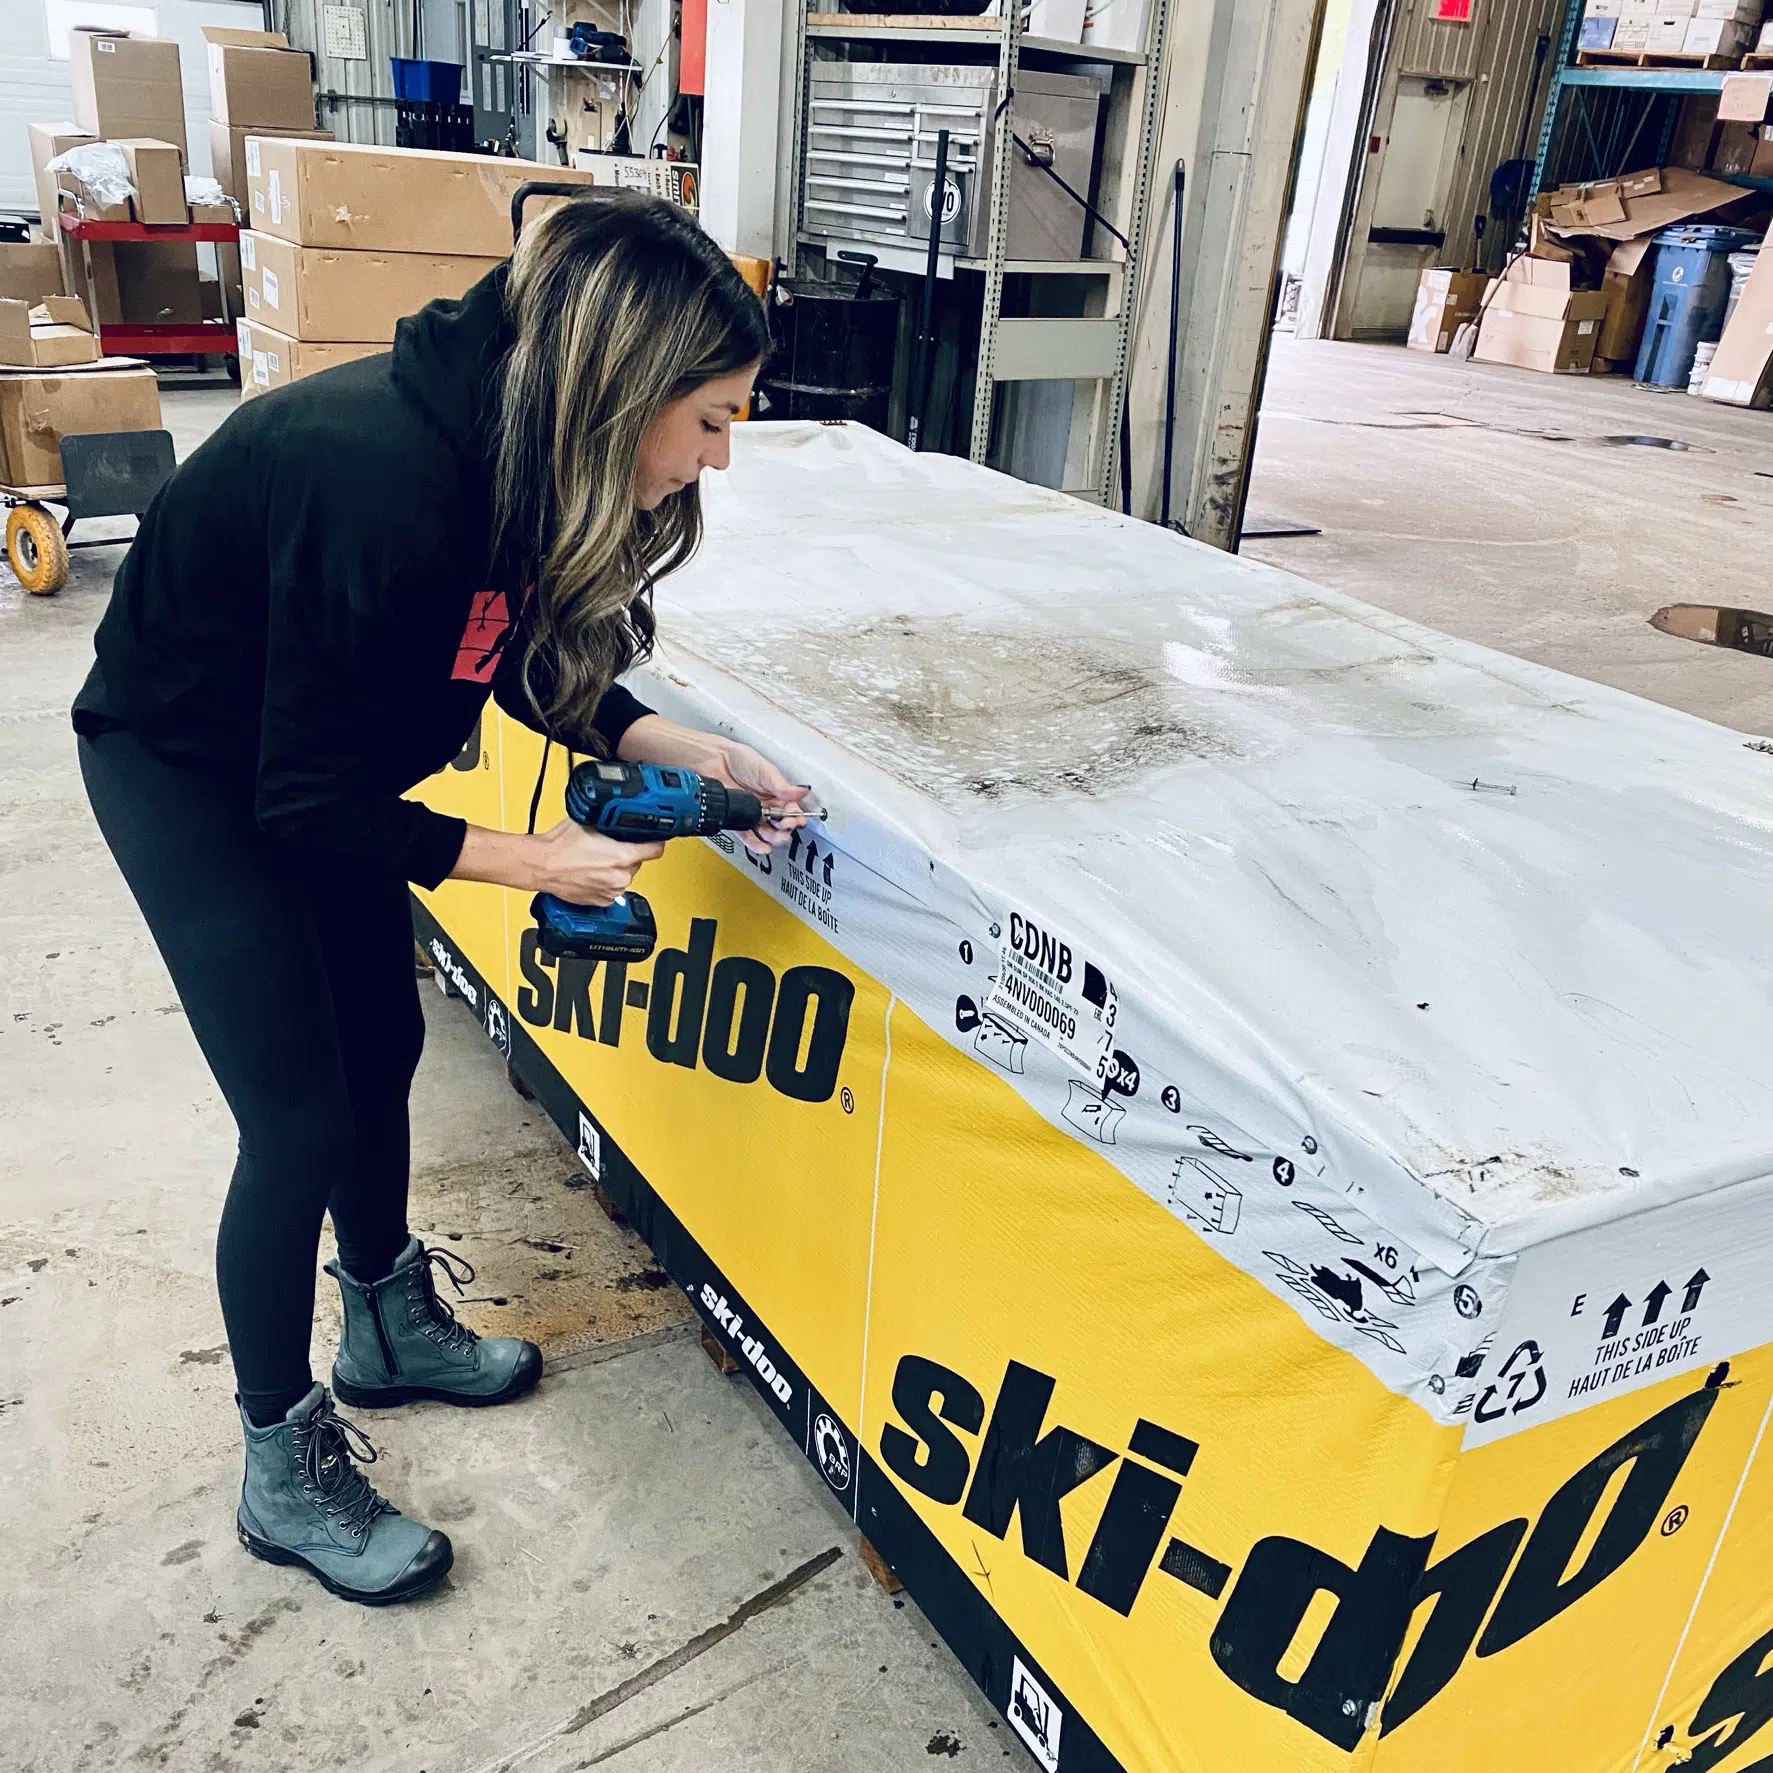
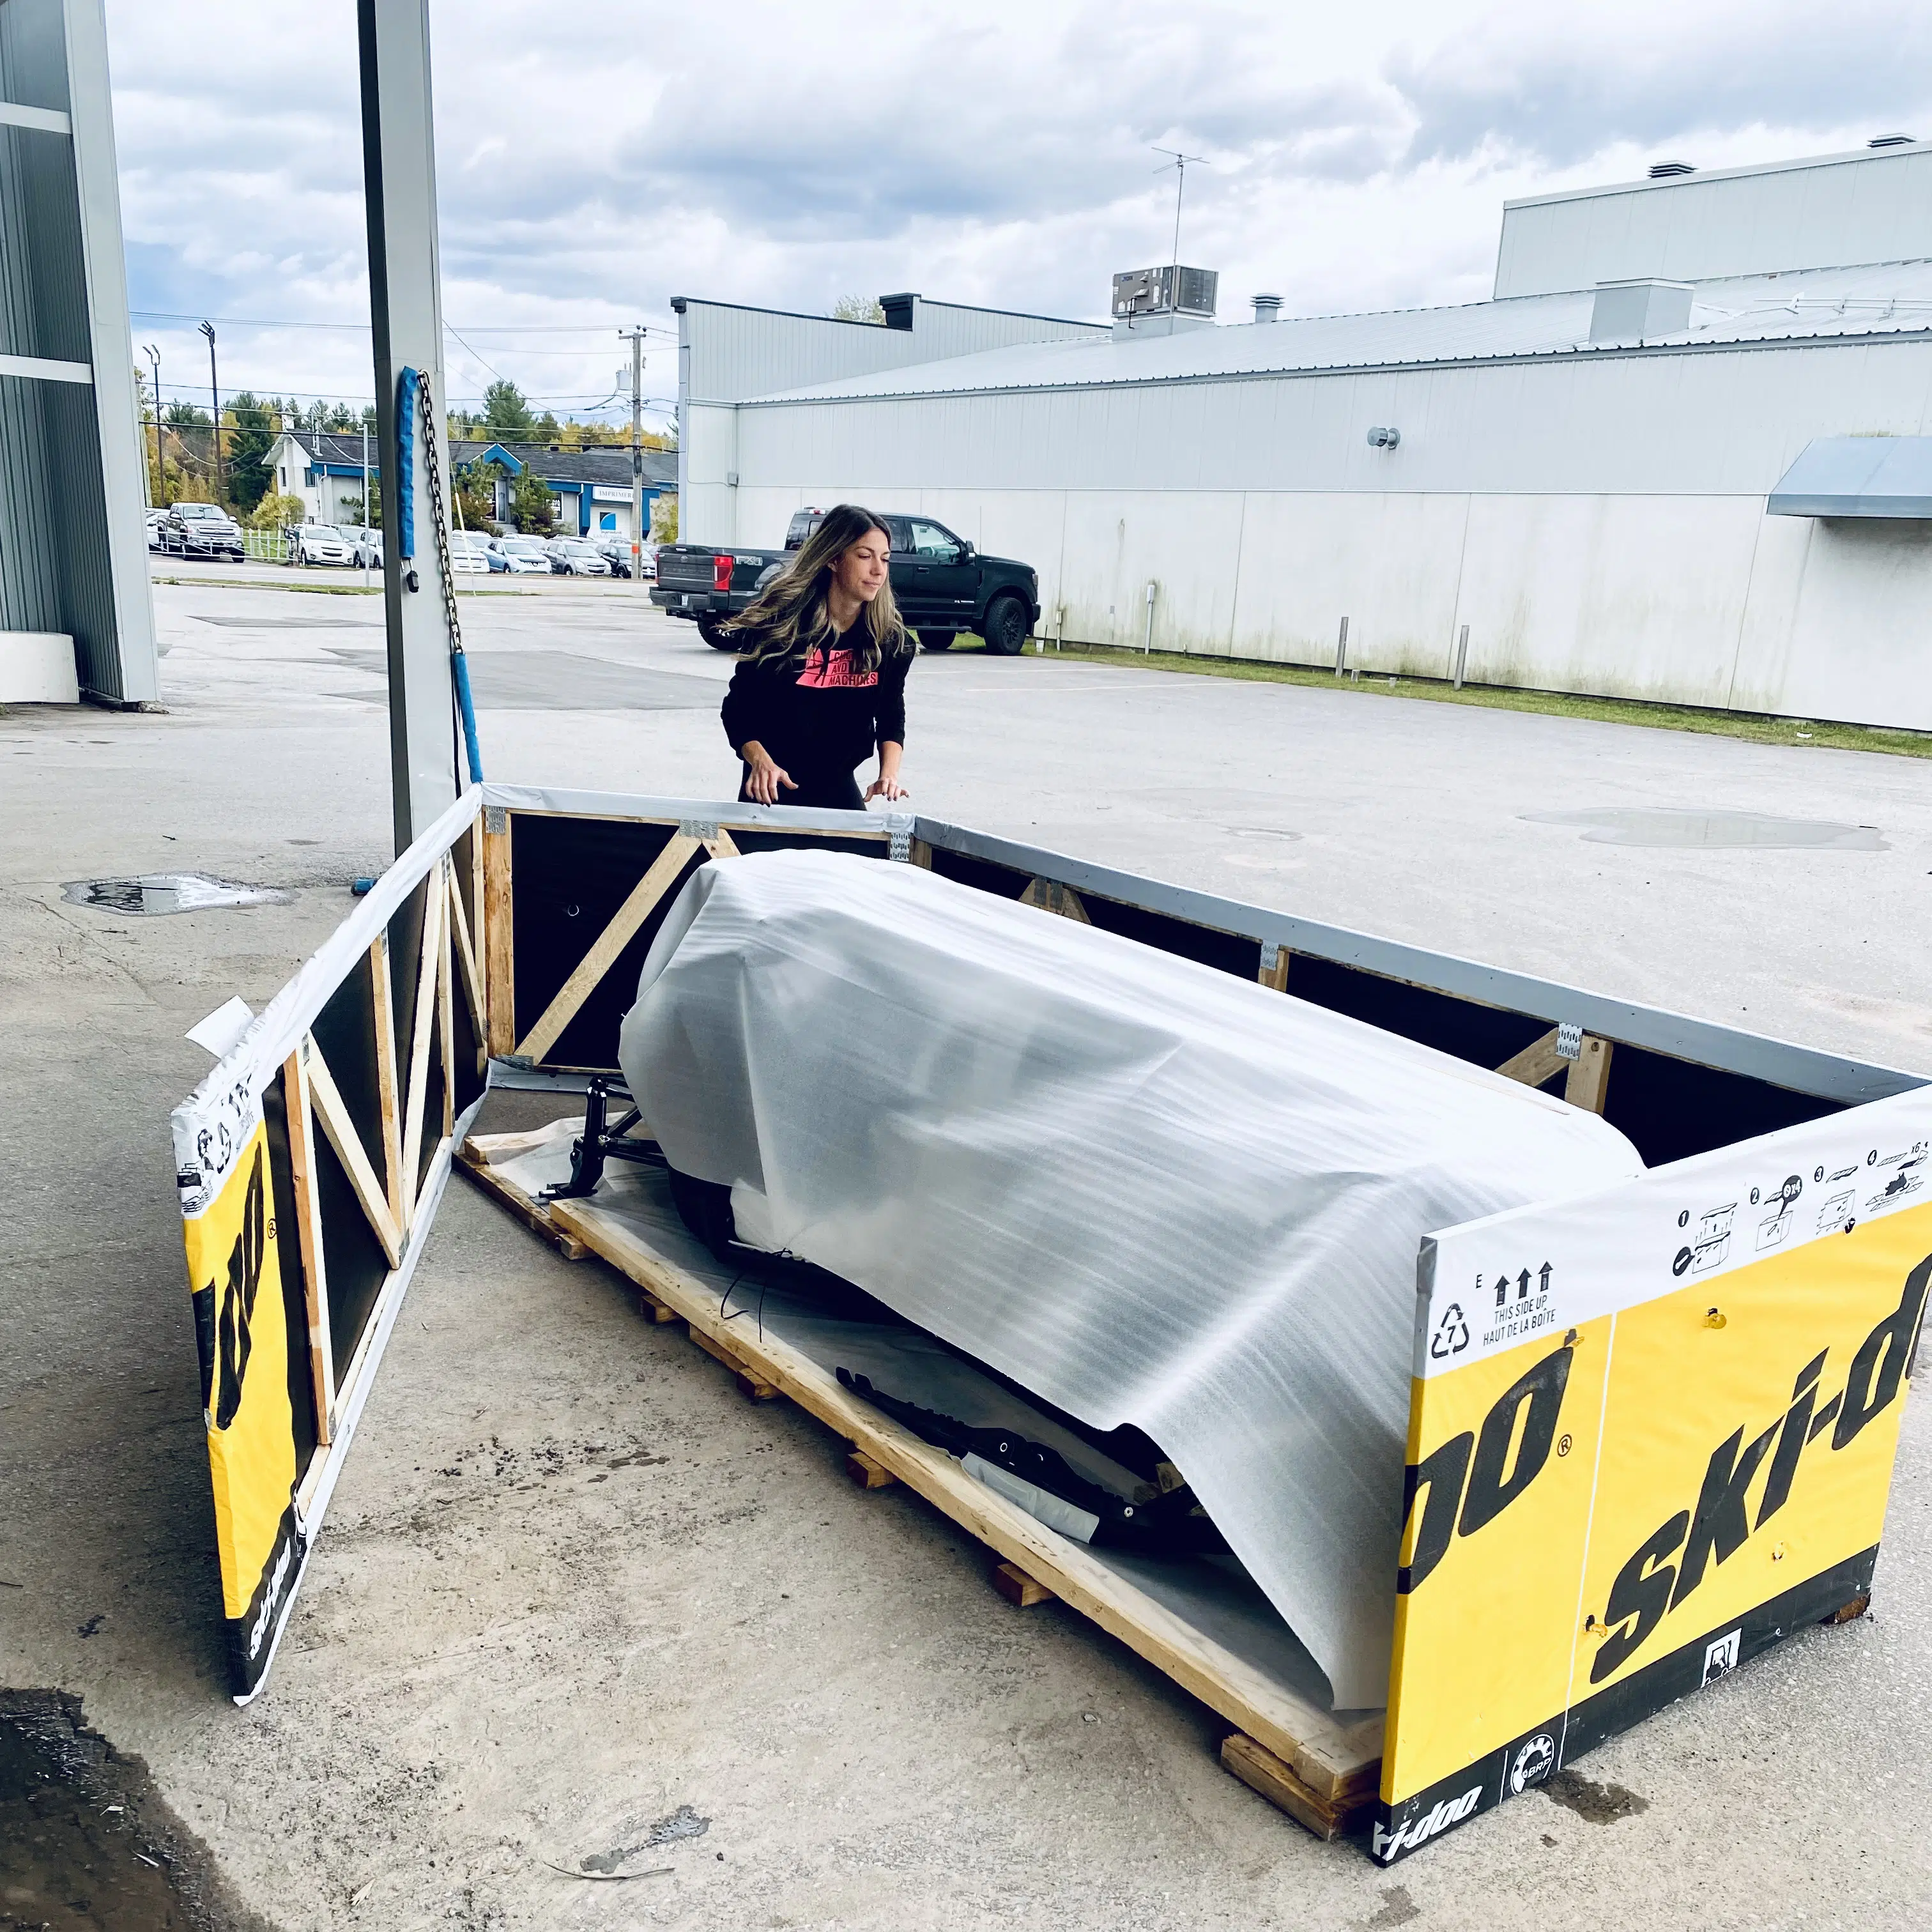
The box is then installed in a place large enough to open it and easily dispose of its panels, whose structure is made of wood. Normally, this step is carried out outside the workshop, because it monopolizes too much space inside.
The first step is to unscrew the impressive number of screws that hold all the panels of the ” crate ” in place. Then, we lift the lid and remove the side panels.
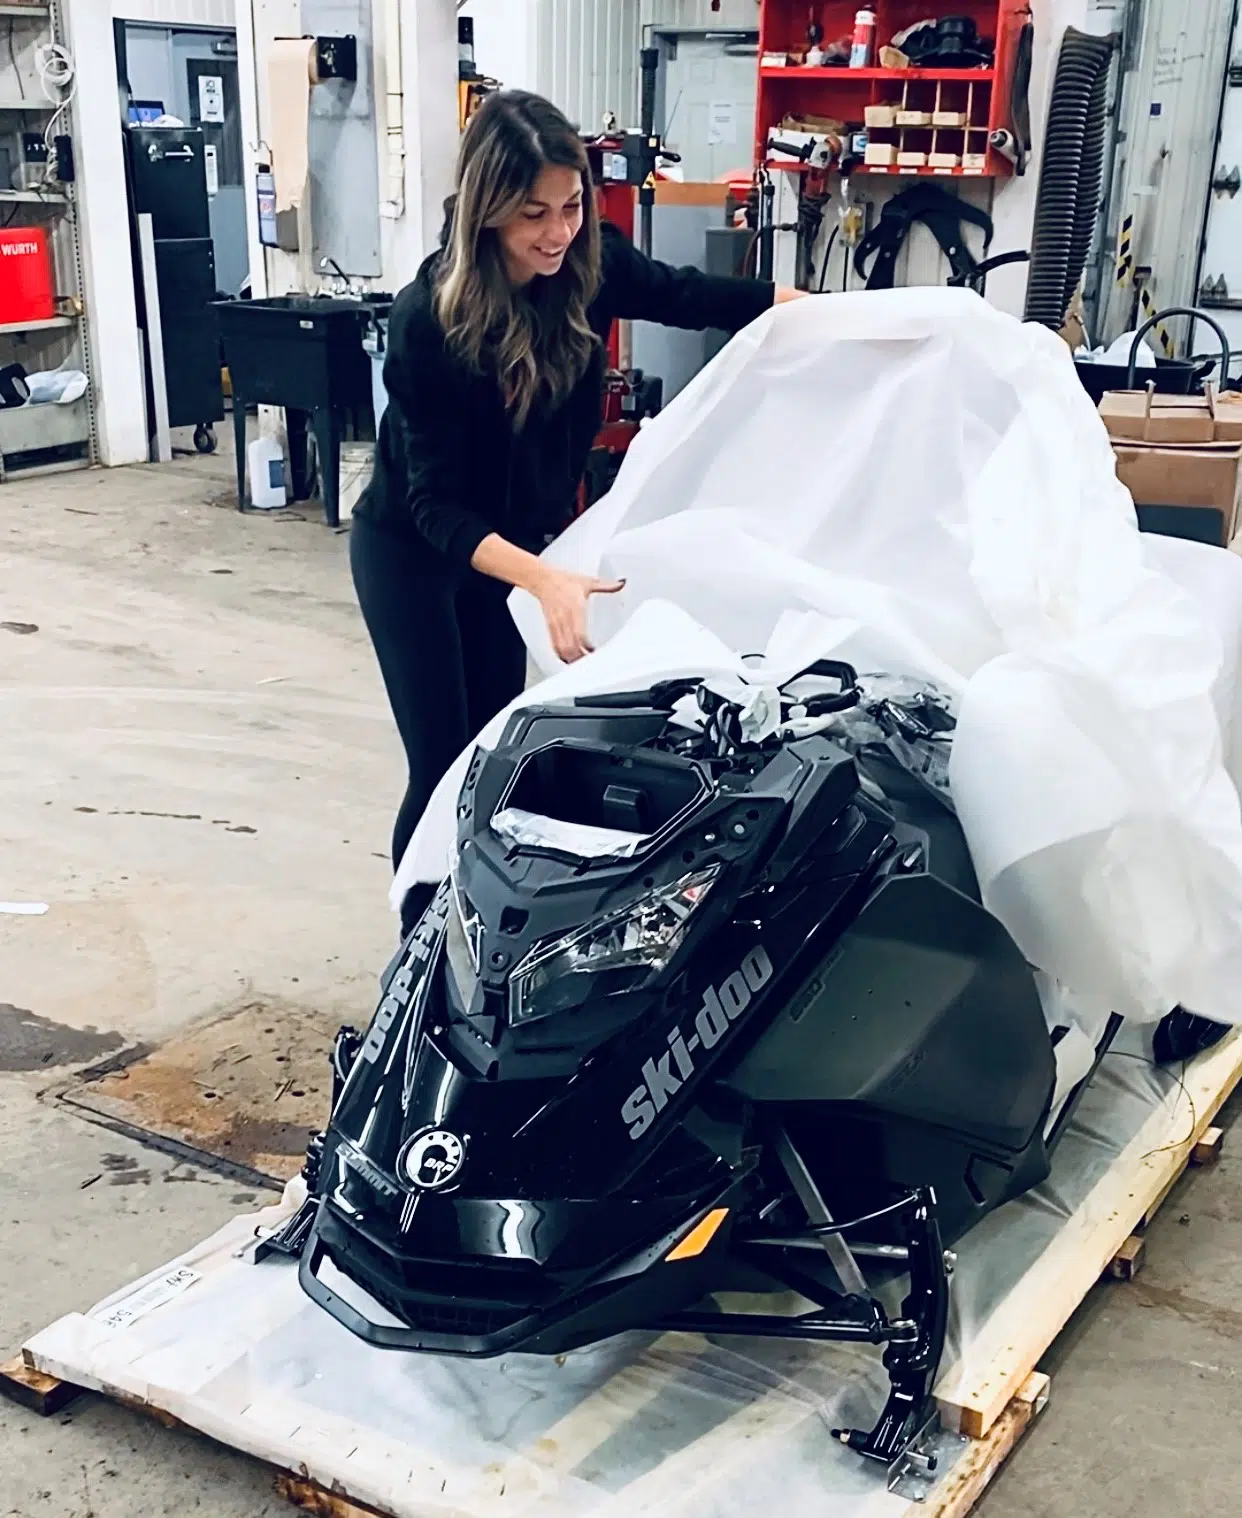
All that will be left is the base of the box on which the snowmobile is attached by its “spindle” ski legs. Finally, we remove all the plastic and bubble wrap to discover the one for which your heart will beat at the same rhythm as its “RPM” this winter.
Step 3
Collect and set aside all the parts to be assembled
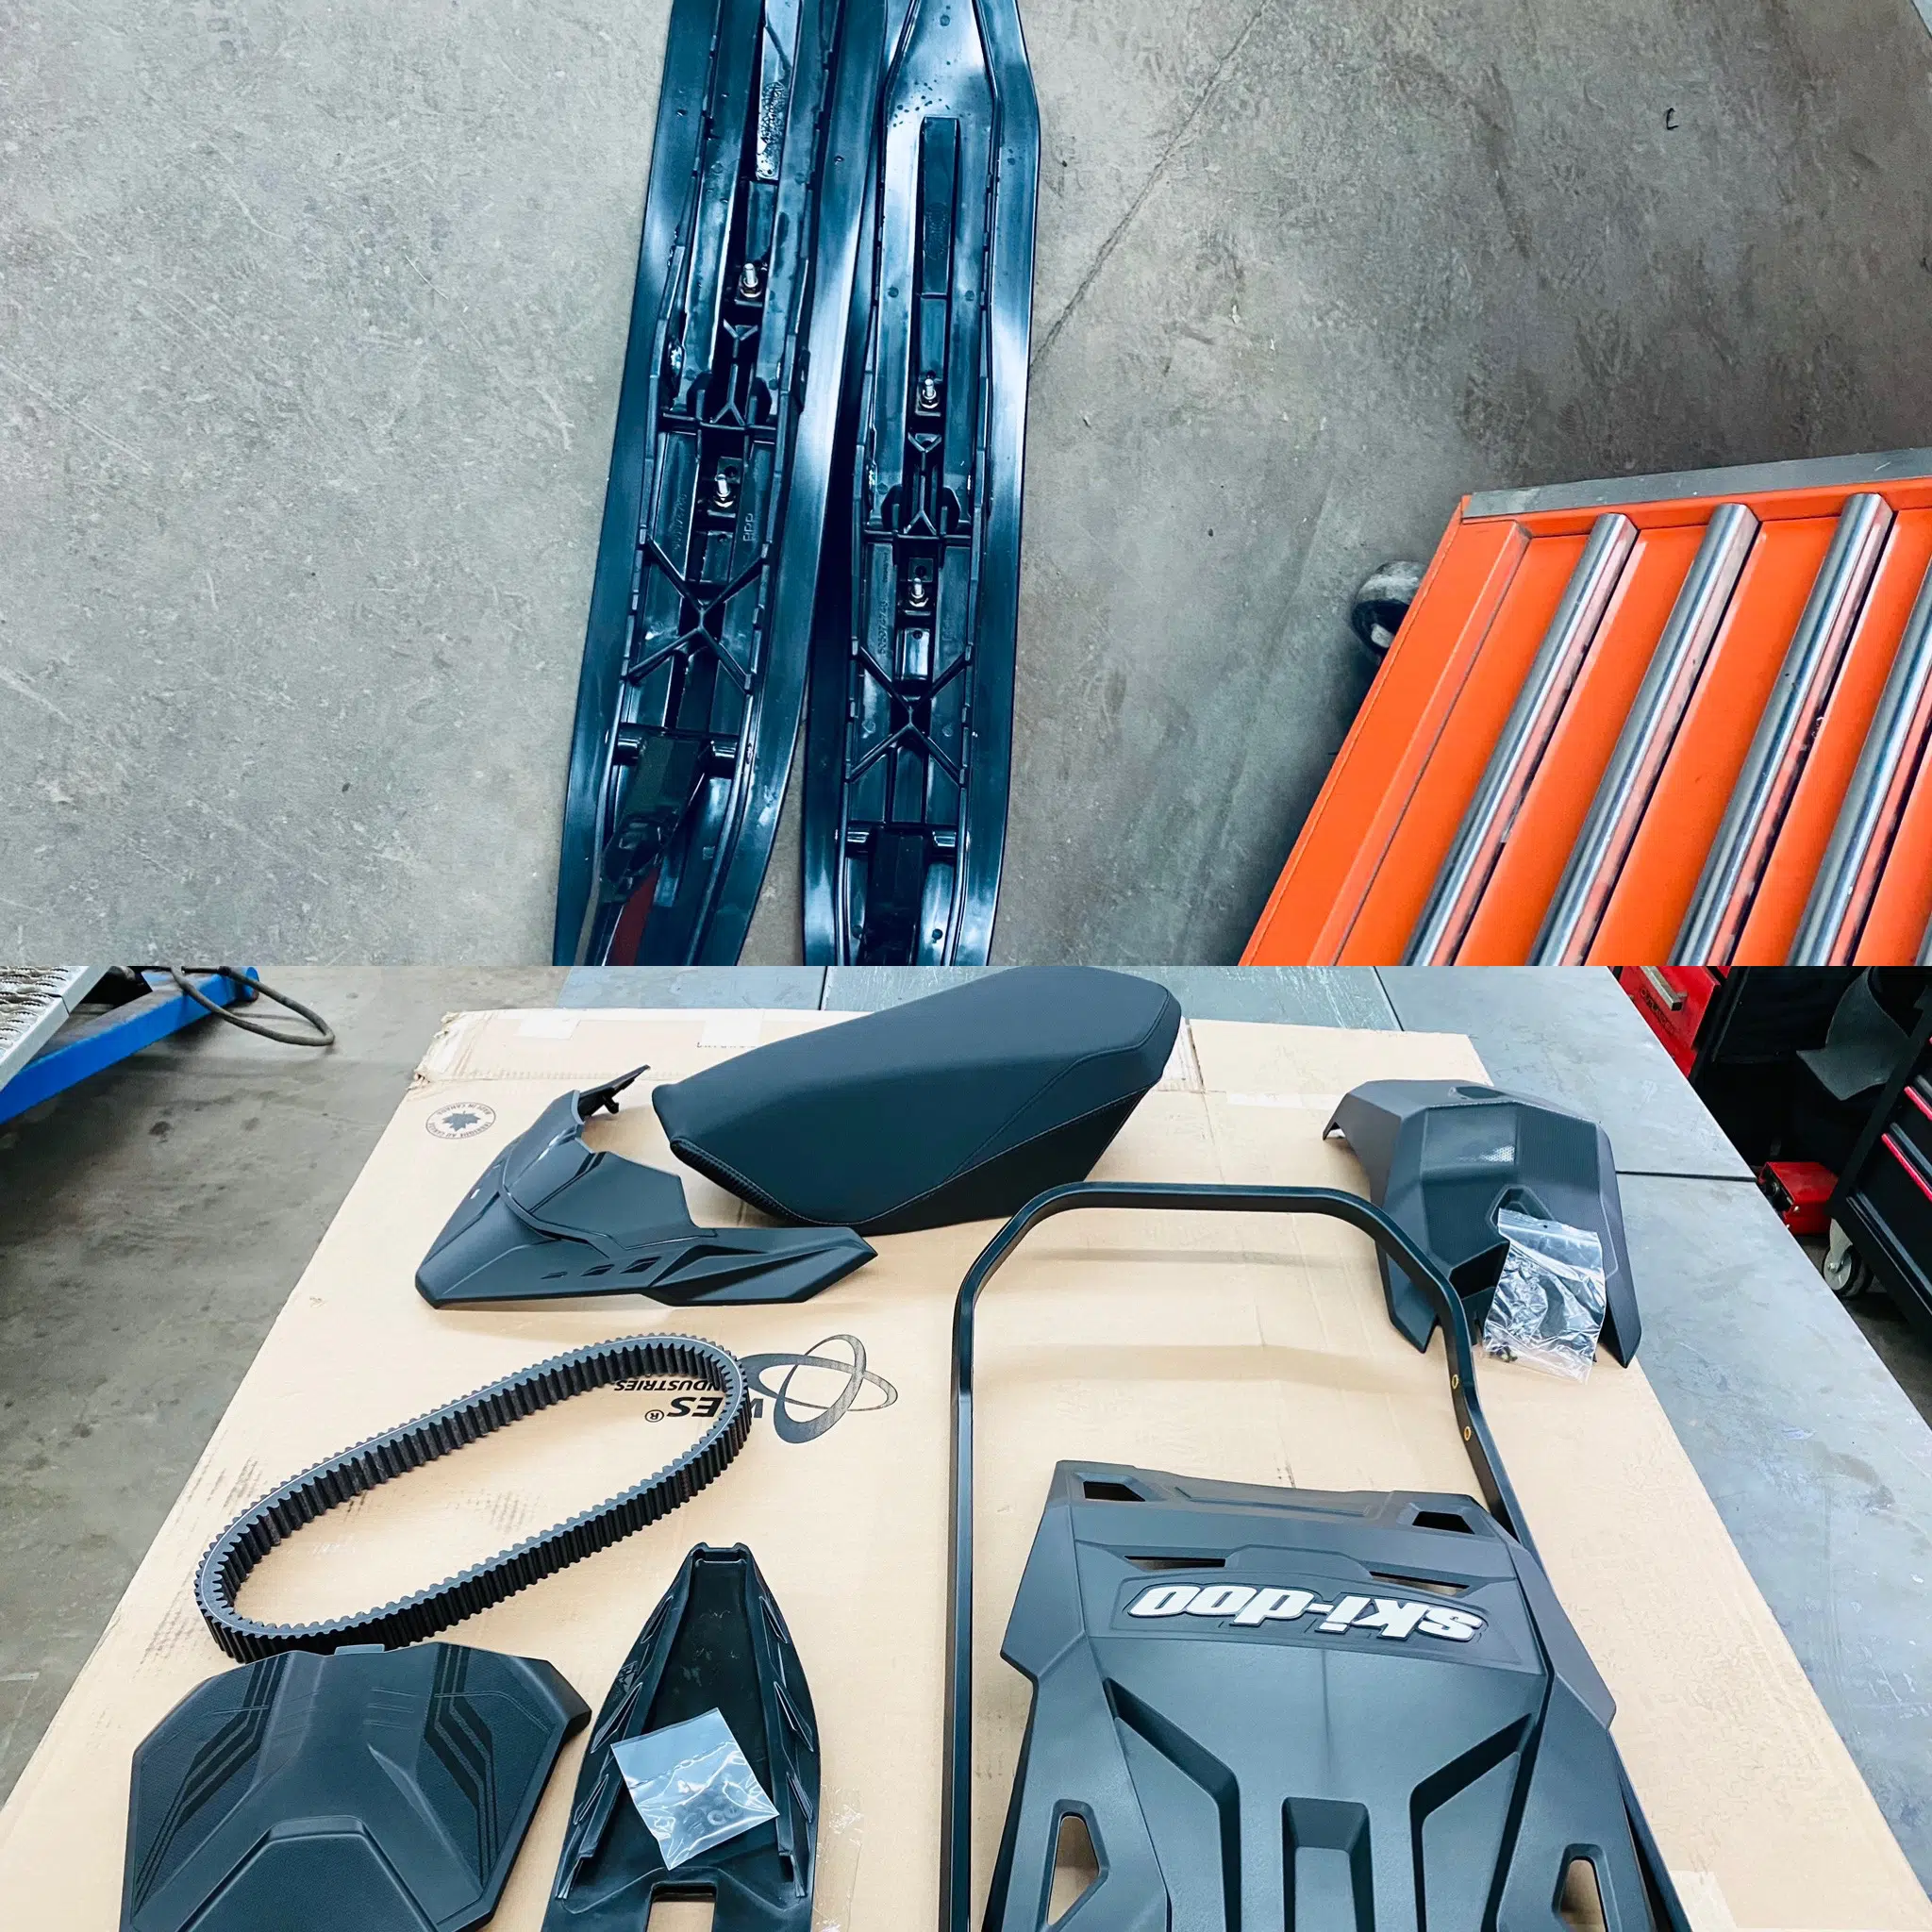
One thing you notice right away when you unpack the snowmobile is that Ski-Doo had to remove many of its parts (skis, shocks, bench, rear bumper, snow flap, etc.) to attach them elsewhere on the snowmobile with tie wraps.
This, with the aim of making your snowmobile as compact as possible during its transport, in order to reduce costs. Still with this same objective in mind, we had to compress and securely attach the rear suspension, remove the front shocks and reassemble and attach the deck.
This gives the impression that your snowmobile is lying directly on its belly when you open its ” crate “.
So, even if you are as excited as a child at Christmas, you have to stay focused and put aside each part to be installed with the right screws and bolts that will allow you to fix them later.
Step 4
Raising, adjusting and fixing the handlebars
Ski-Doo had to completely lower the handlebars of your snowmobile for its transport. The first step in assembly is to raise, adjust and secure the handlebars at the proper angle.
During the initial assembly, Lapointe Sports’ technicians adjust your handlebars to a neutral position by aligning them with the steering column. Afterwards, it is up to you to make your own adjustments.

Step 5
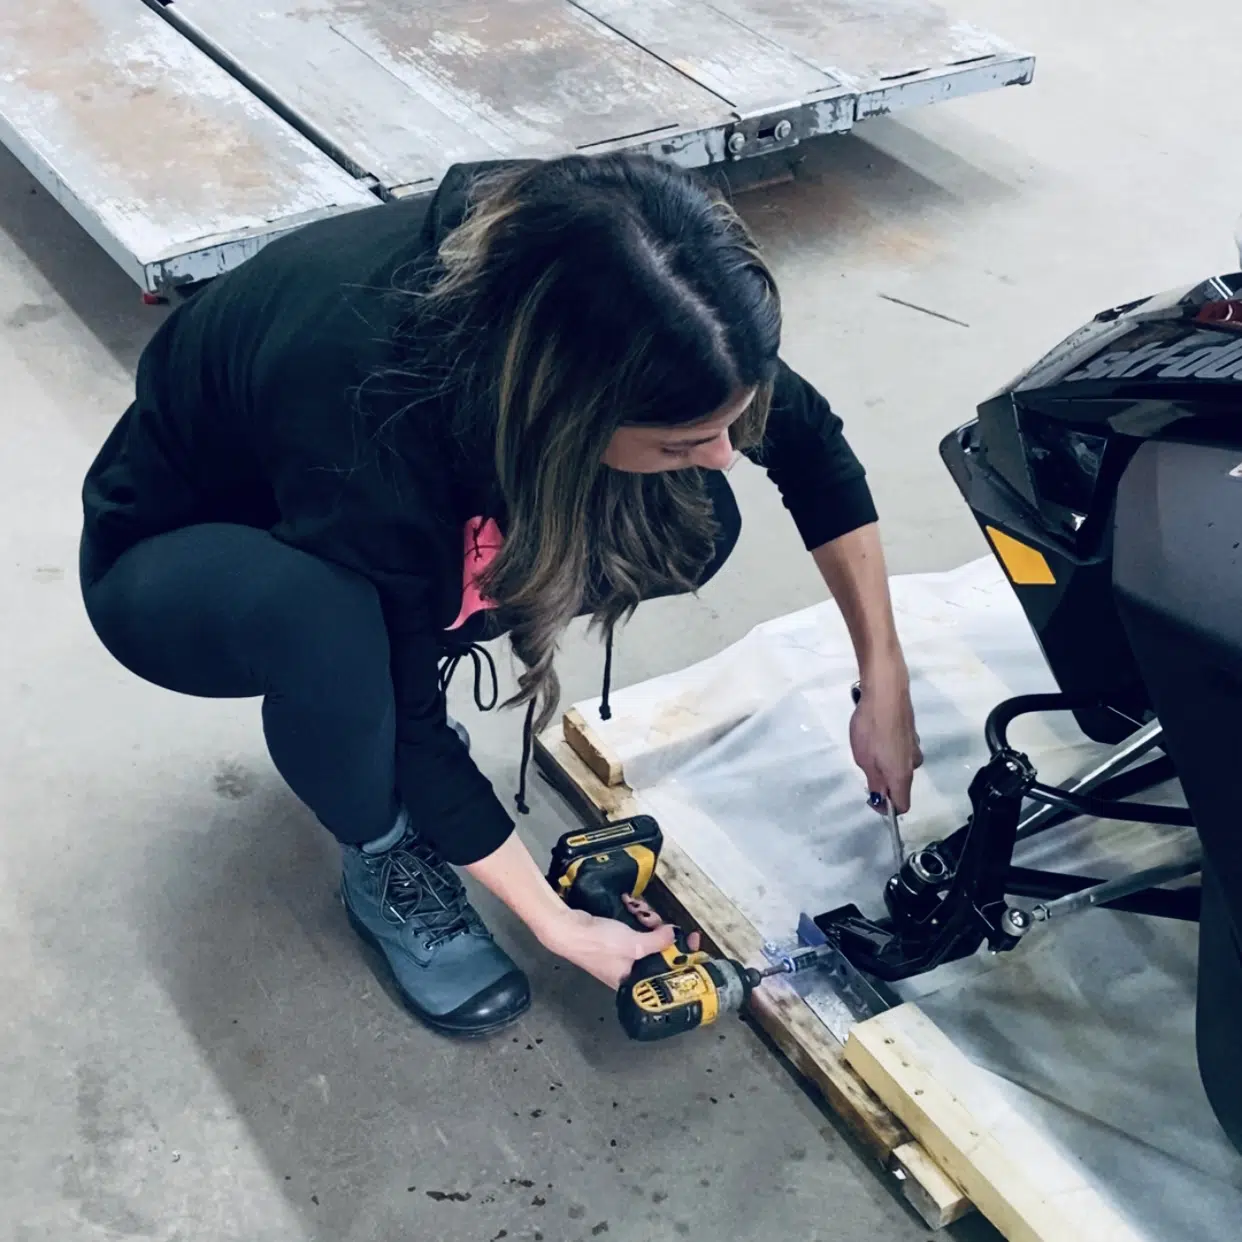
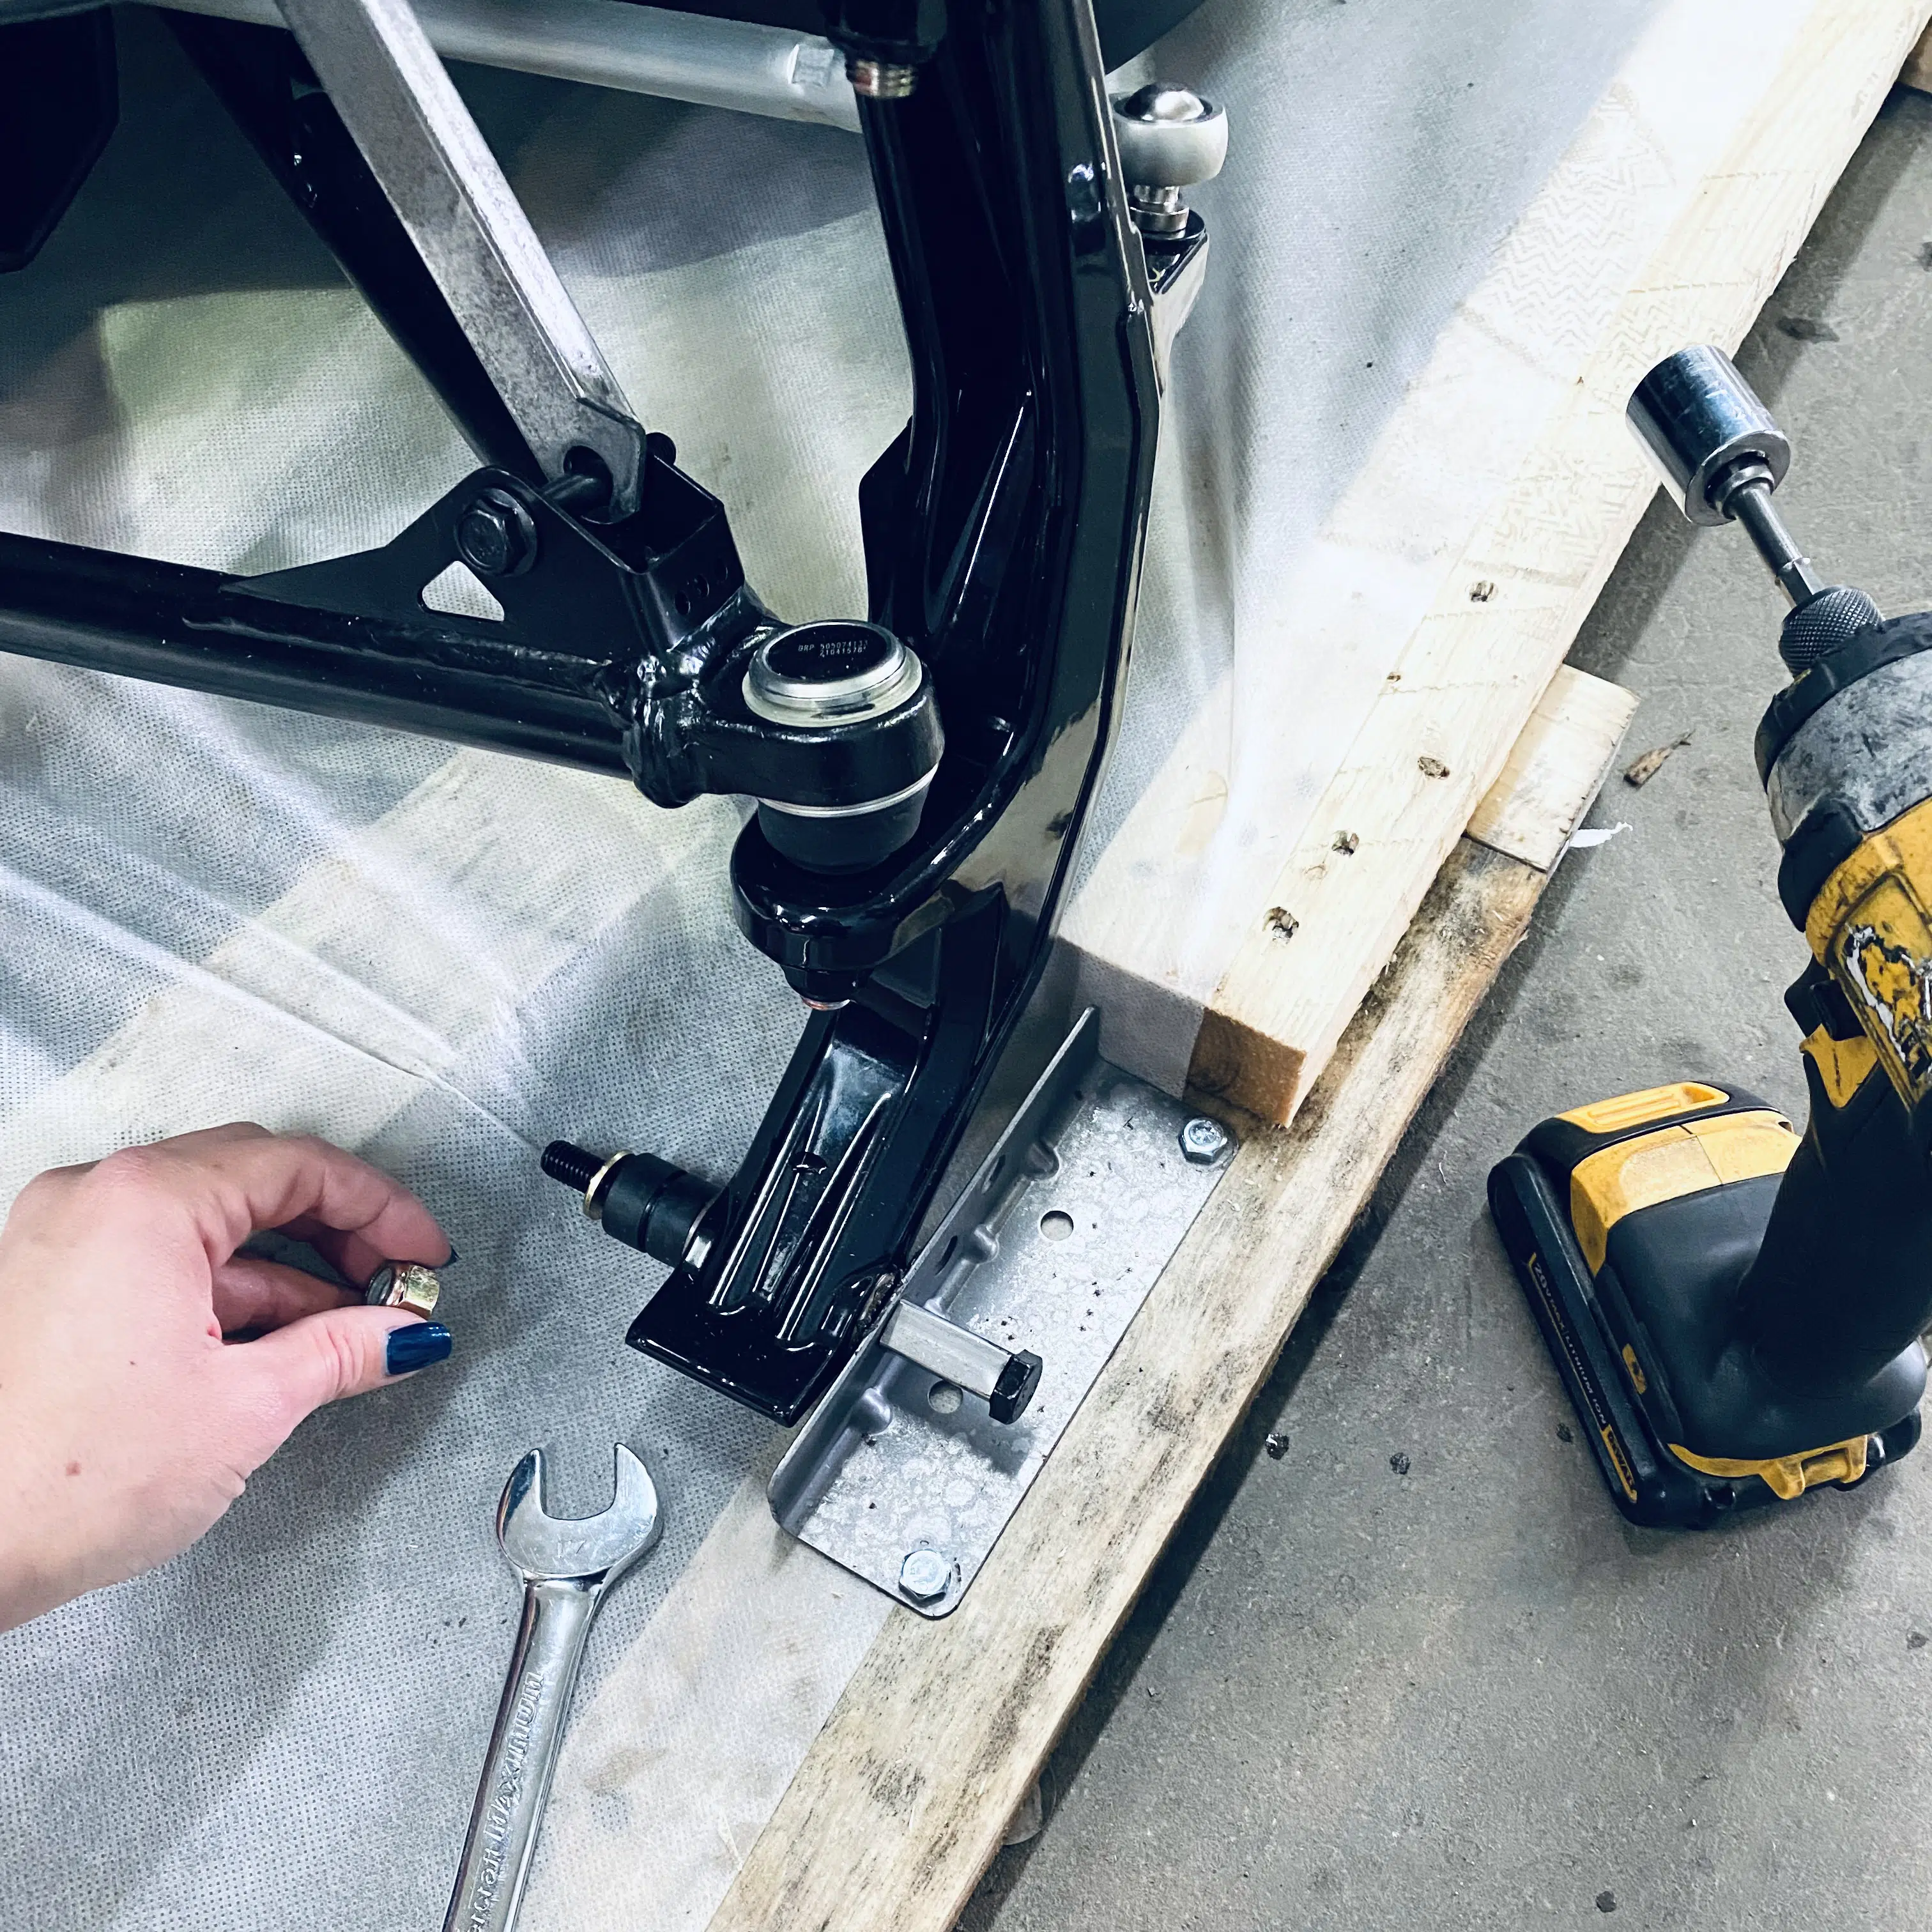
Detach the ski legs from the base of the crate
Next, we detach the “spindle” ski legs from the base of the box. It is important at this stage to keep all the pieces that attached the ski legs to the “crate”, because they will be used later to attach the skis to the spindle.
Step 6
Lift the snowmobile and attach the skis
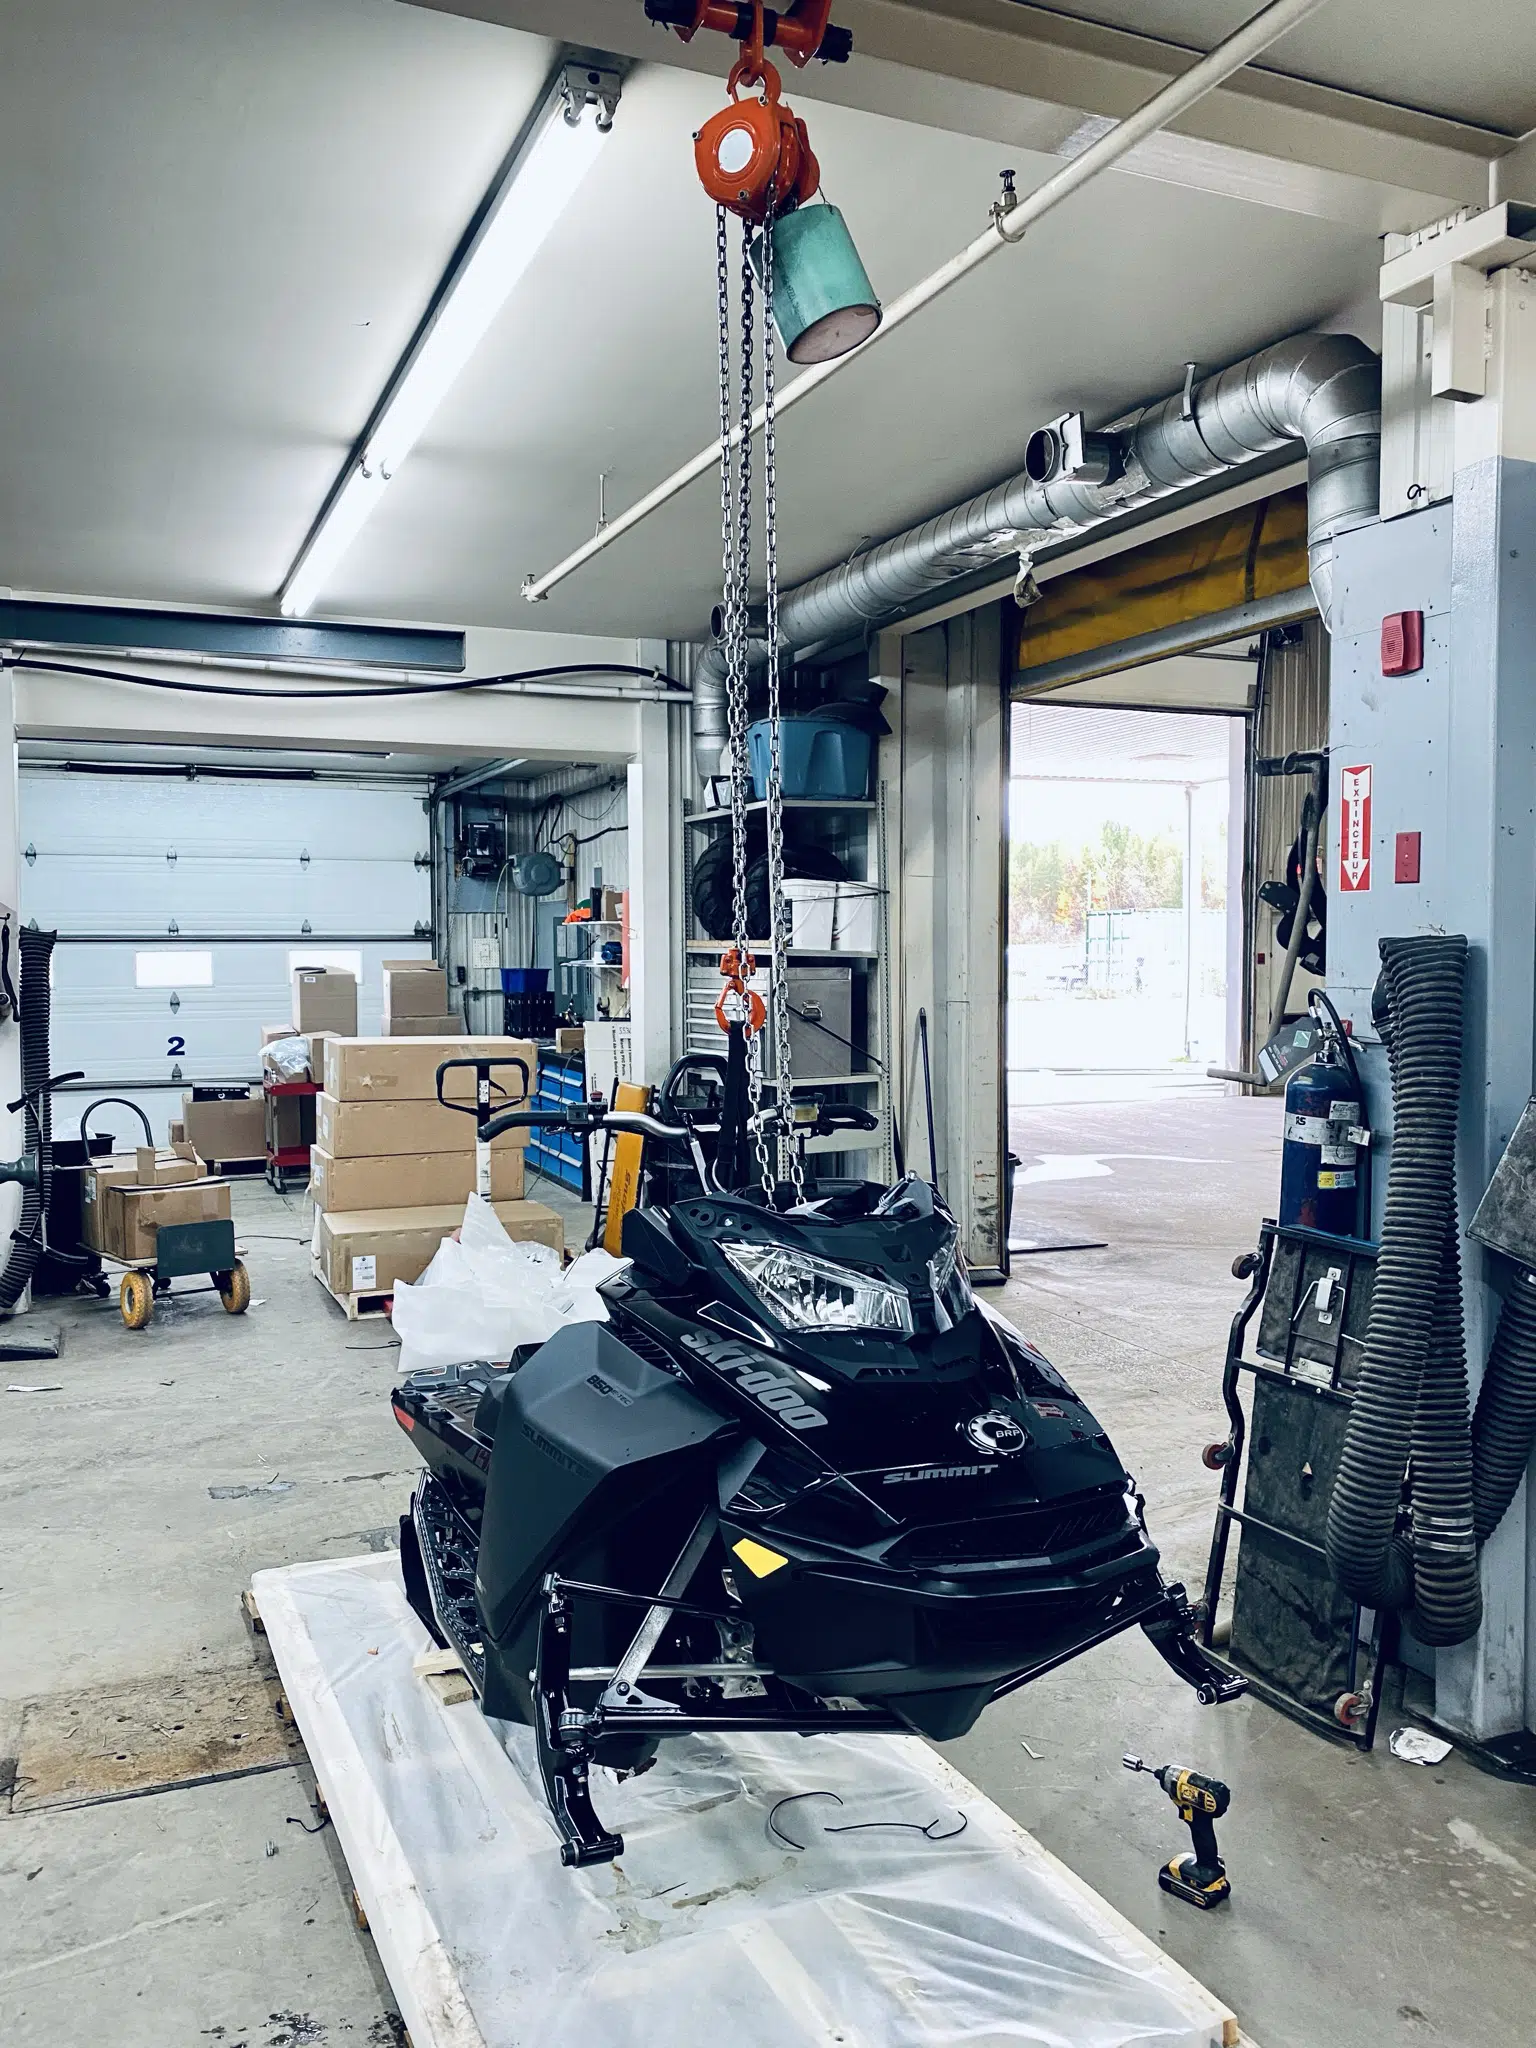
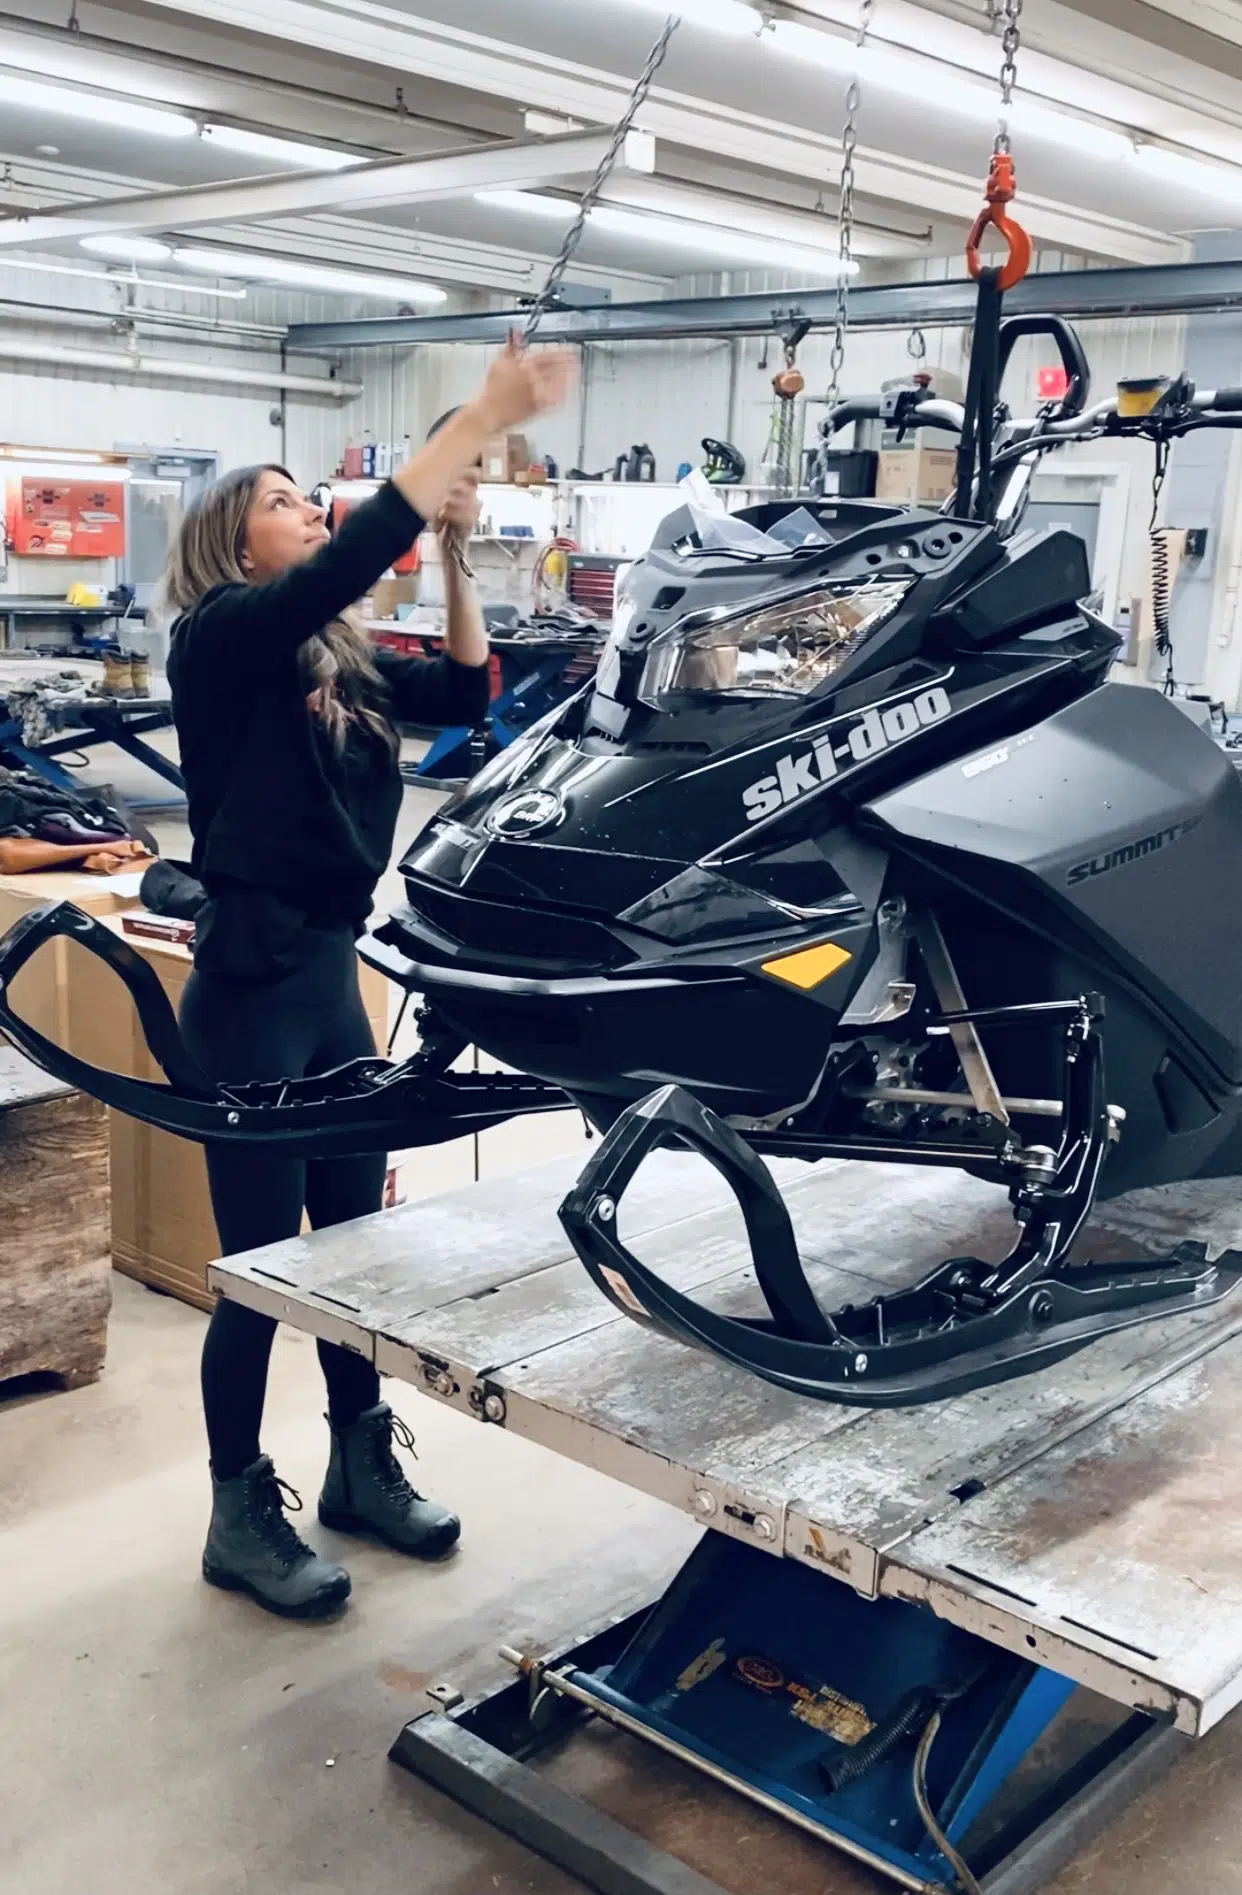
Then, we attach the hooks of a chain block to the steering column of the snowmobile (a part that can support its weight in this position) and we lift it to a height that facilitates the attachment of its skis. At the same time, we can get rid of the base of the “crate”.
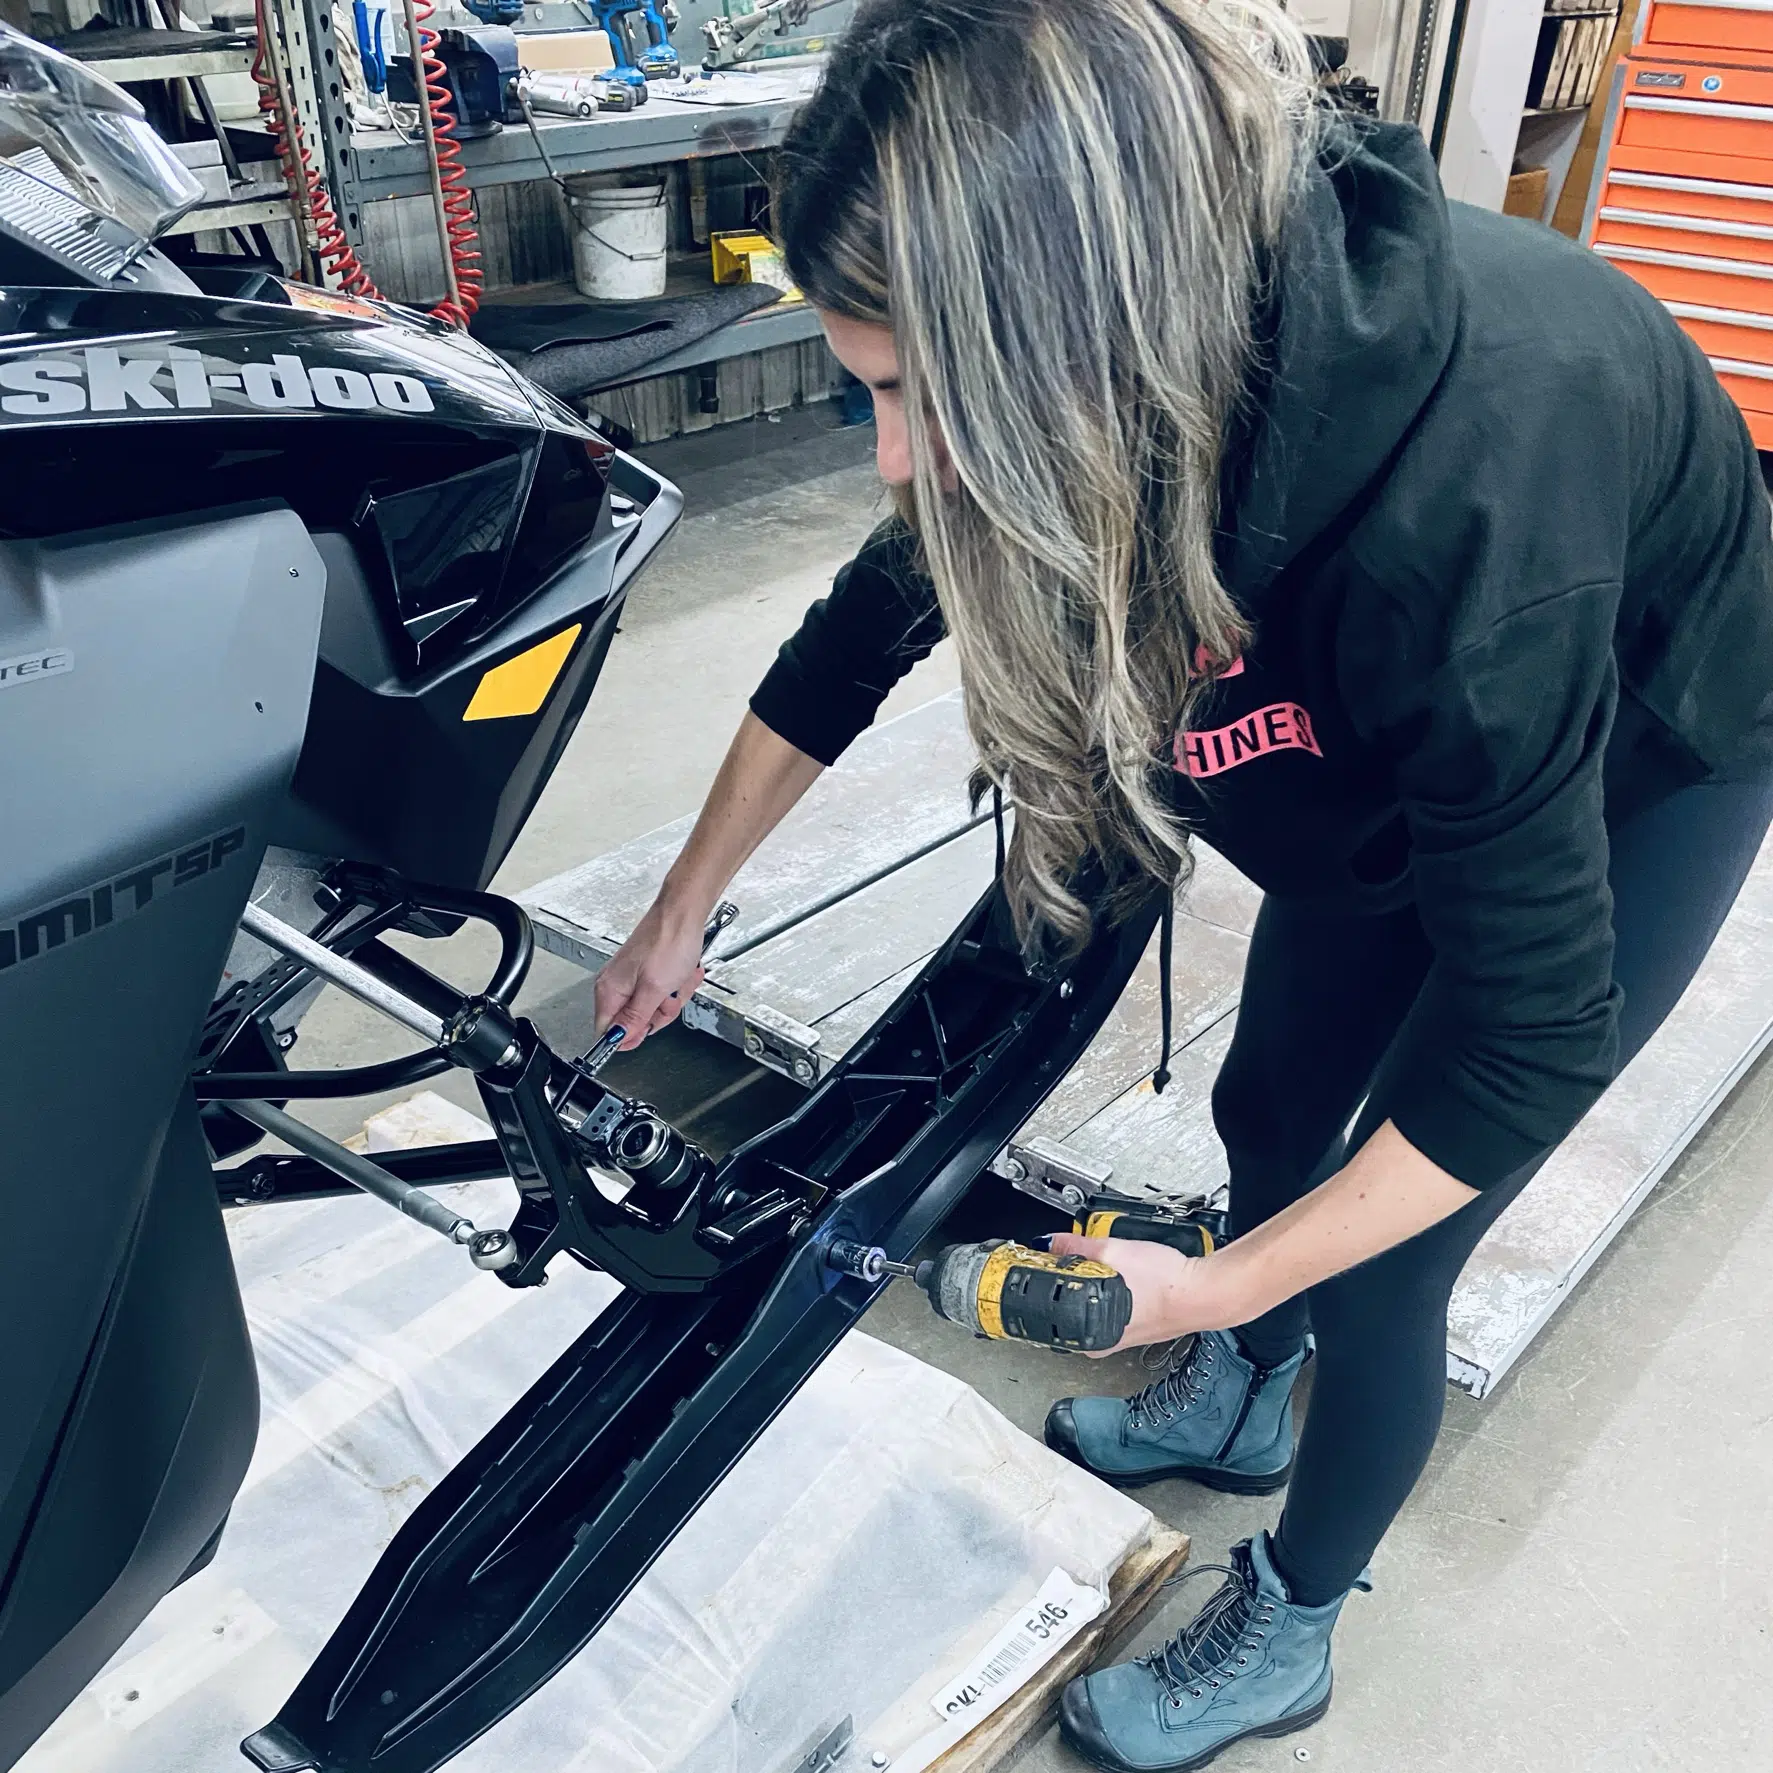
Then attach each ski to the legs of the “spindle” ski, taking care to place the two rubber spacers (per ski) at the desired location. Their location will determine the width of your skis.
New for Ski-Doo this year, it is now possible to have up to three different adjustments with these two spacers per ski.
Step 7
Move the snowmobile over the work table
Then, using the chain block, we move and align the snowmobile above the work table without putting it down. The work table will maximize our work ergonomics and will offer us a better speed of execution for the next steps.
Step 8
Lower the tables and install the front shocks
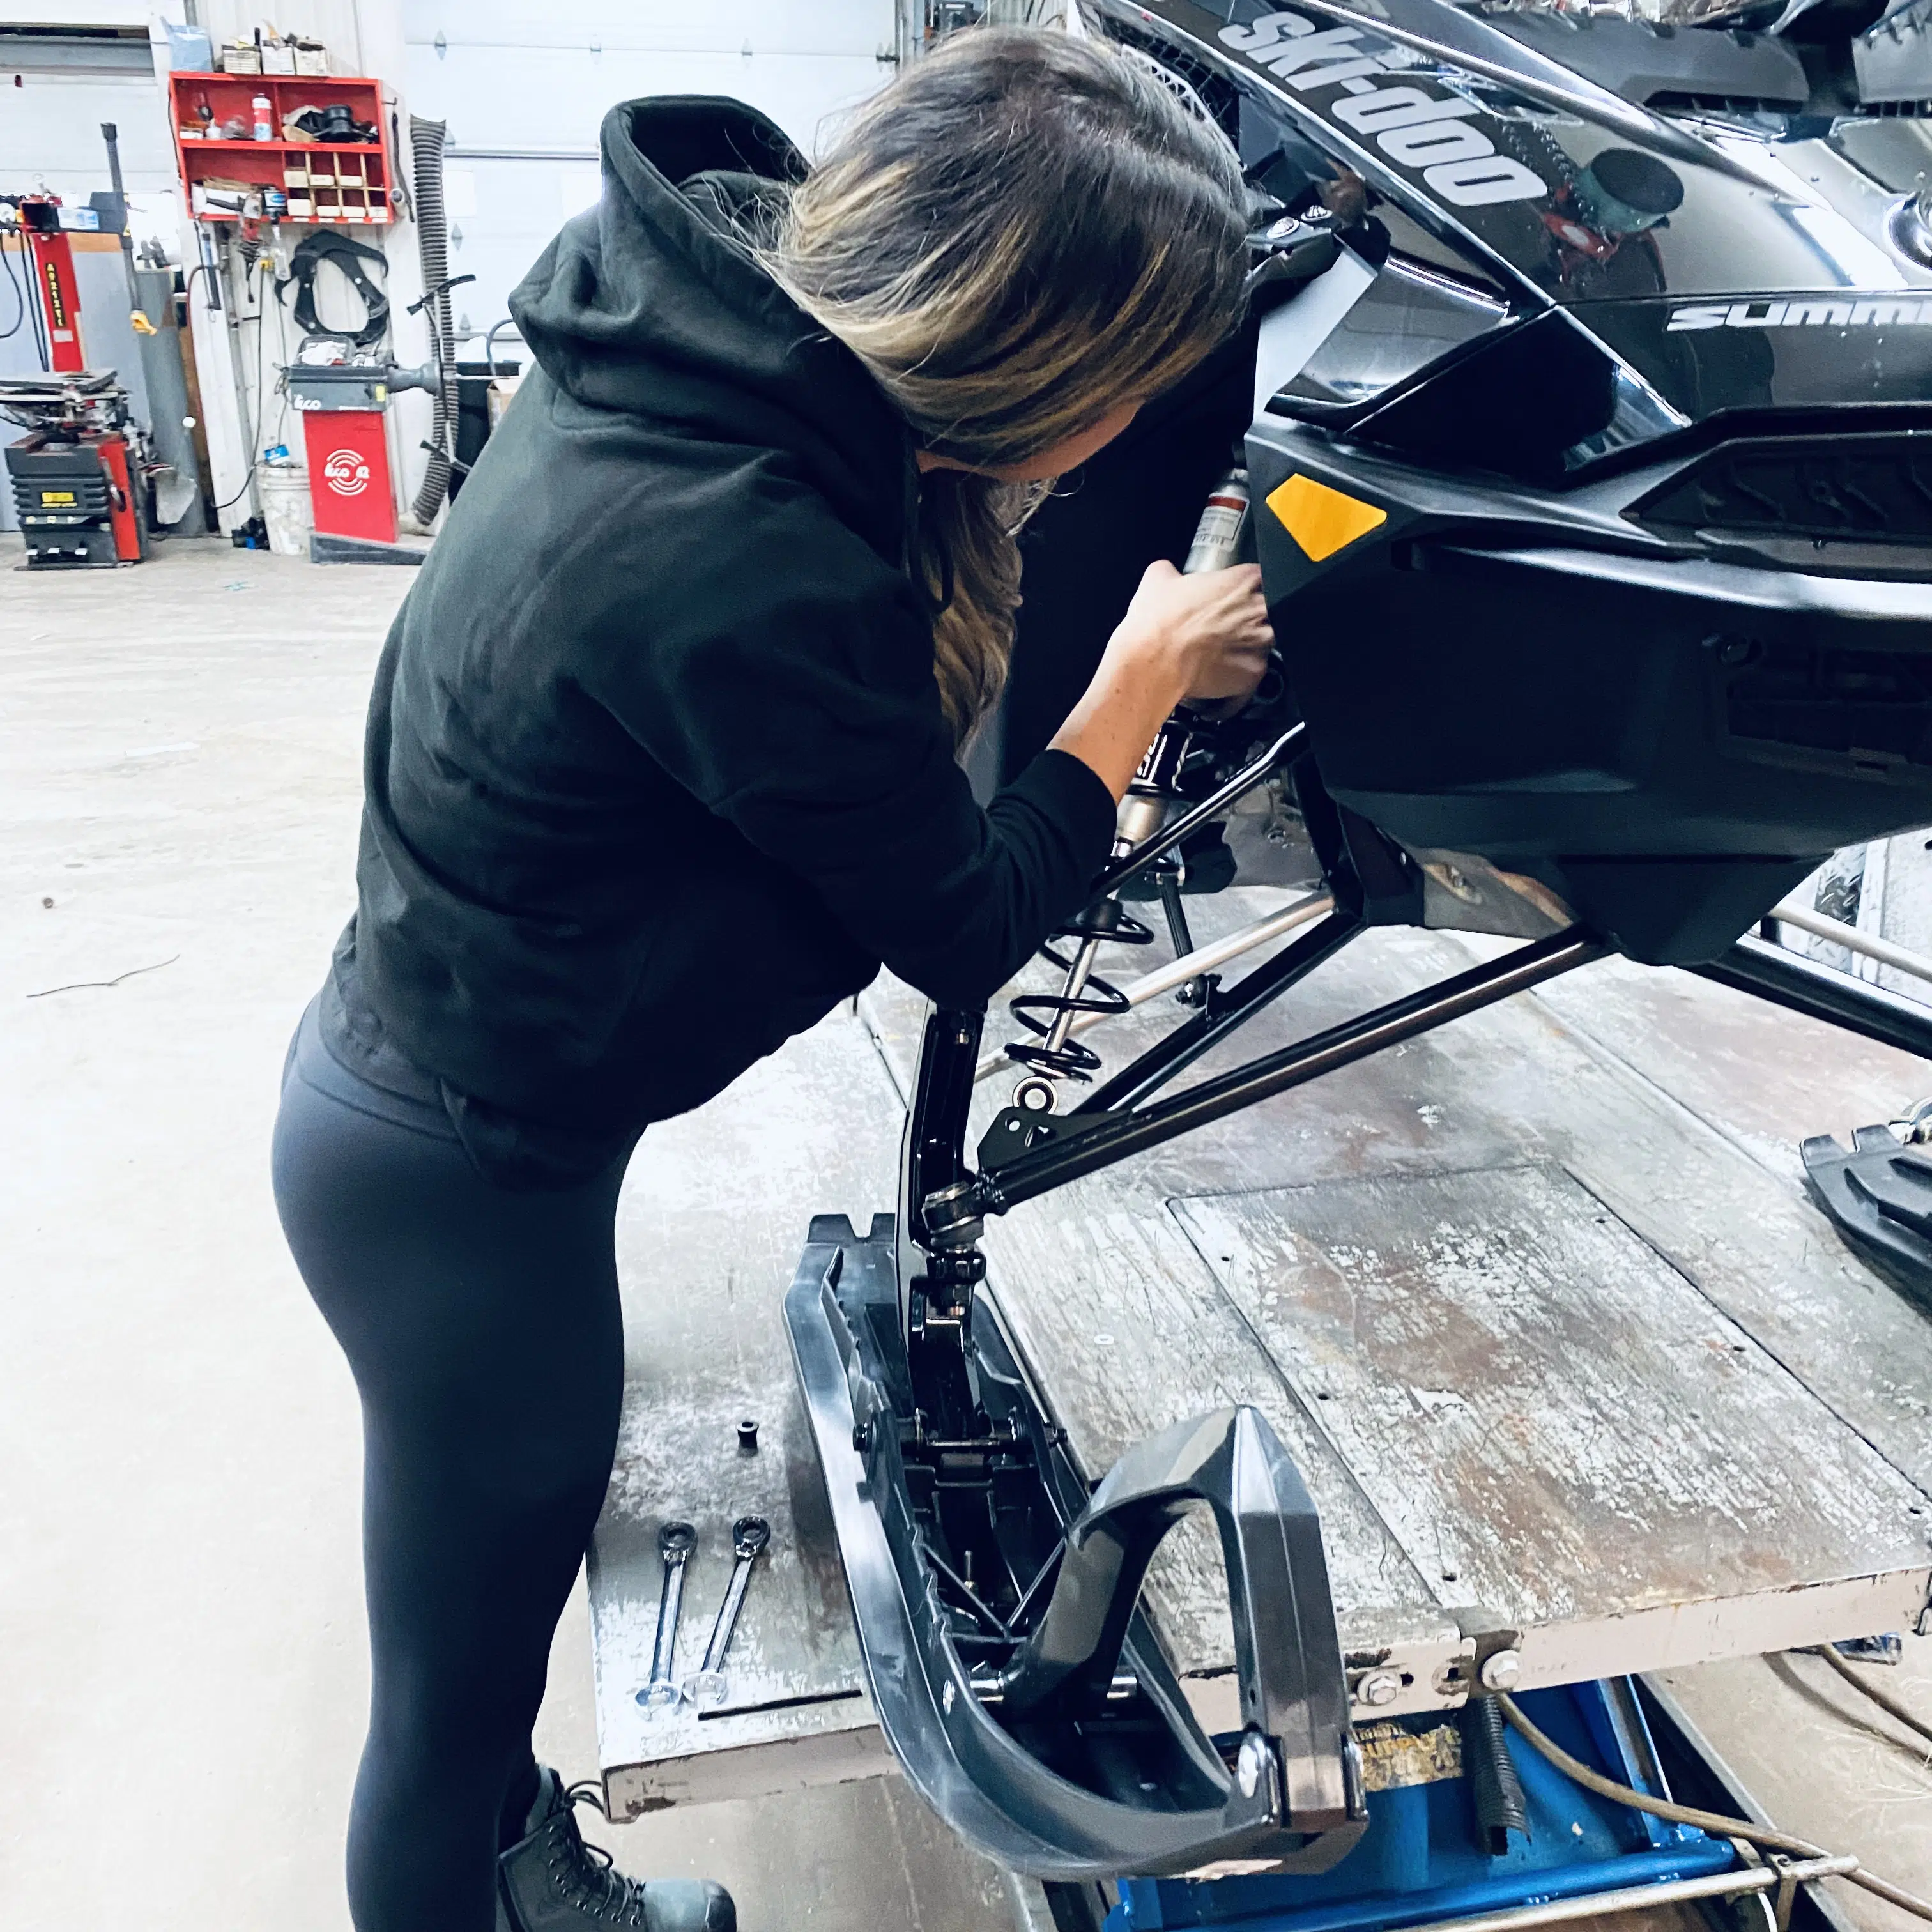
Before starting this step, we remove the side panels of the snowmobile. This will allow later access to the anchoring and fixing point of the top of the front shocks. We also take the opportunity to remove the belt guard (this will be done for the next steps).
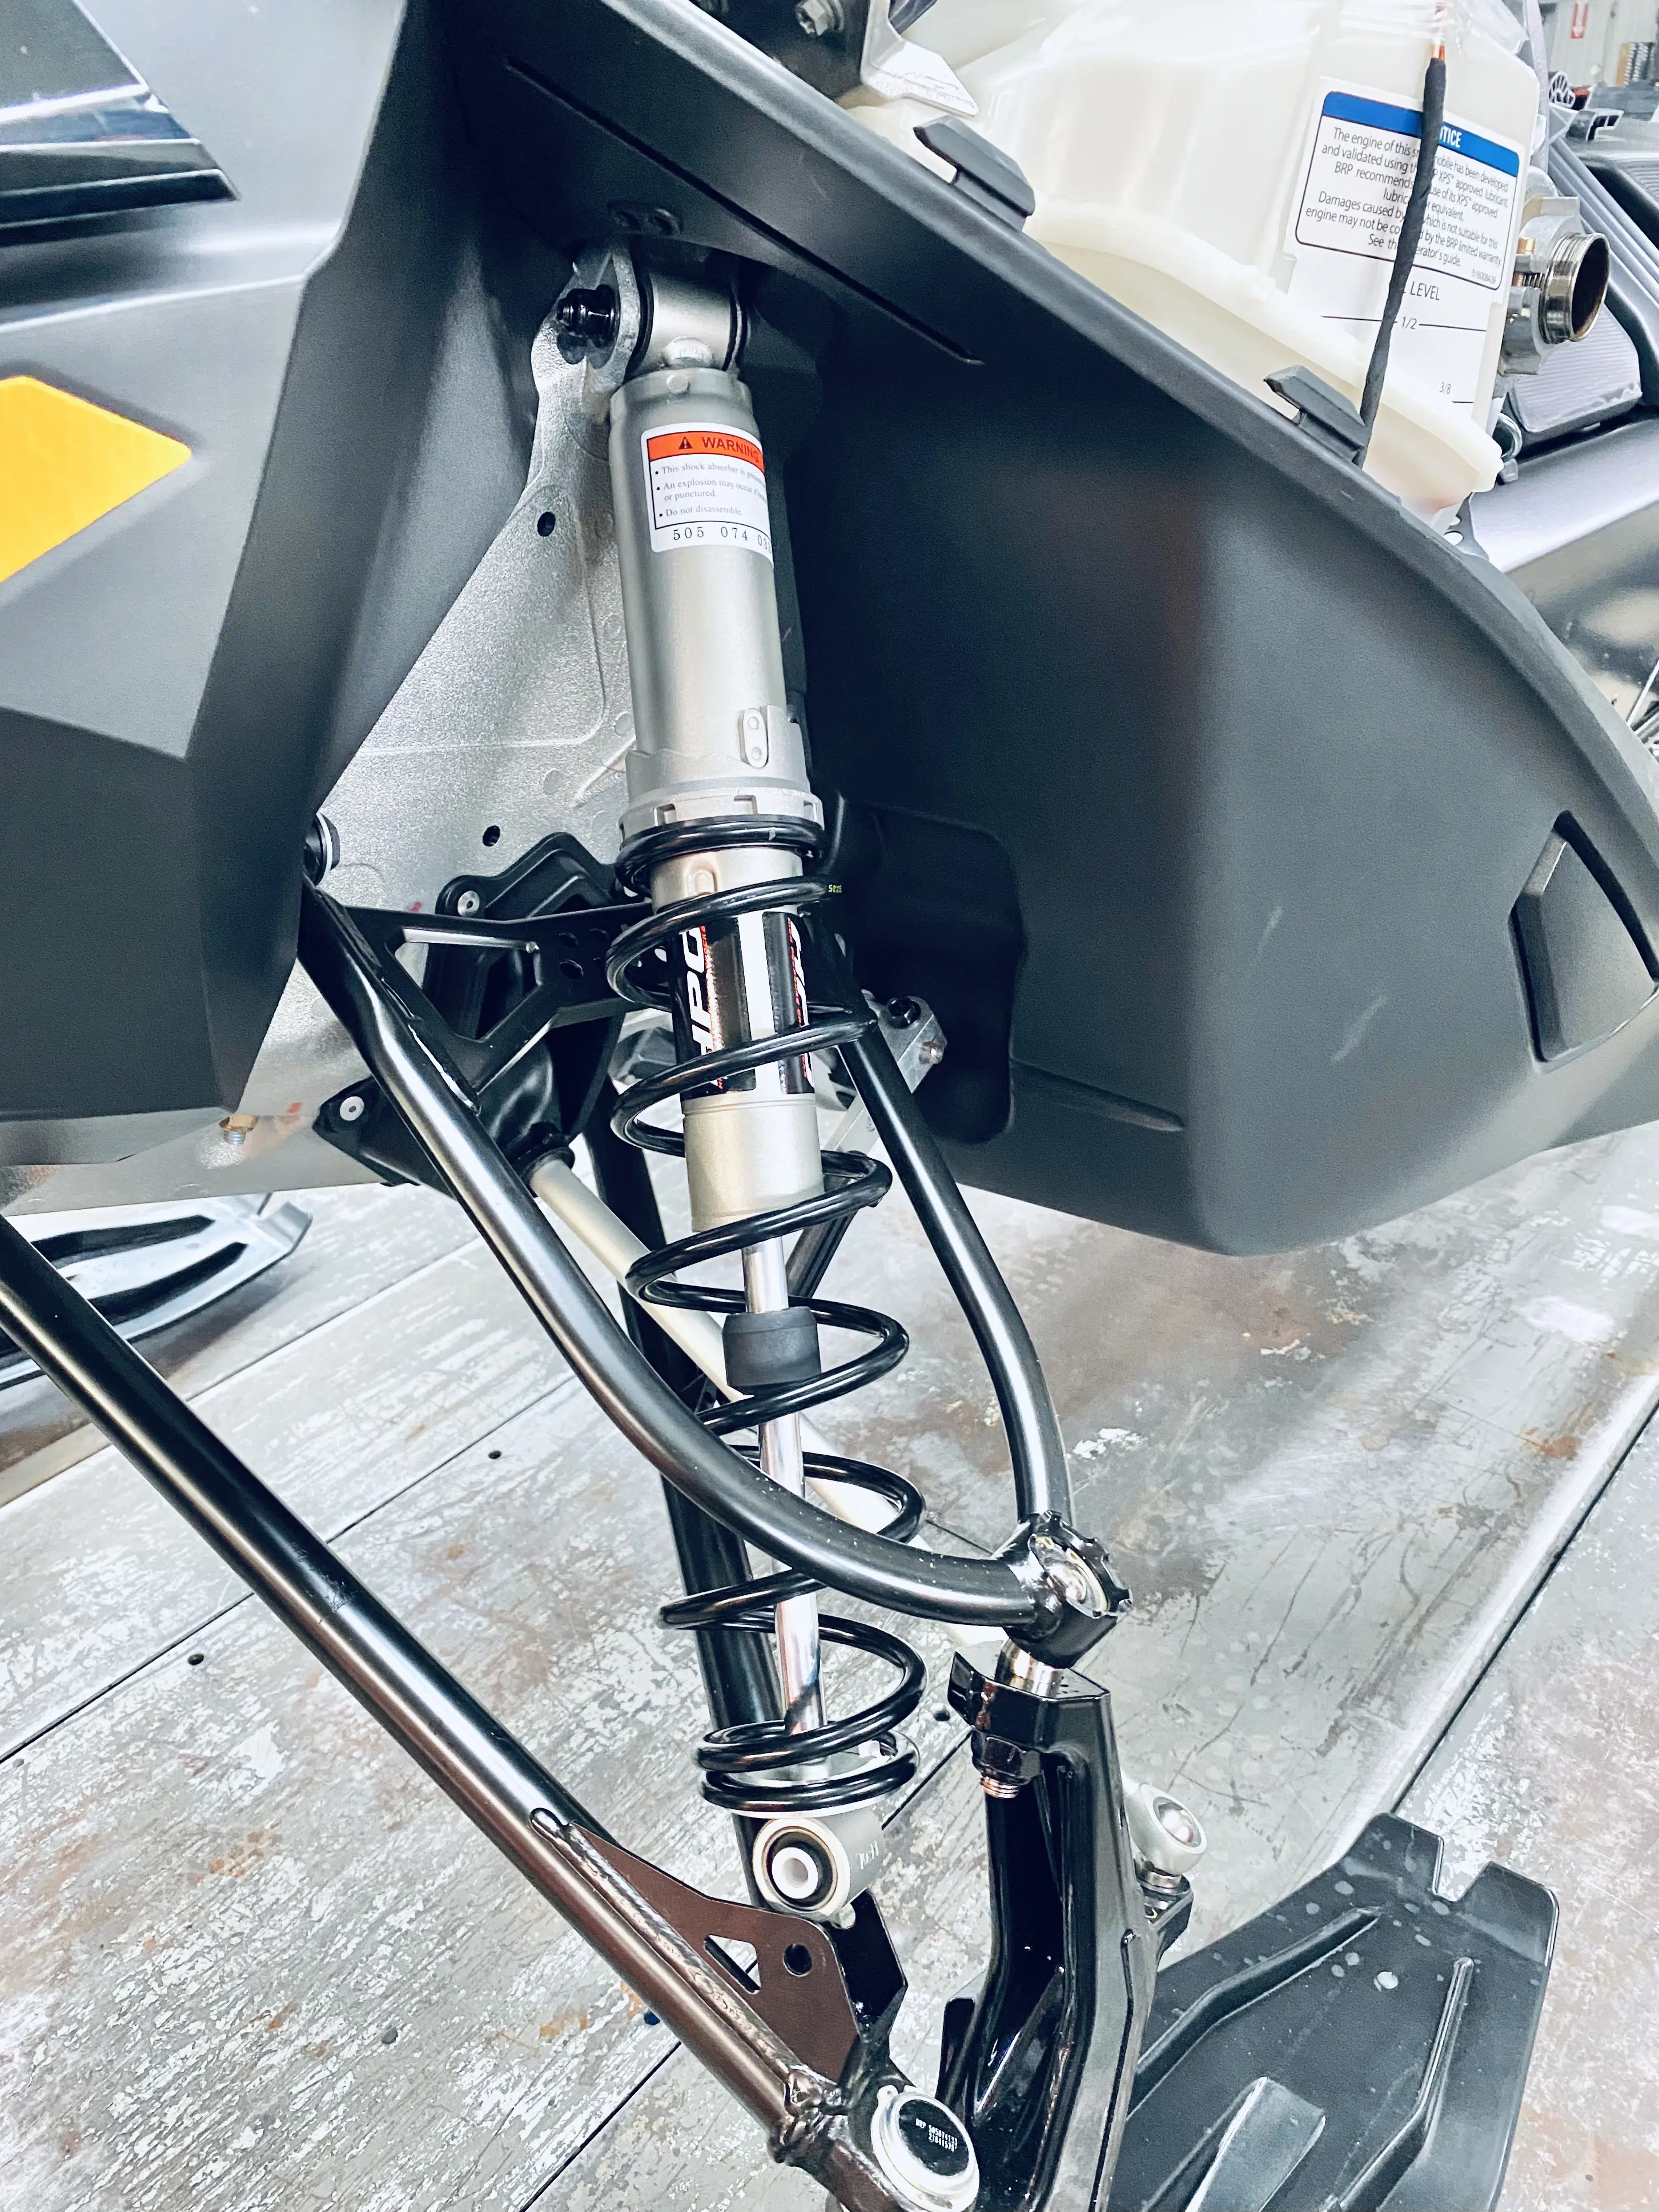
In a first step, we remove the temporary metal rods which maintain the tables raised in the absence of the front shock absorbers. Once removed, the tables automatically go down, leaving all the space necessary for the installation of the front shocks.

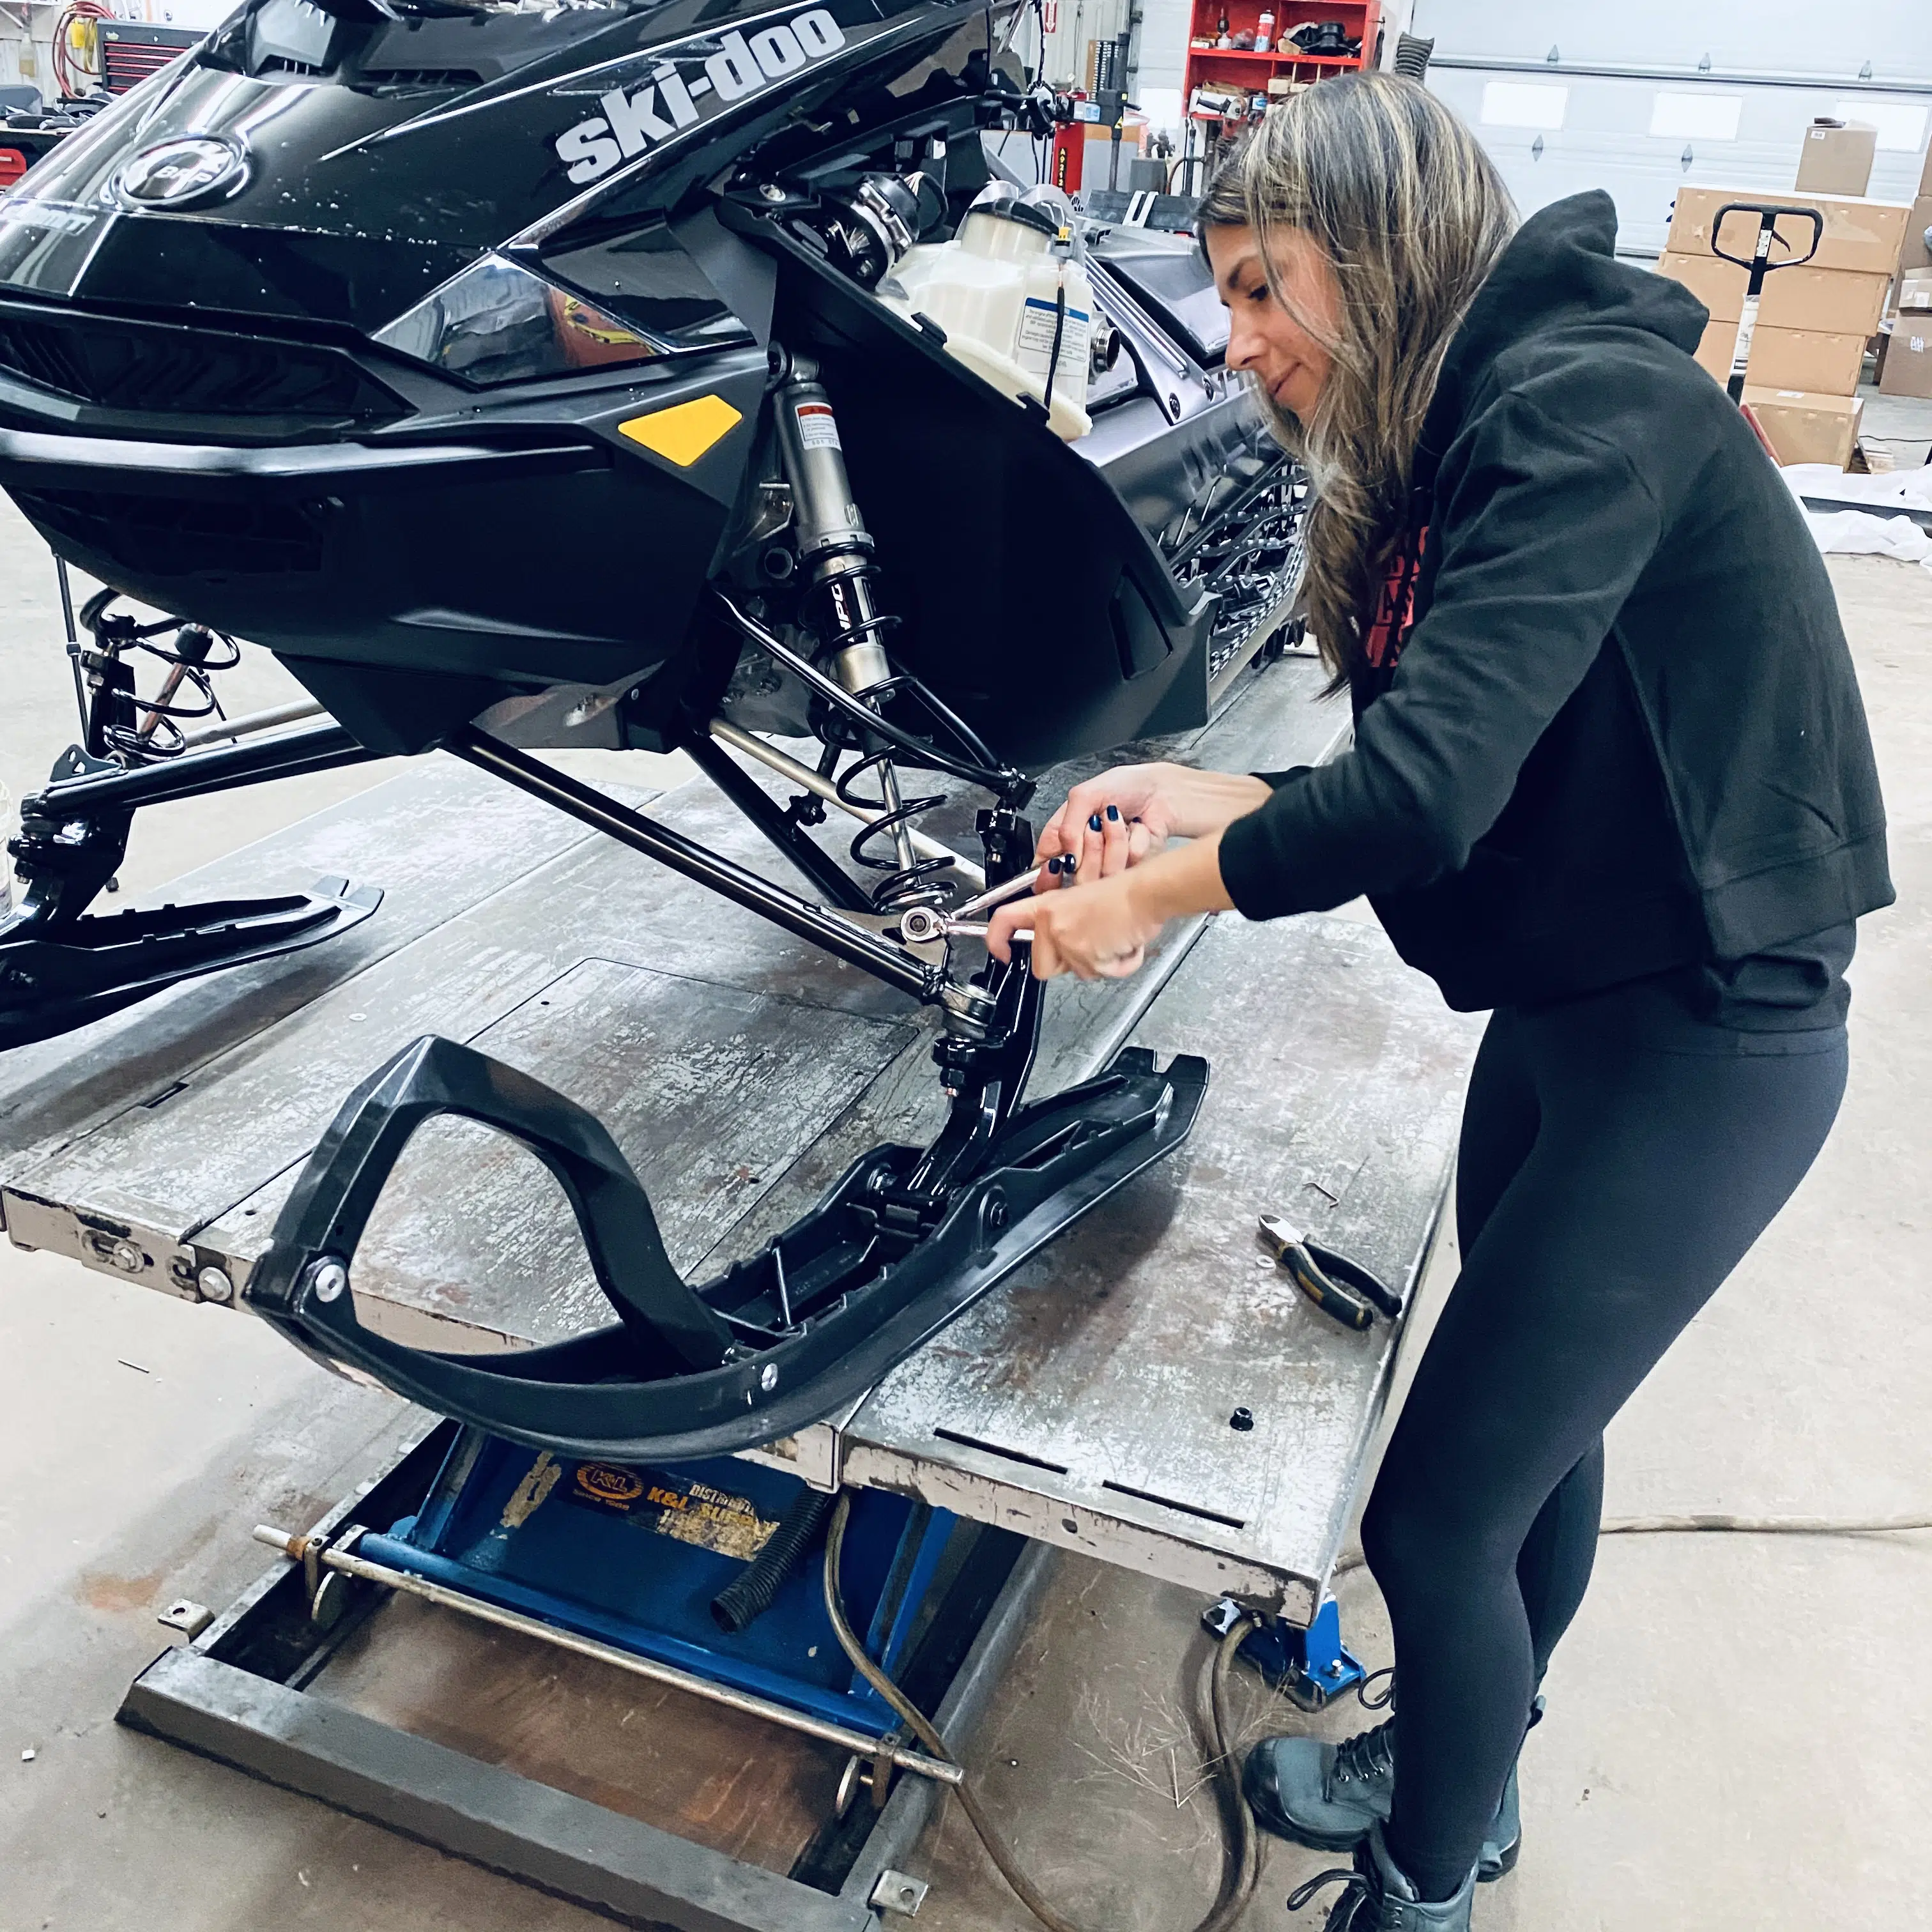
In a second step, we begin the installation of the shocks by the top part. We insert it at its anchor point and we screw the whole thing from the inside of the snowmobile cabin.
Be careful here not to drop the screw from the inside of the cabin!
Otherwise, you will have a lot of fun finding it! Then, we work on fixing the bottom part which will be attached to the bottom of the table.
Step 9
Install the rear bumper
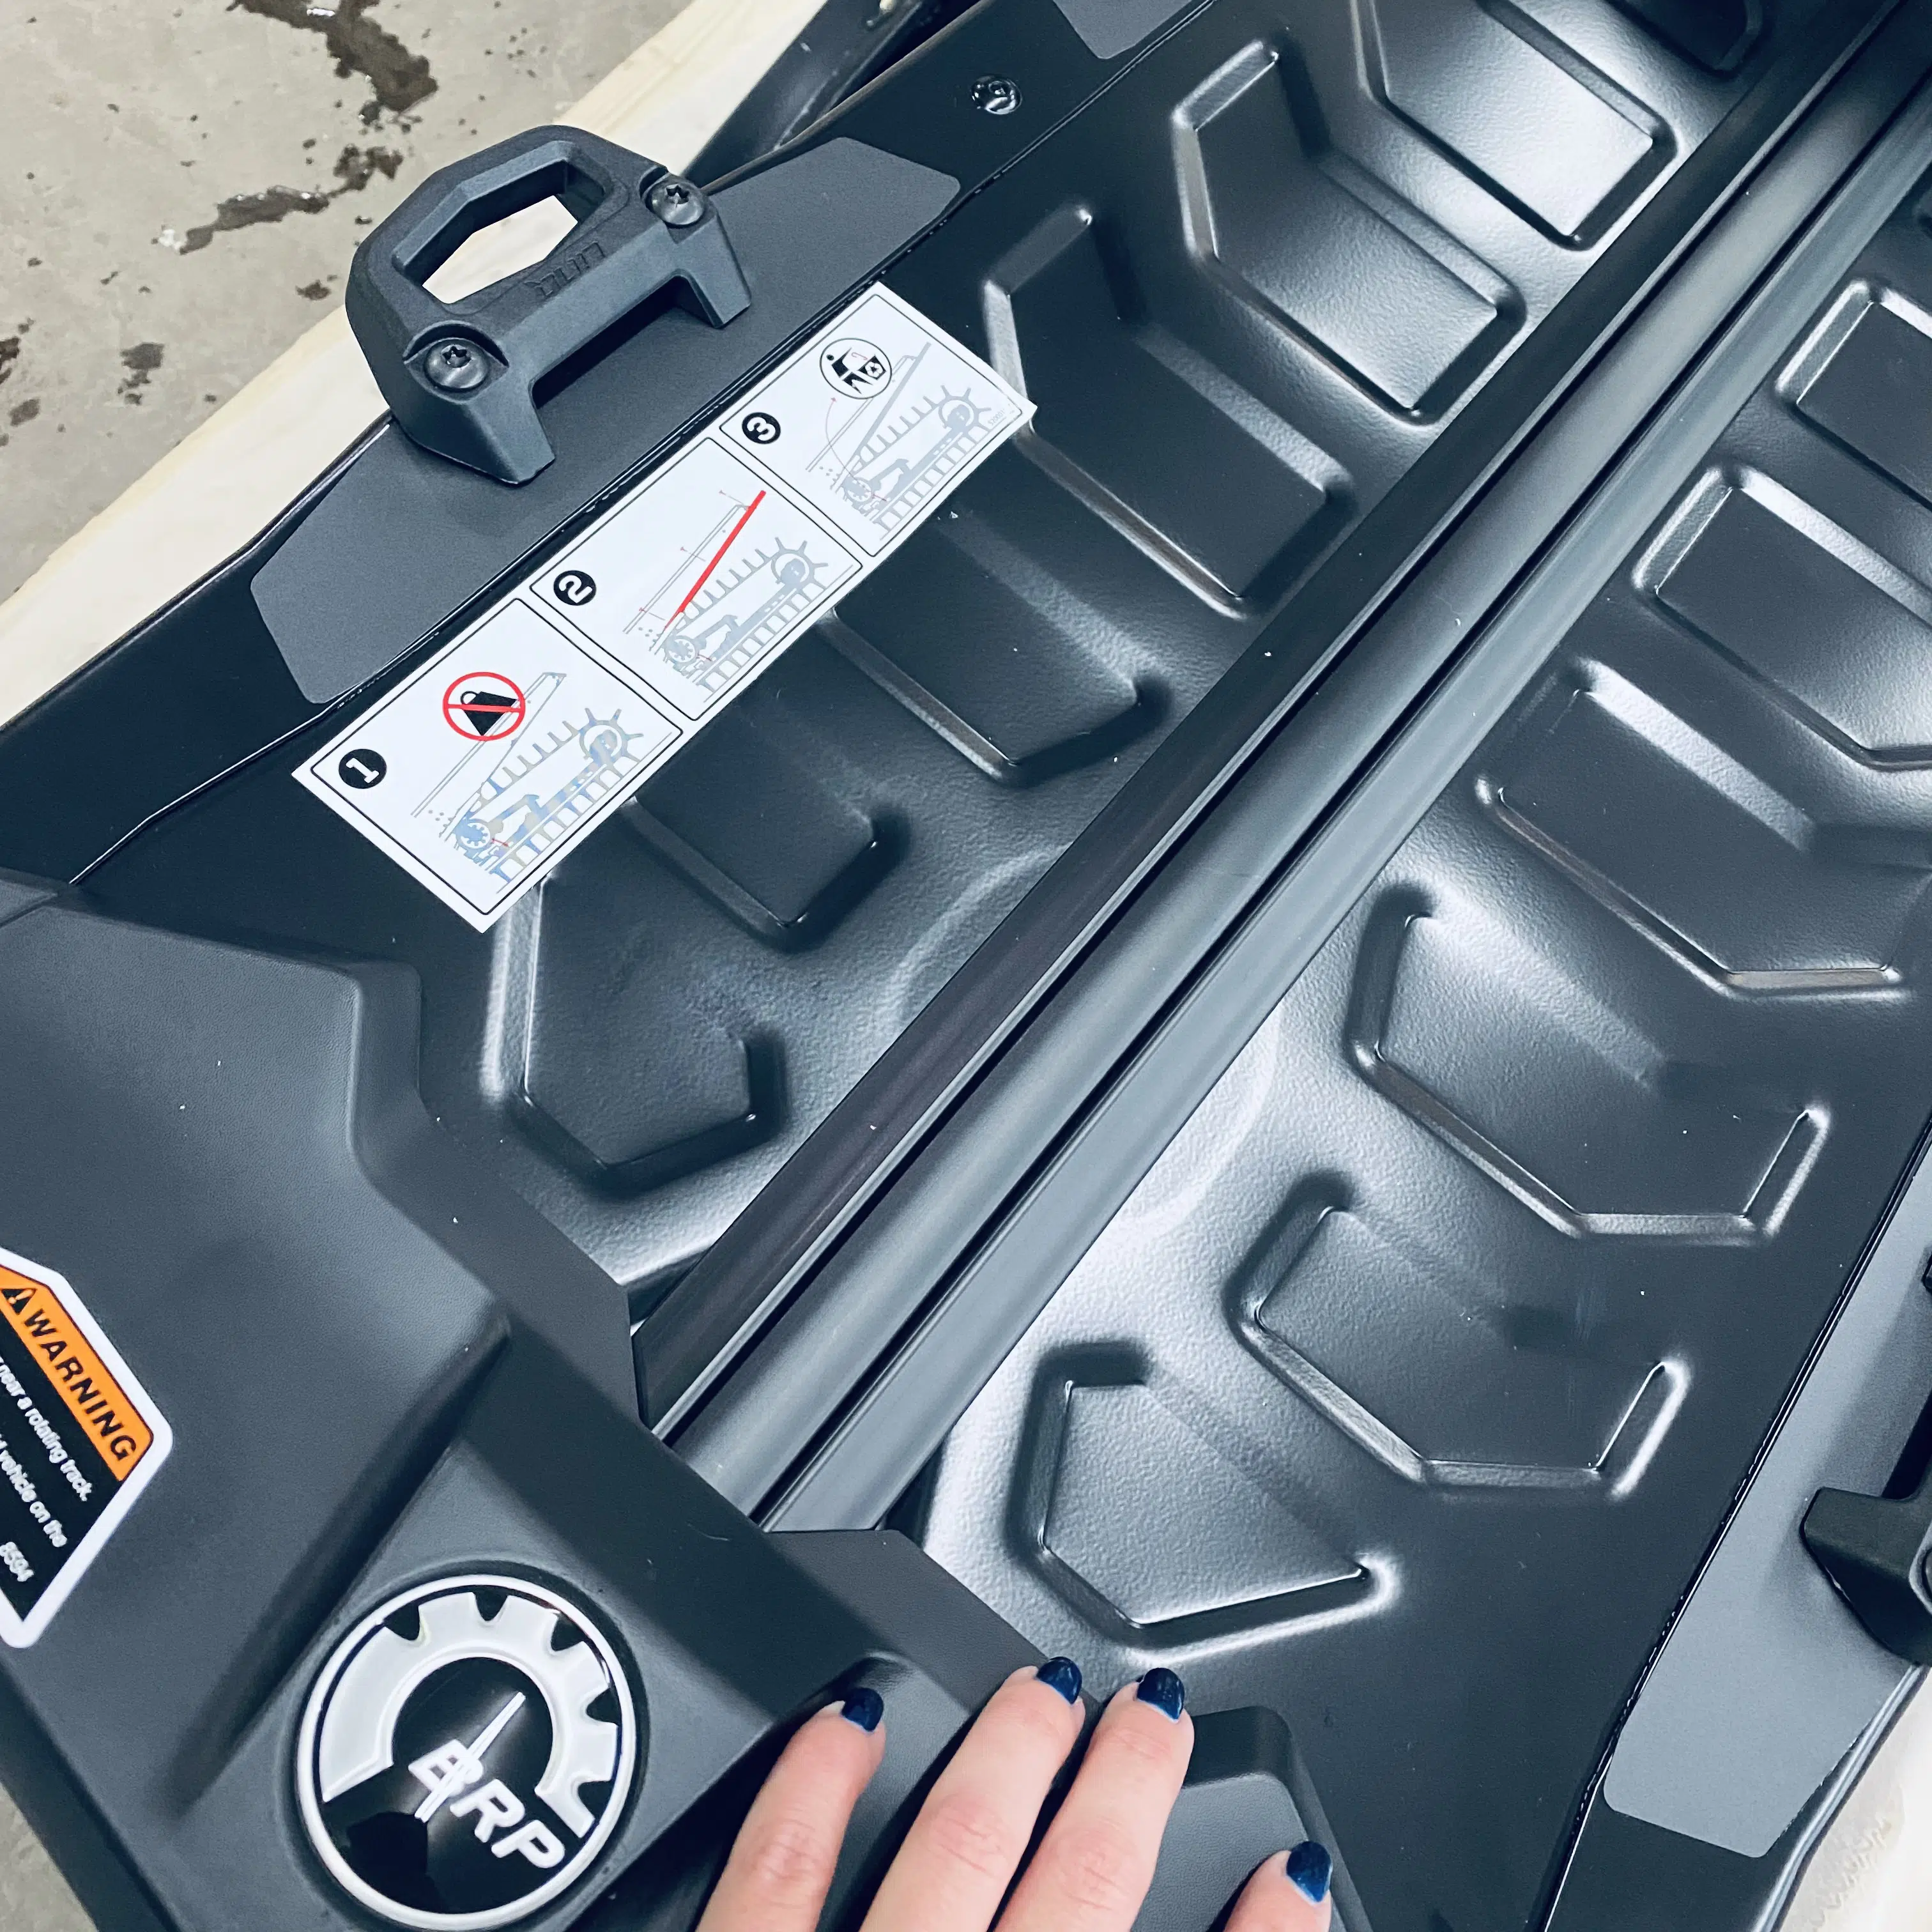
The rear bumper is fixed with screws, on each side of the tunnel, from the inside. It is very important here; as long as the rear bumper of your snowmobile is not installed, your tunnel is very fragile.
So be sure not to handle the snowmobile by its tunnel, but rather by its deck, if you have to. The rear bumper is an essential structural element in the strength of your tunnel.
Step 10
Relaxing the rear suspension
Before completing this step, we first place a block of wood under the track of the snowmobile (at the front end of the rails). The snowmobile is then lowered until it sits securely on the work table and is detached from the chain block.
You also take the opportunity to attach the seat.
The rear suspension of the snowmobile is kept compressed during its transport thanks to three metal hooks located inside its deck (one in the center and two at the rear).
To remove them, we make sure that the wood block is well positioned under the track and we apply a lot of weight on the seat of the snowmobile to further compress the suspension and allow the hooks to be released from their anchors.

Step 11
Installing the parts and accessories
We now install the tip of the skis, the snow guard, the hand guards and the mirrors.
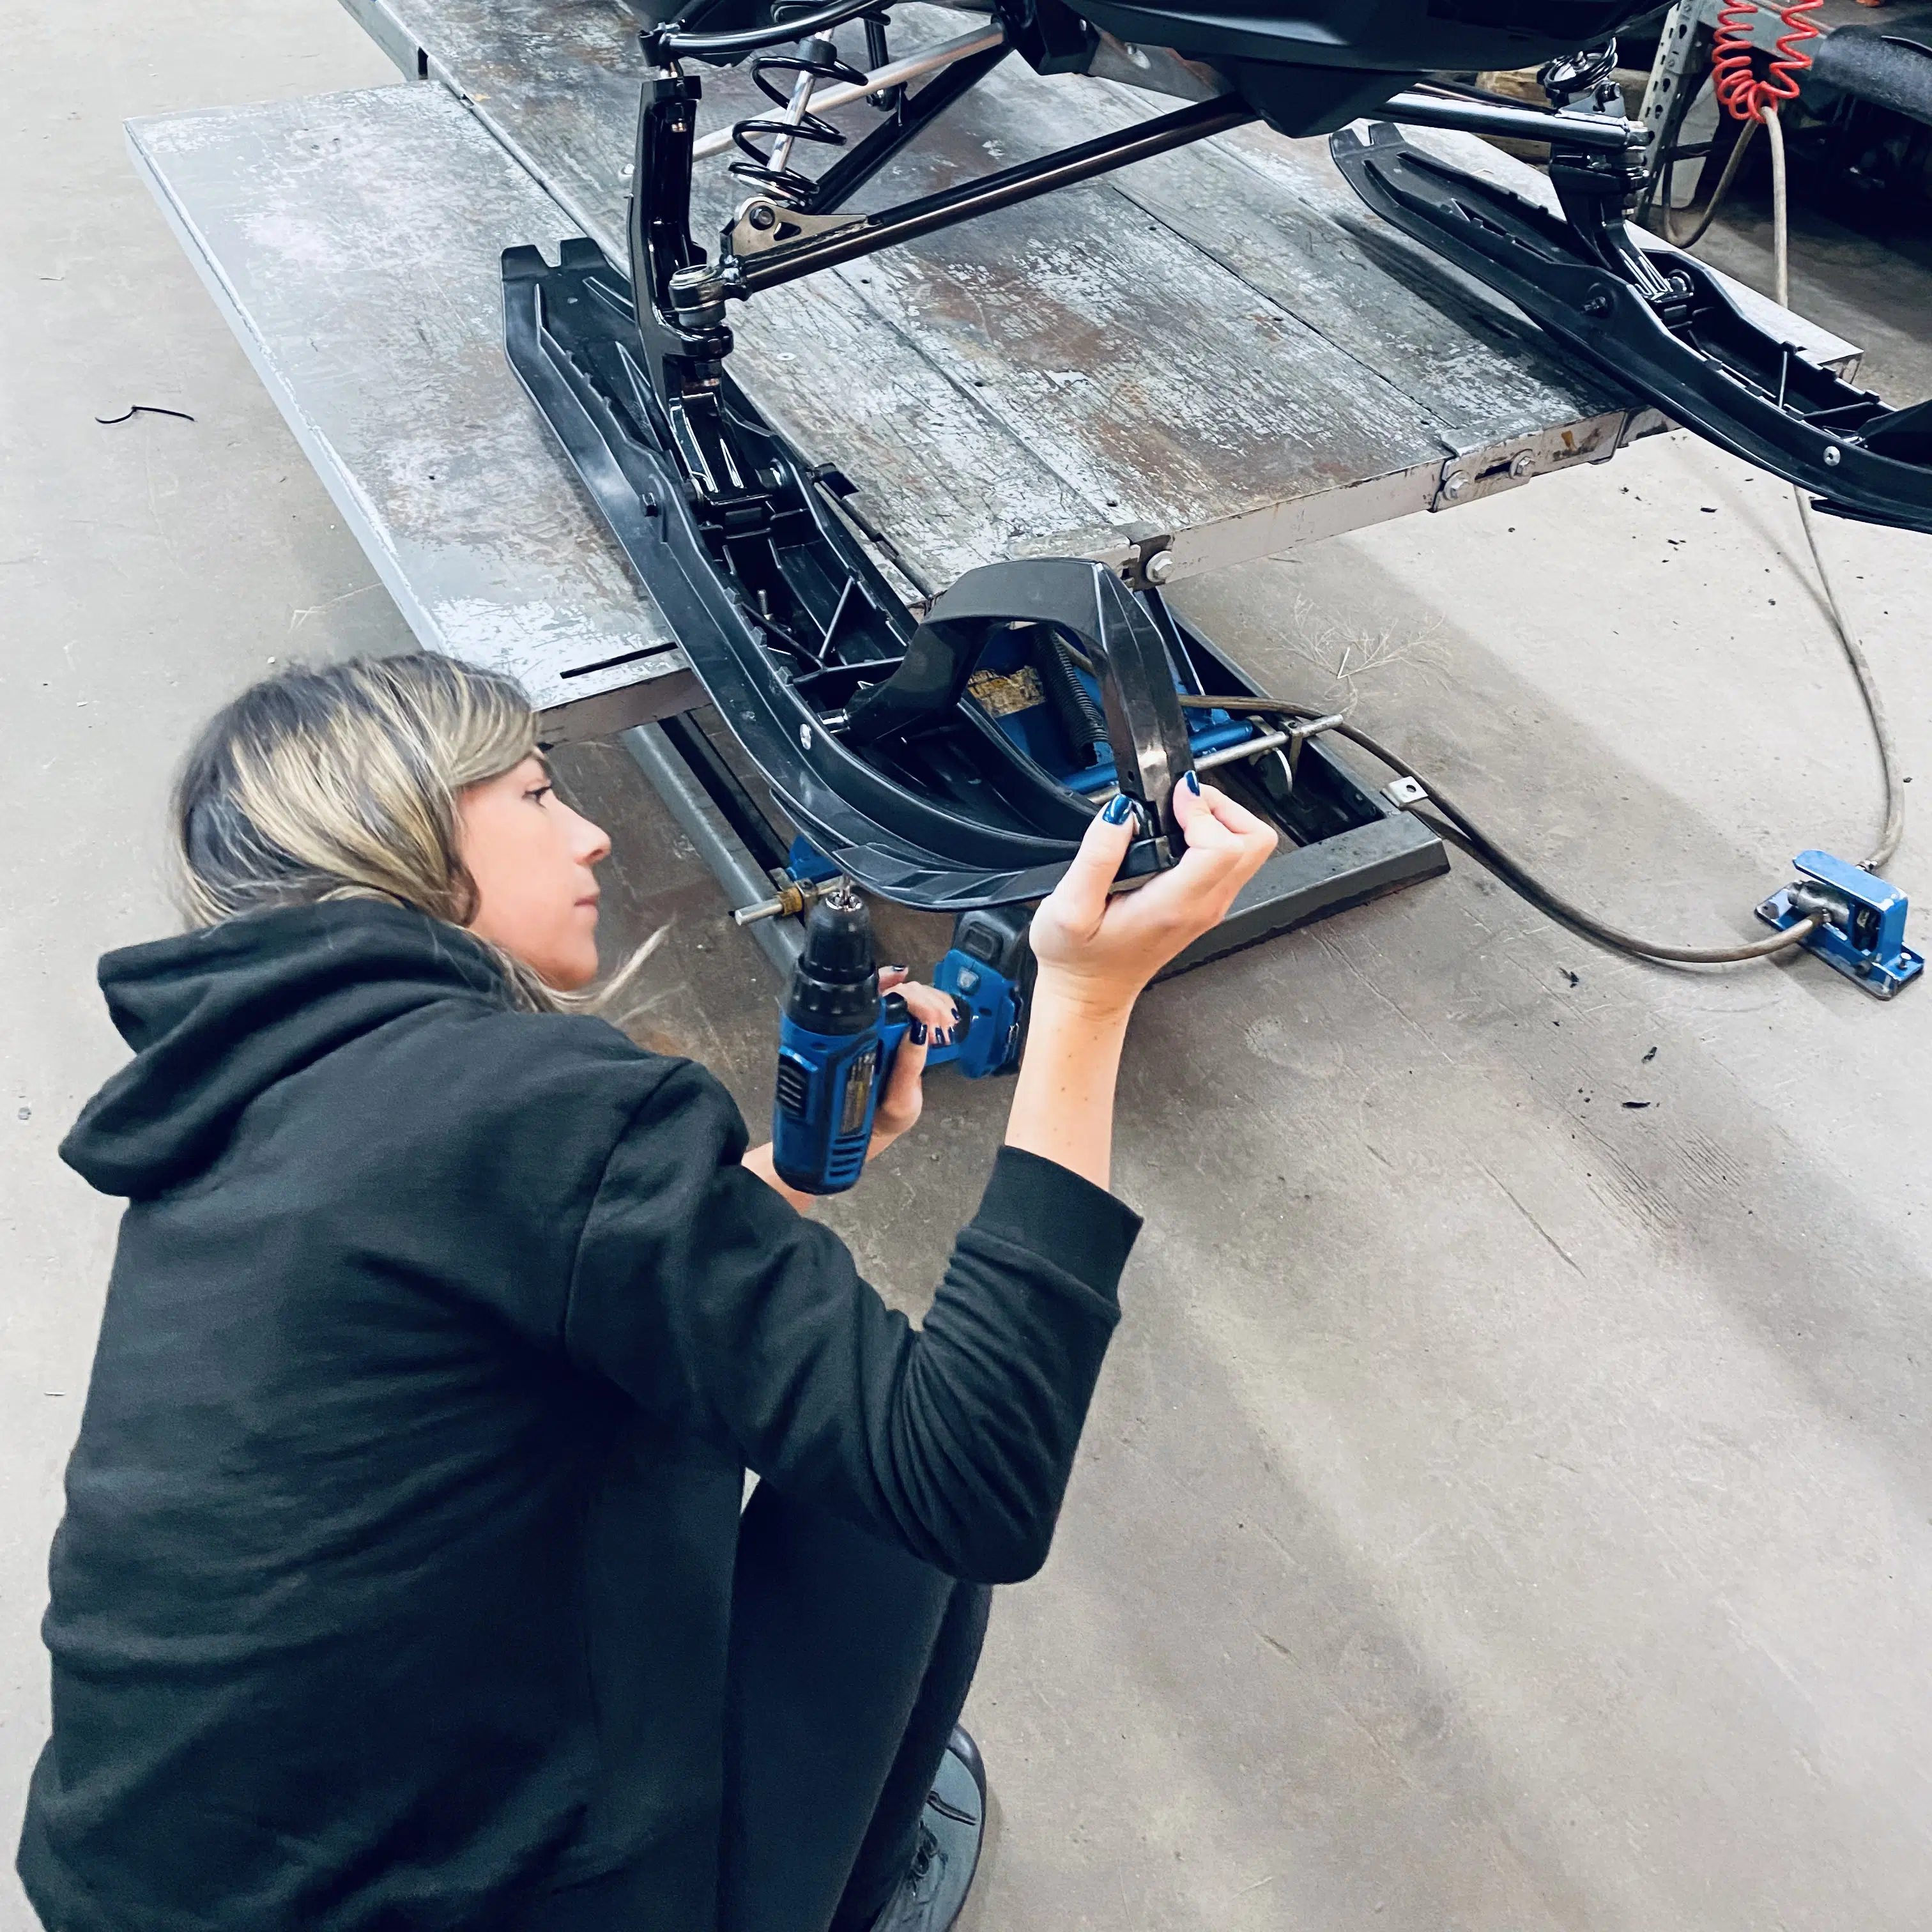
The tip of the skis
Depending on the type of snowmobile you have, you may not have to attach the ski tips. In my case, the Summit SP 2022 is equipped with “pilot DS-3 off-trail” skis that require this step.
The snow guard
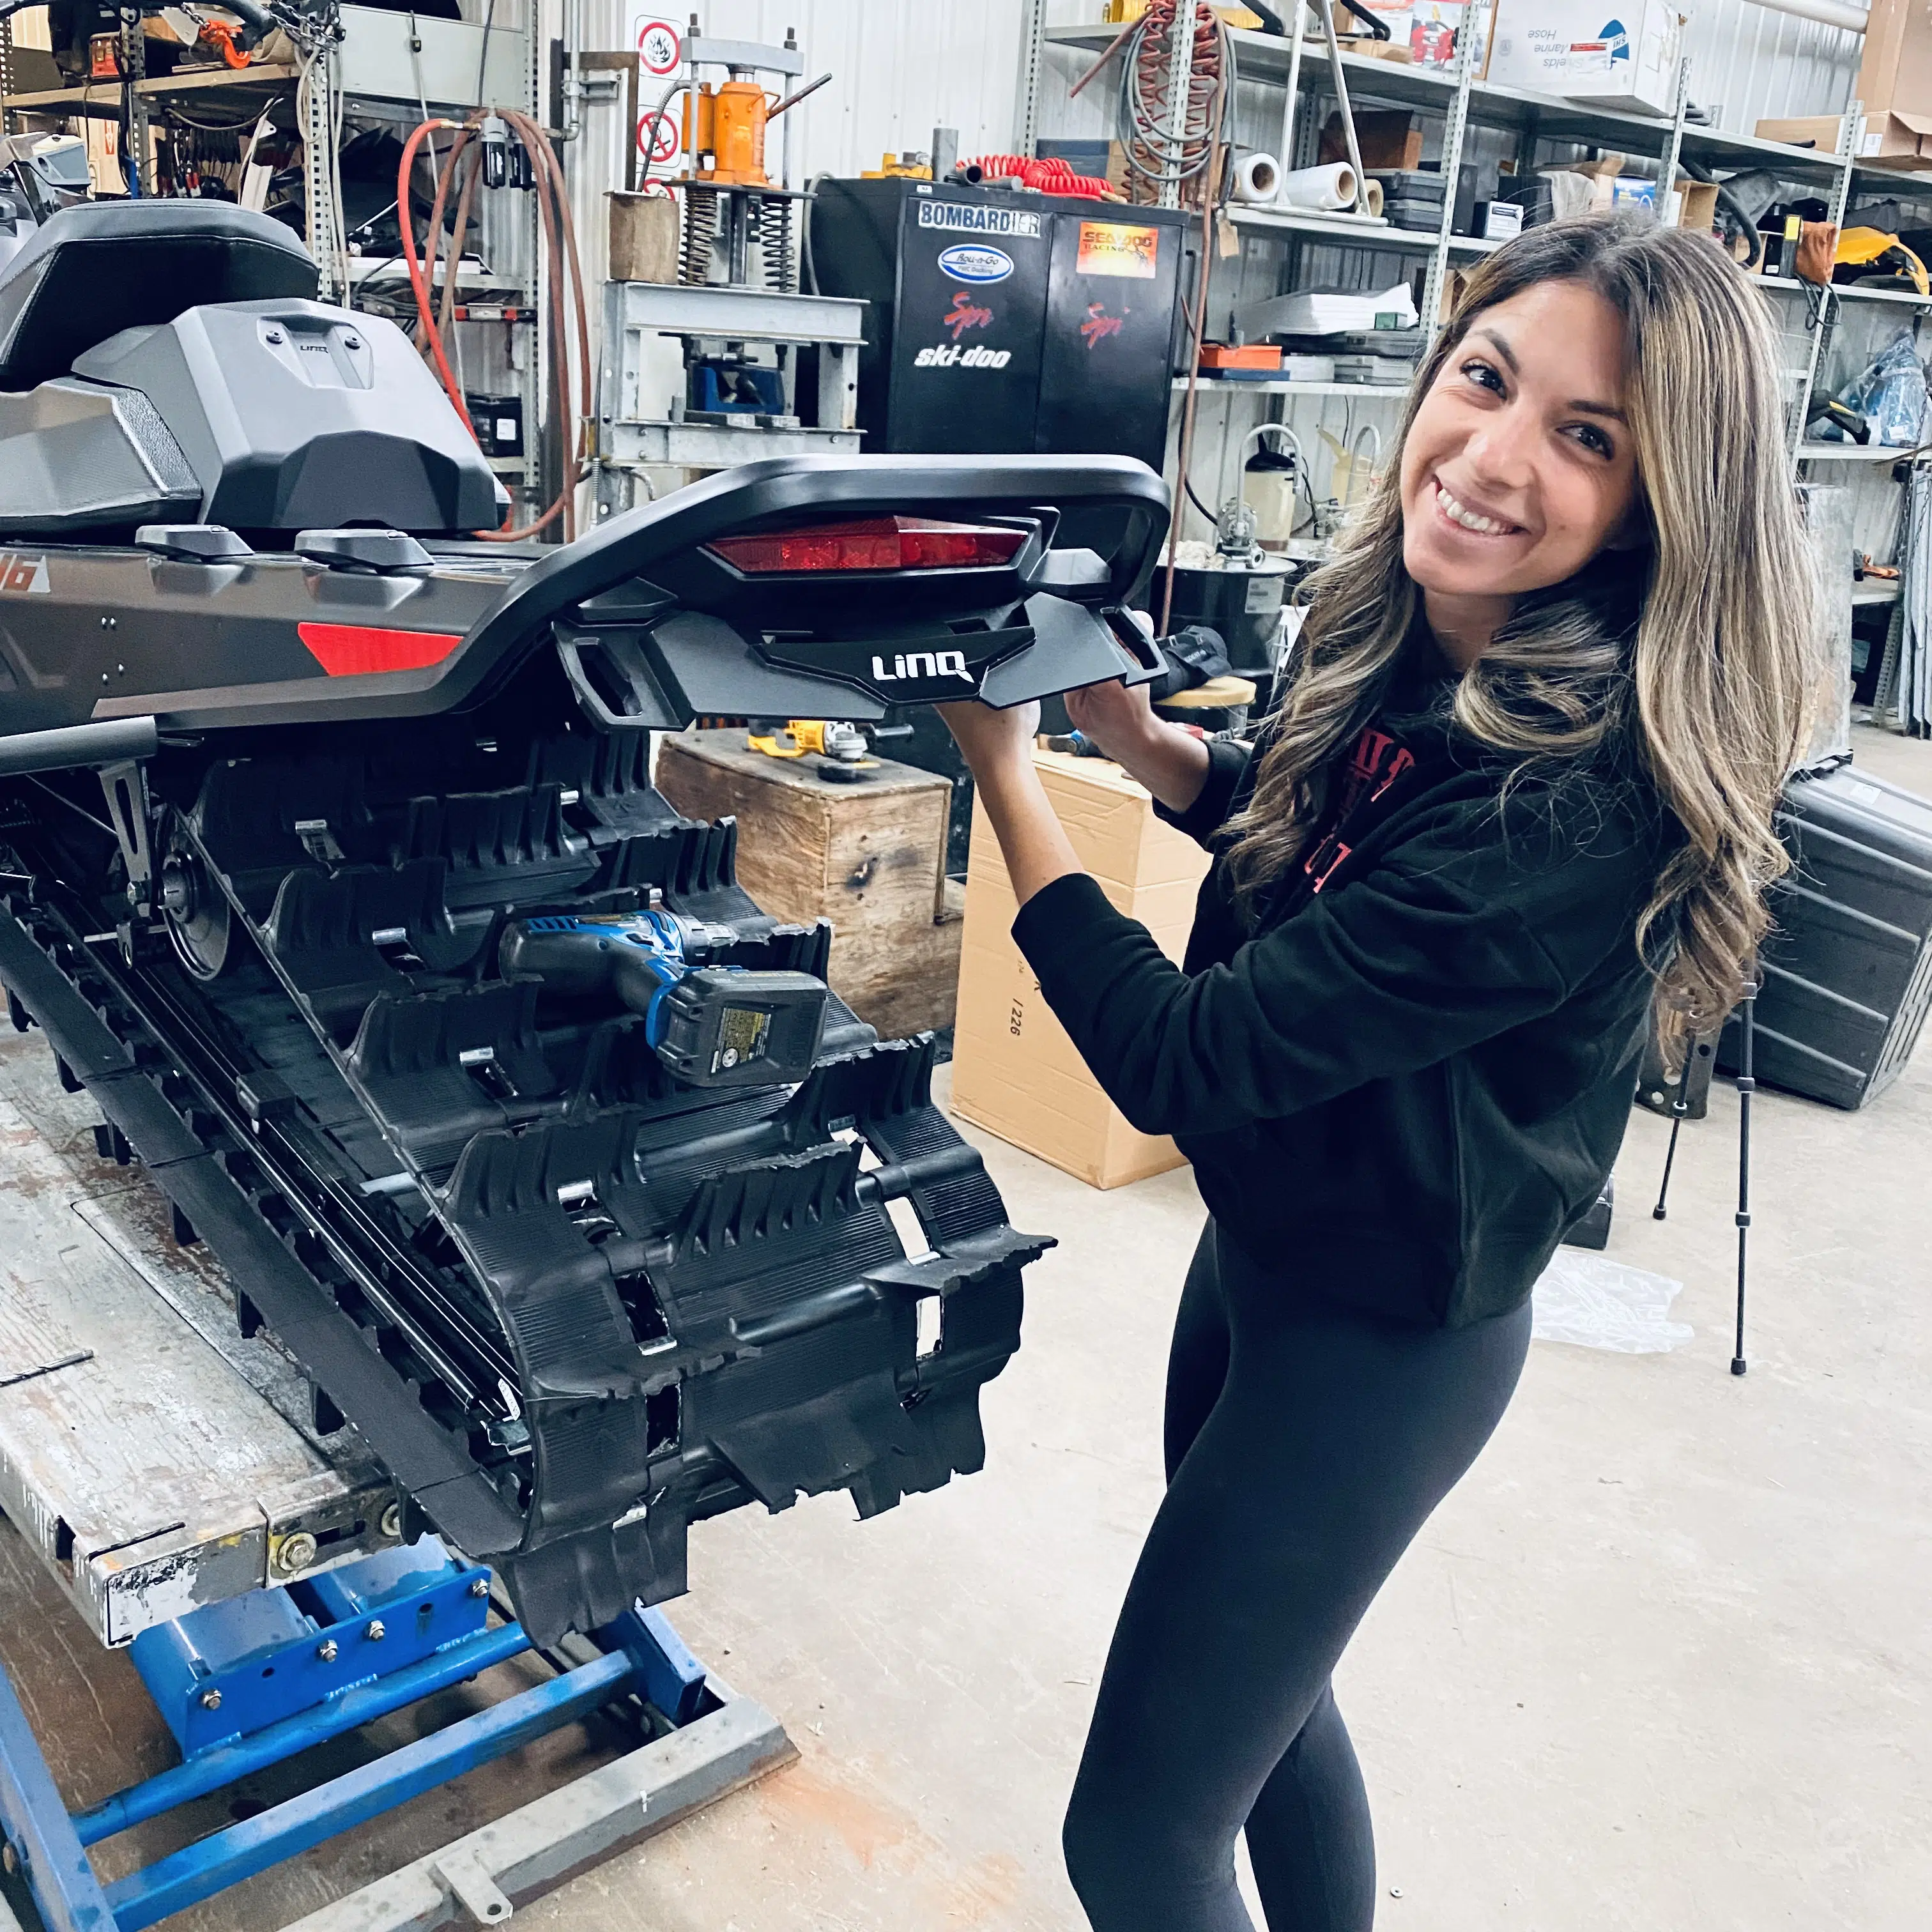
As for the snow guard (snow flap), I chose a removable one (as an accessory). It is very easy to remove and reposition it using the “LinQ” system developed by Ski-Doo.
It is even possible to attach it directly to the tunnel, once removed, by adding an additional “LinQ” kit. I find it very convenient to be able to remove it off trail, as it becomes more obtrusive and draggy in deep snow.
Handguards and mirrors
For the Summit SP 2022, the handguards must be added as an accessory. If this is your case, you are free to choose the model you want. As for me, I opted for Ski-Doo’s flexible handguards, specifically designed for off-trail riding.
If you plan to do some trail riding this winter with your off-trail snowmobile, don’t forget to add at least a small mirror on the left side. This safety measure is required by law.
Personally, I like the ones made by Ski-Doo that are available as accessories. They are small and rotate to close inside your handguards when you are not using them.
Step 12
Calibrate to sea level
Some Ski-Doo snowmobiles have a clutch system calibrated for high altitude riding (over 1,200 meters). This is notably the case with my Summit SP 2022. At higher altitudes, the snowmobile’s engine loses power.
It is therefore necessary to get it to rev at higher rpm, thanks to adjustments in the clutch system, so that it delivers the expected power.
At lower altitudes, the engine doesn’t suffer from this power loss and would rev much too high if it was left in its original high-altitude calibration.
Considering that I am unfortunately not lucky enough to live in Western Canada, I have to install a calibration kit for sea level (driving at less than 1,200 meters of altitude).
This kit involves the replacement of parts (mostly “spring” and “ramps”) of the clutch system.
Step 13
Install and adjust the timing belt
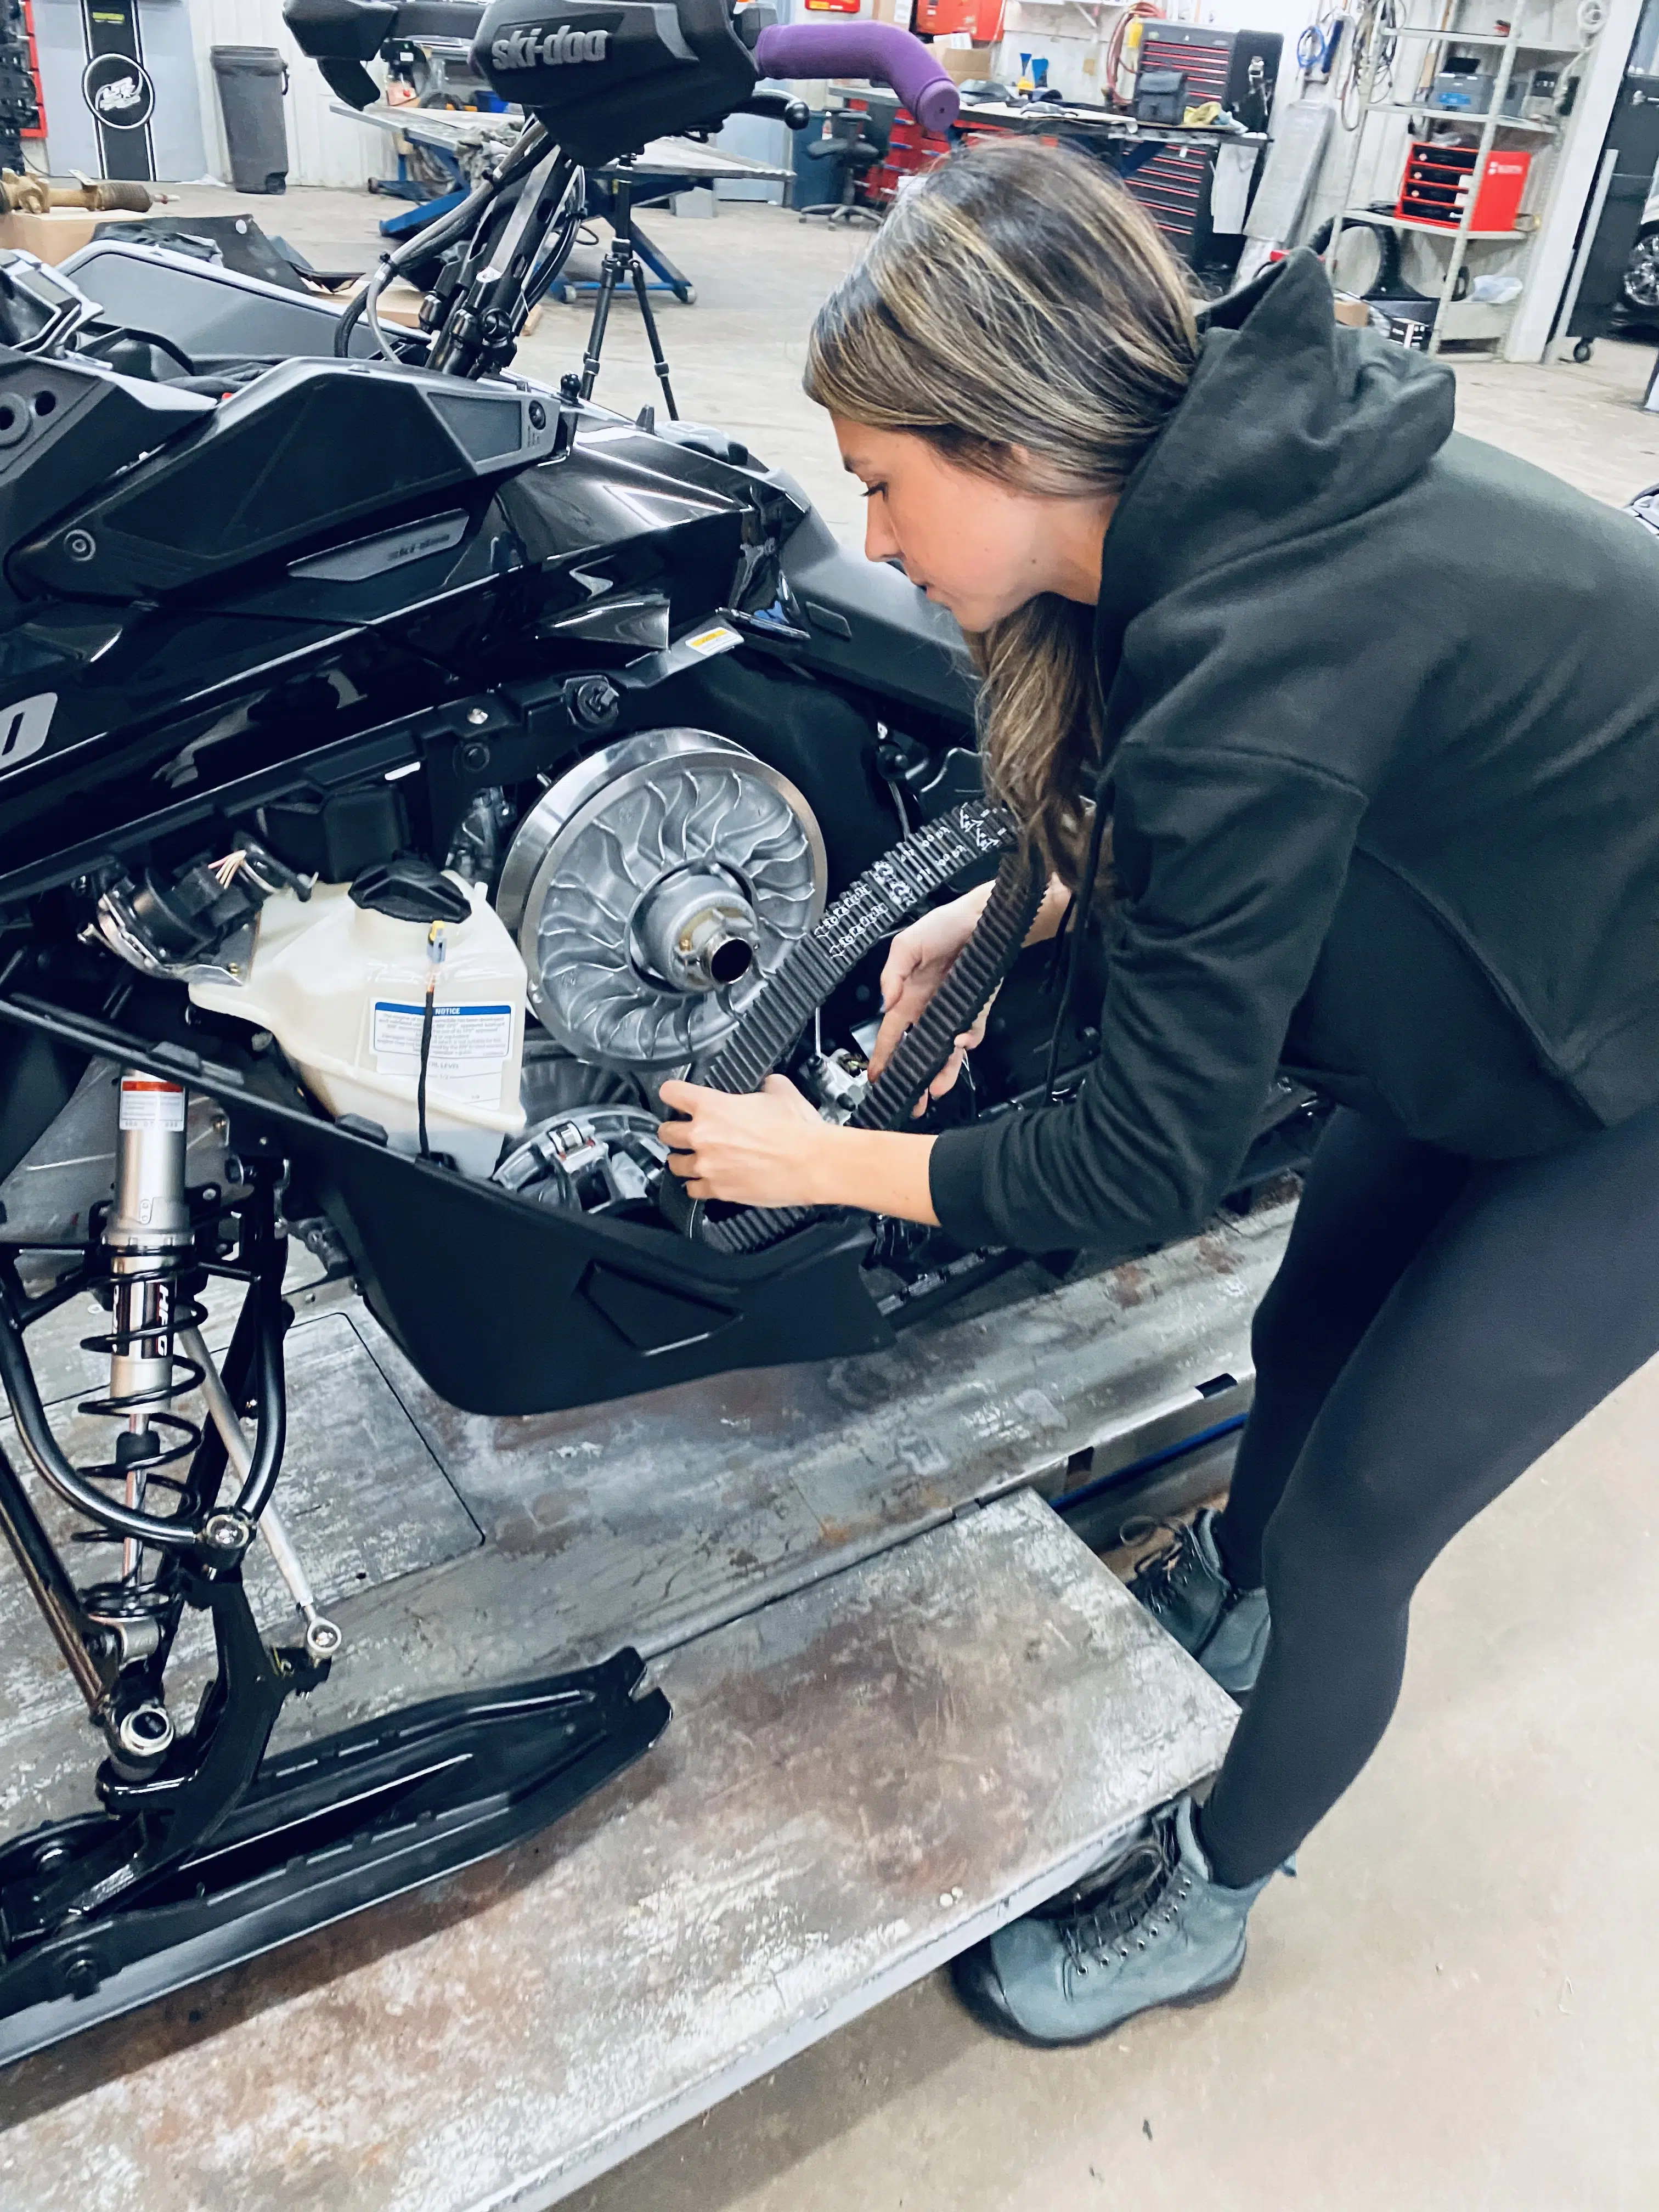
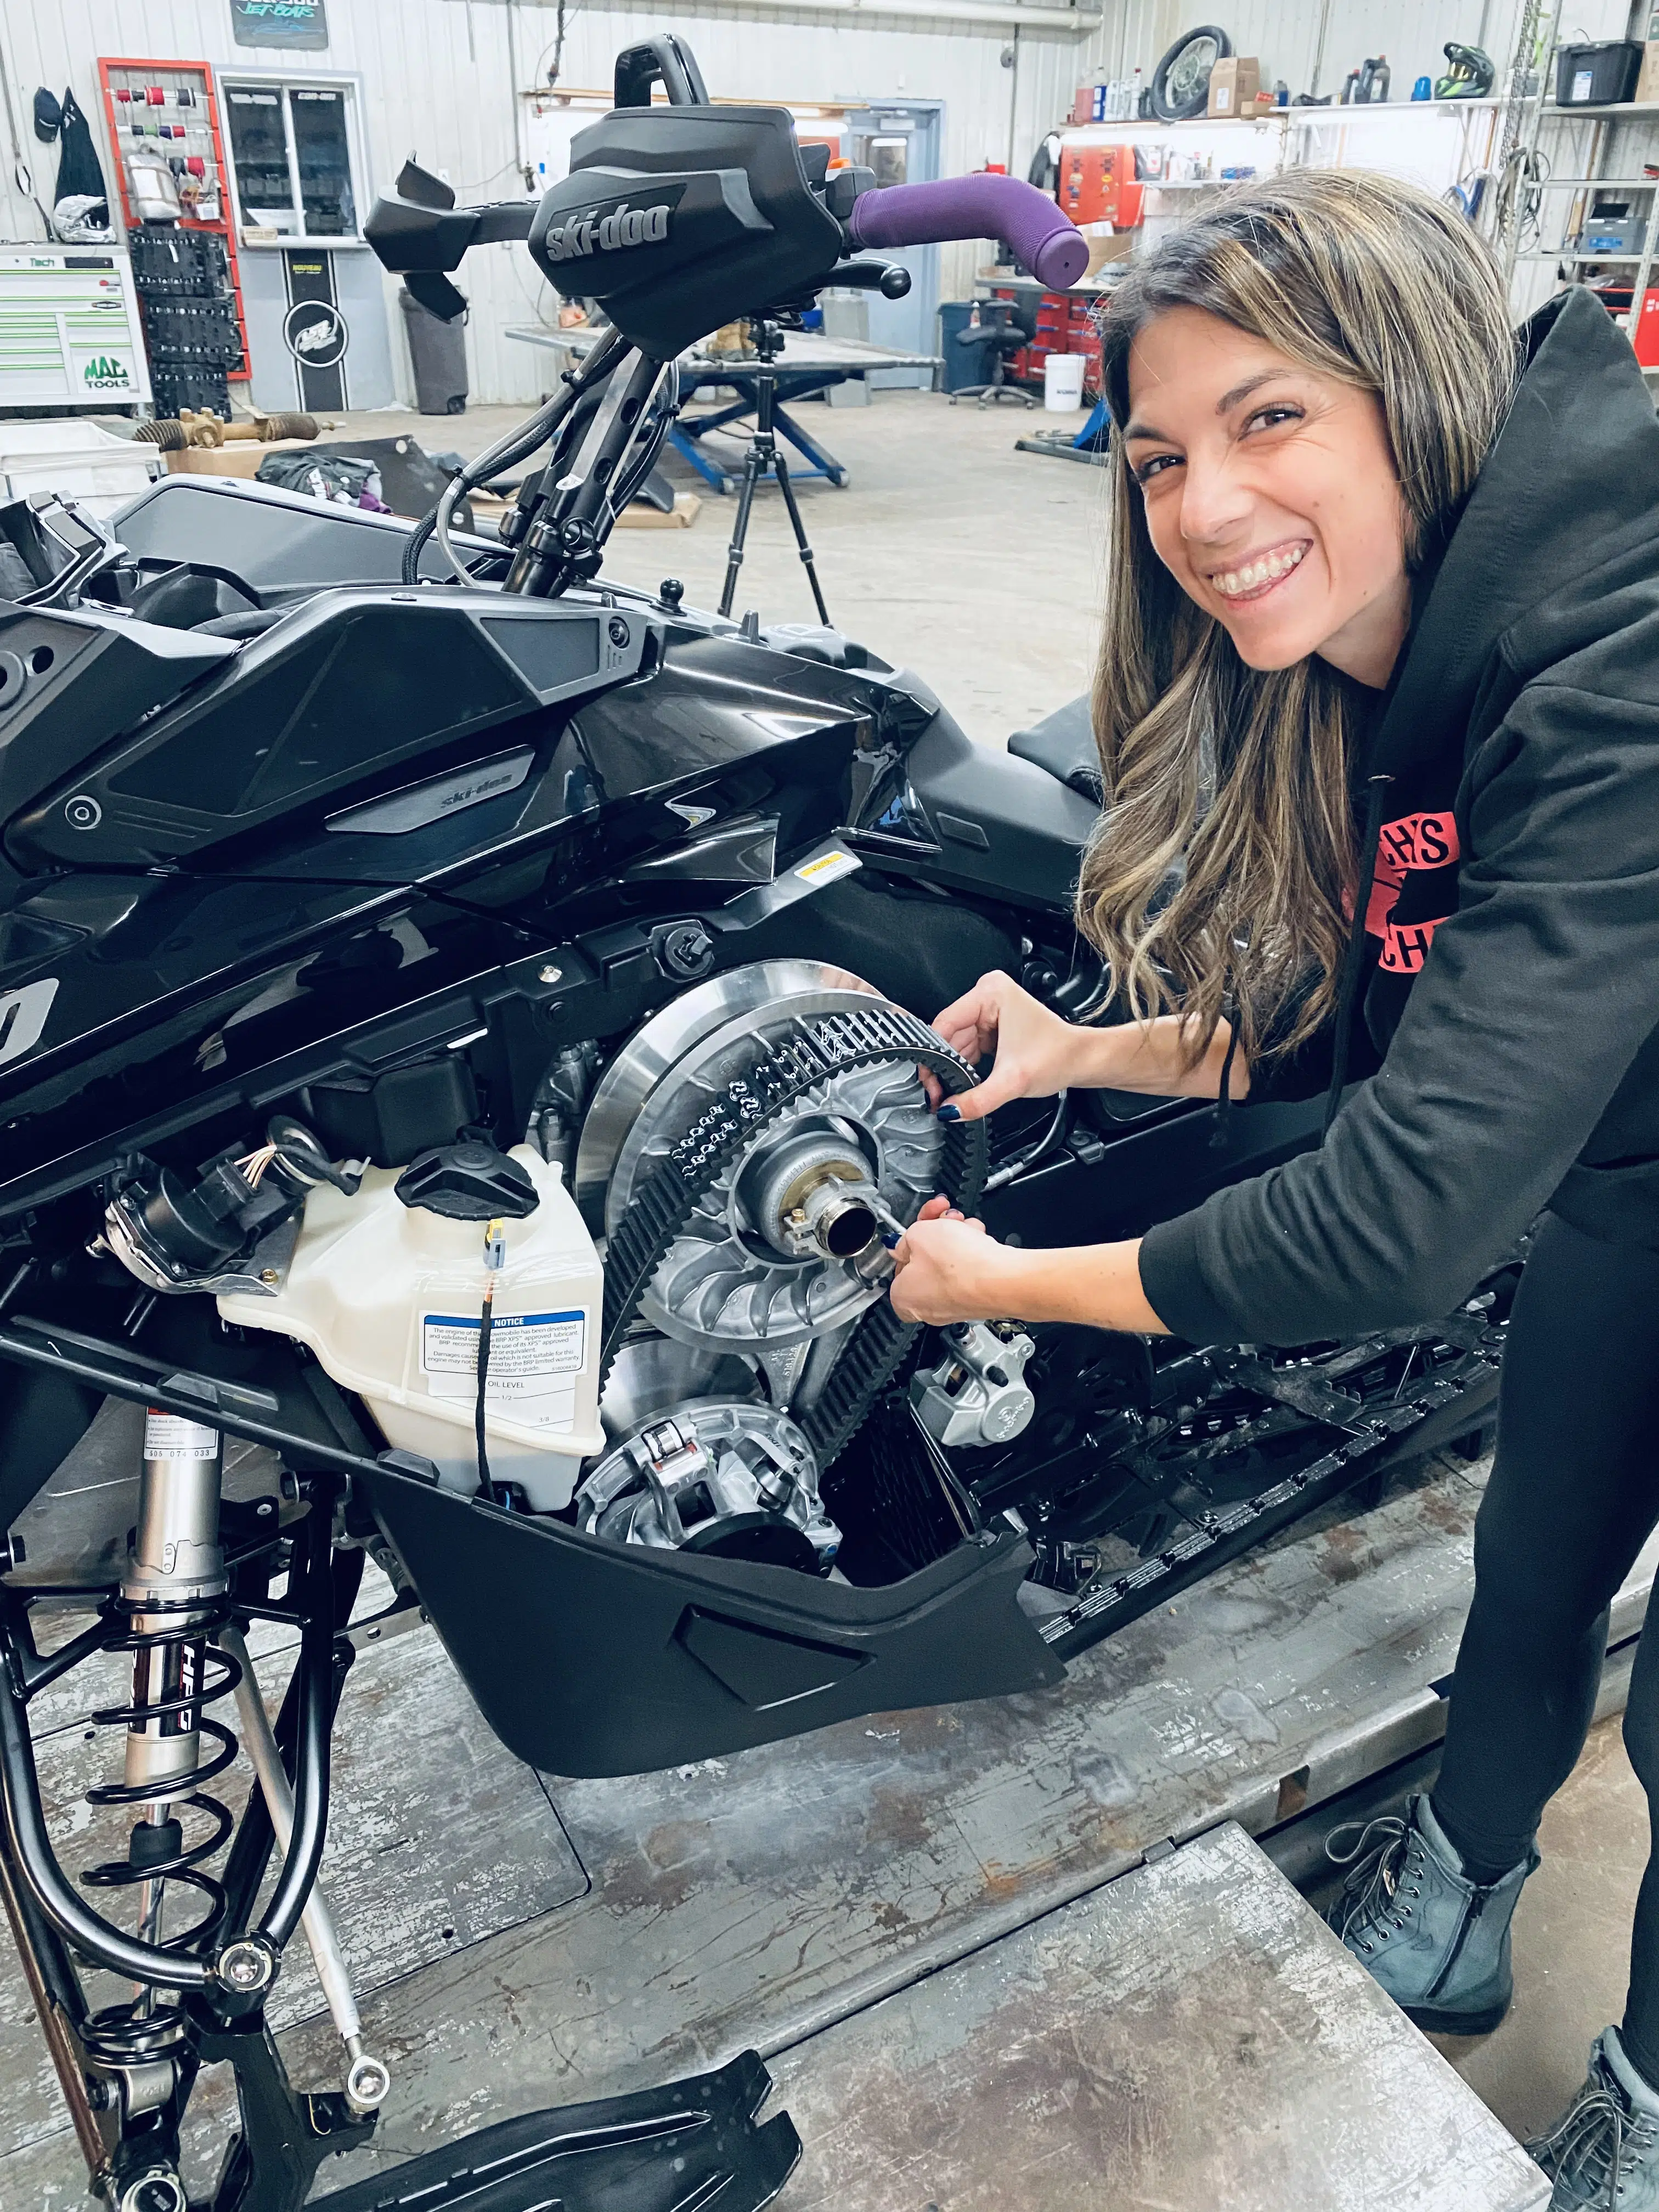
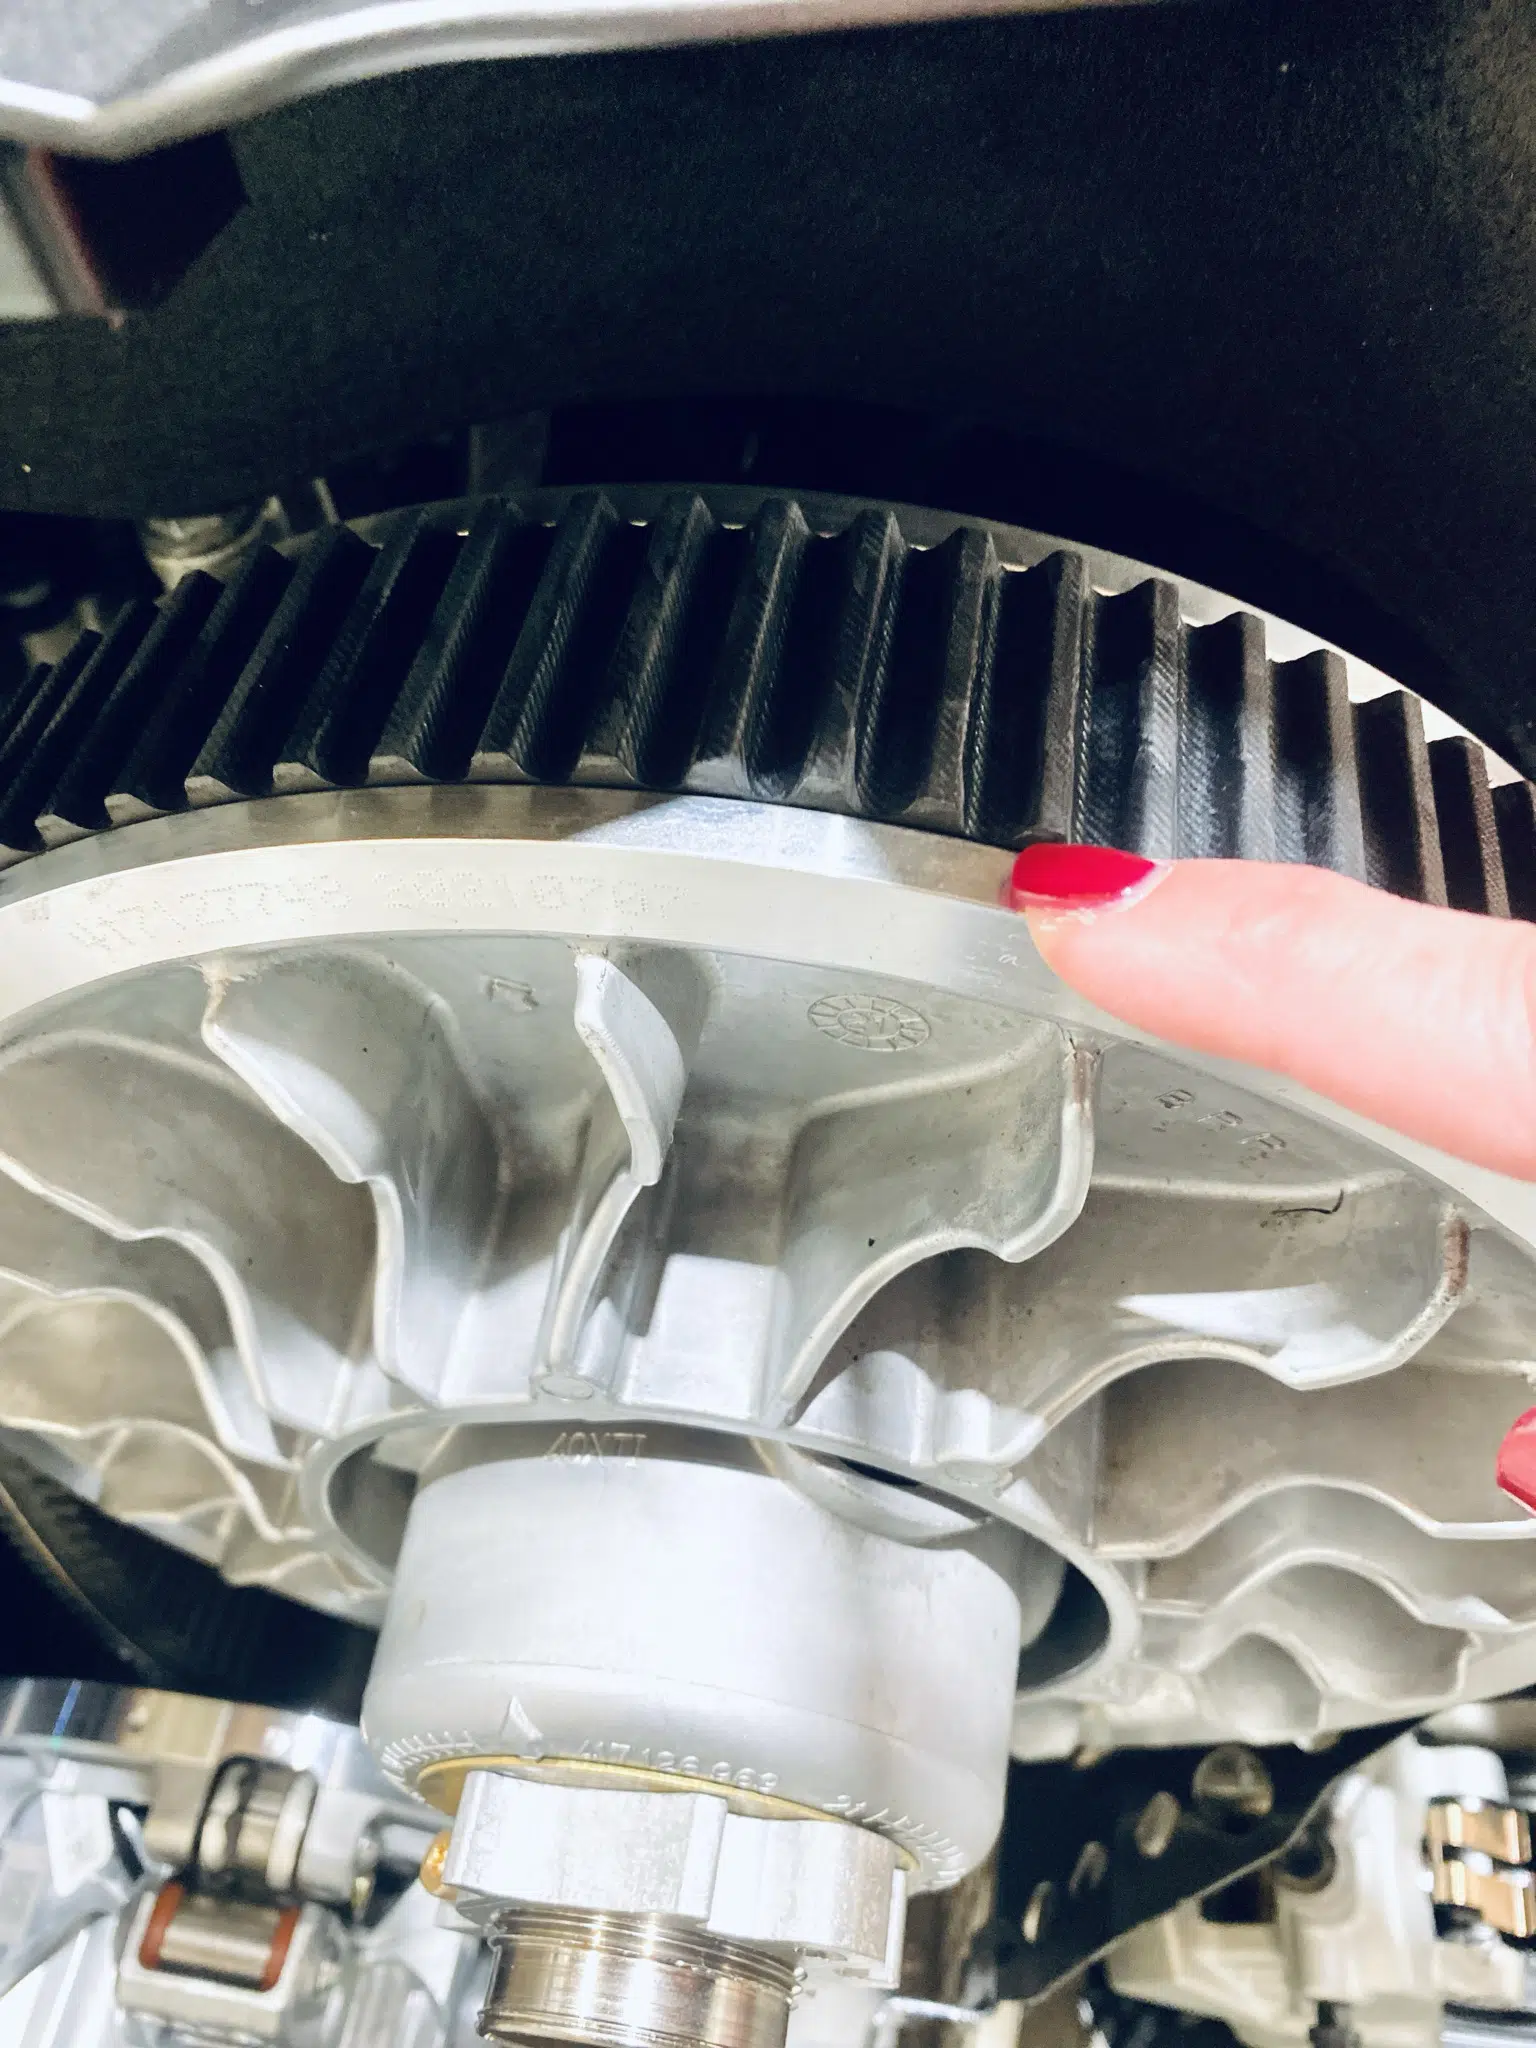
I won’t show Ski-Doo enthusiasts how to install a timing belt here! However, let’s remember the importance of adjusting it precisely. In the case of my Summit SP 2022, it will have to be perfectly aligned with the pulley’s circumference.
Normally, when a new belt is installed, it’s when you start the snowmobile that the pulley’s plates automatically tighten on it. This is when it is important to check and complete the perfect adjustment of the belt.
This is done by moving the rear plate away from or toward the front plate of the pulley. Moving the back plate away from the front plate frees up space for the belt to drop. Moving the back plate closer compresses the belt, causing it to rise.
We finish by adding a replacement belt on the belt guard after closing it. It’s always very practical!
Step 14
Fix the gauges and the cover of the glove box
At this stage, you simply connect the gauge’s wires to the snowmobile’s wires, before inserting and securing the gauges to their location. You finish by installing and closing the small glove box cover on your snowmobile.
Step 15
Connect the battery poles and program the computer
First, we make sure to connect the poles of the battery, which is located just behind the seat. Then, we connect a laptop computer to a small plug located on the right side of your snowmobile, near the chain case.
This laptop contains the manufacturer’s application that will be used to program the computer of your precious toy.
Step 16
Close the side panels and fill with gas
This is the last step before your snowmobile roars to life! We close its side panels and fill it with gas.
Step 17
Quality control
Before handing over the keys to your new sled, Lapointe Sports technicians perform a final quality control.
They proceed to a final adjustment of the axle and the drive belt, to the verification of the level of the fluids, the functioning of the lights, the gas valve, the brakes, the presence of leaks, carry out the known recalls of the manufacturer if necessary, etc.
Conclusion
There you go, all that’s left to do is add the extra accessories of your choice and start burning gas!
Each technician has his own method and tricks. It is therefore possible that the steps and techniques may vary somewhat from one technician to another.
They may also differ depending on the Ski-Doo model chosen. I hope you enjoyed this little intrusion into the mechanical workshop, behind the showroom!
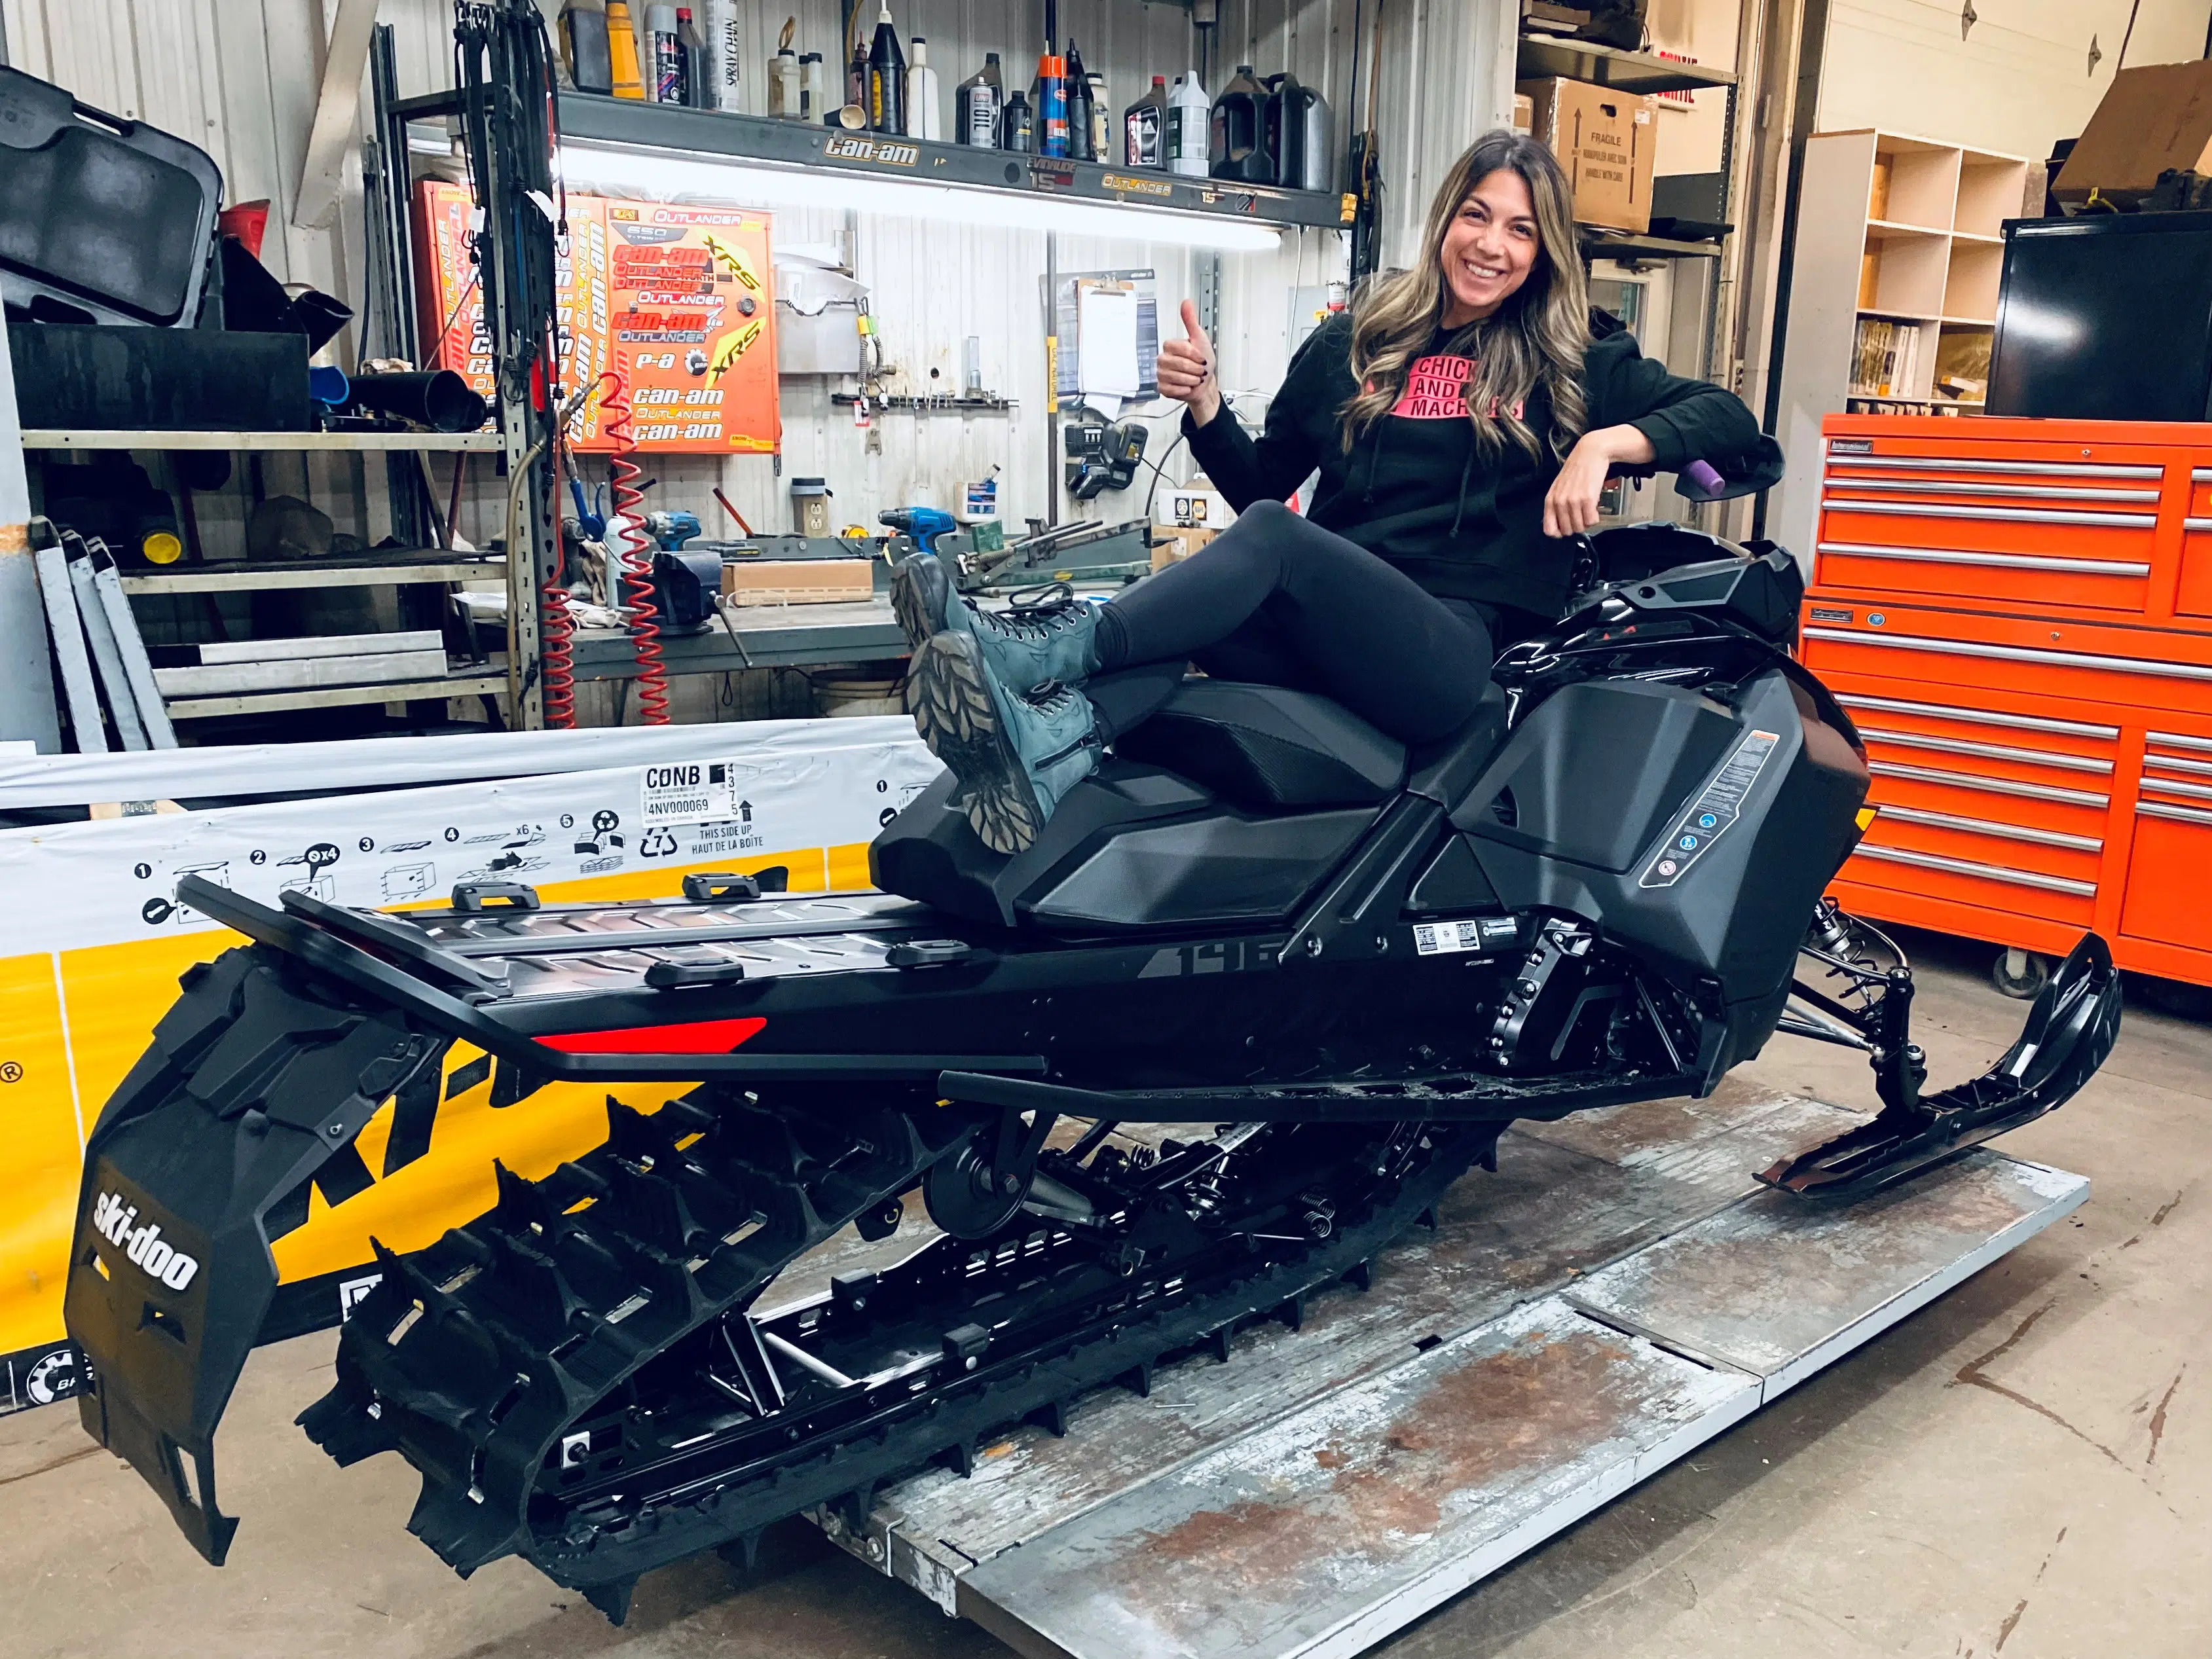
I would like to thank the entire team at Lapointe Sport in Joliette for allowing me to live the dream of unpacking and assembling my Ski-Doo snowmobile myself.
I really had a lot of fun! I also learned many tricks thanks to the good advice of the experienced technicians who work there. Thanks guys!
Bianca B.


1 Comment
Awesome Girl, nice work, wish there were more out there like you!